BACK
Automatic to Manual Conversion
Written by: Tarkers
Note: This conversion was done on a Starlet GT with 4E-FTE which is right hand drive
First of all, if you are impatient like me, then this swap will be a living hell. It took me ages to do. It would be a lot easier the second time around, but I wouldn't do it on a small car like this again. There is just no room to move at all.
Here is a list of parts I used for the swap:
- Gearbox
- Clutch (pressure plate and clutch disc)
- Flywheel
- Flywheel bolts (shorter than the auto ones)
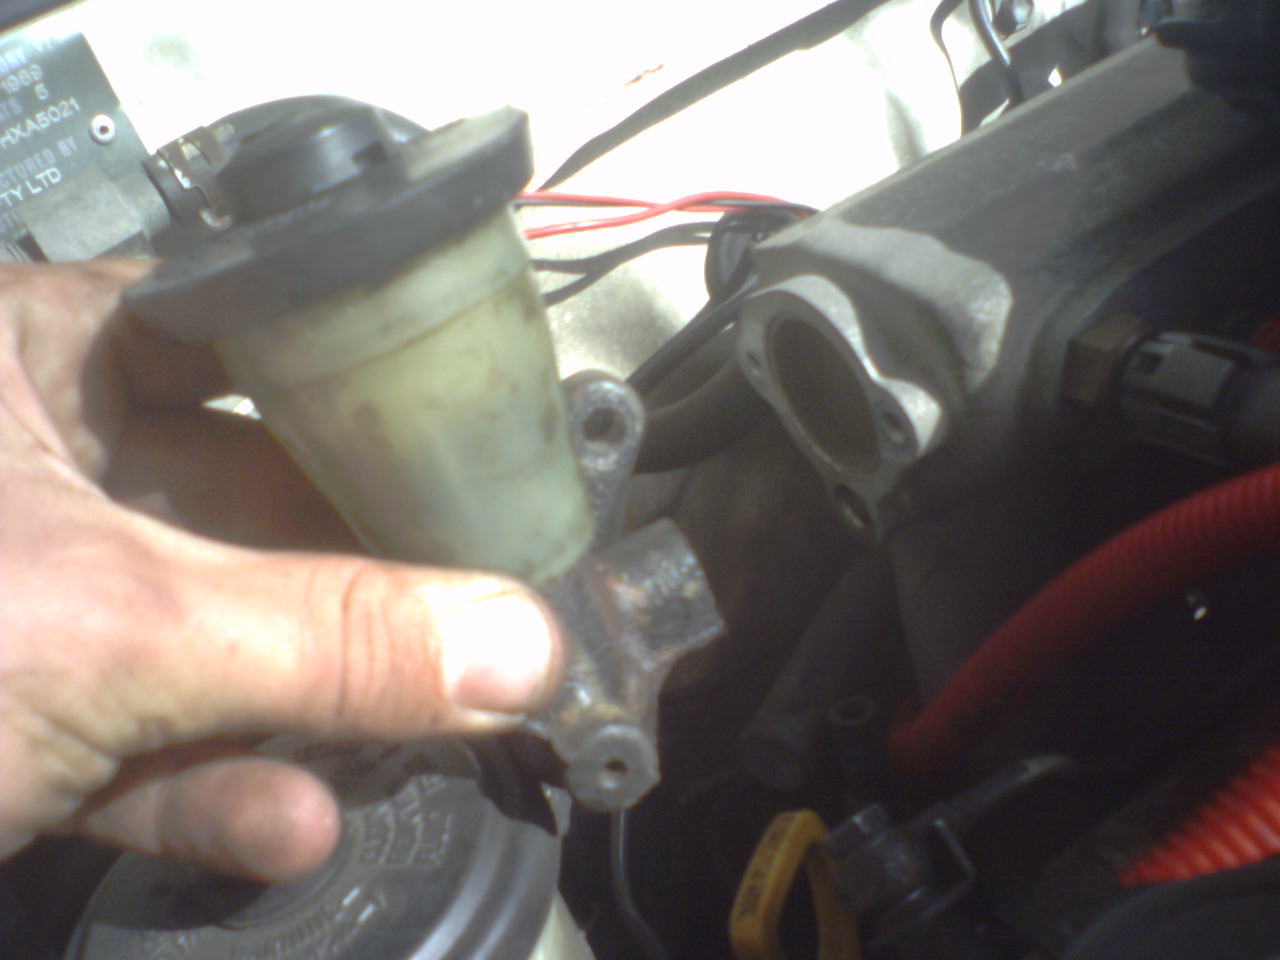
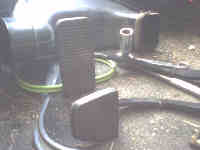
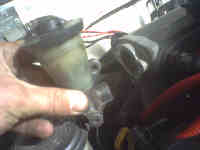
- Clutch Master Cylinder (the bit with the resivoir on it)
- Clutch Slave Cylinder (the bit that bolts onto the gearbox)
- Clutch Lines (both metal line and rubber line)
- Clutch Pedal Assembly
- Brake Pedal Assembly
- Shifter Assembly
- Shifter cables
- Both mounts (you may not need to change both, only one, but it will depend what car and what gearbox you are using)
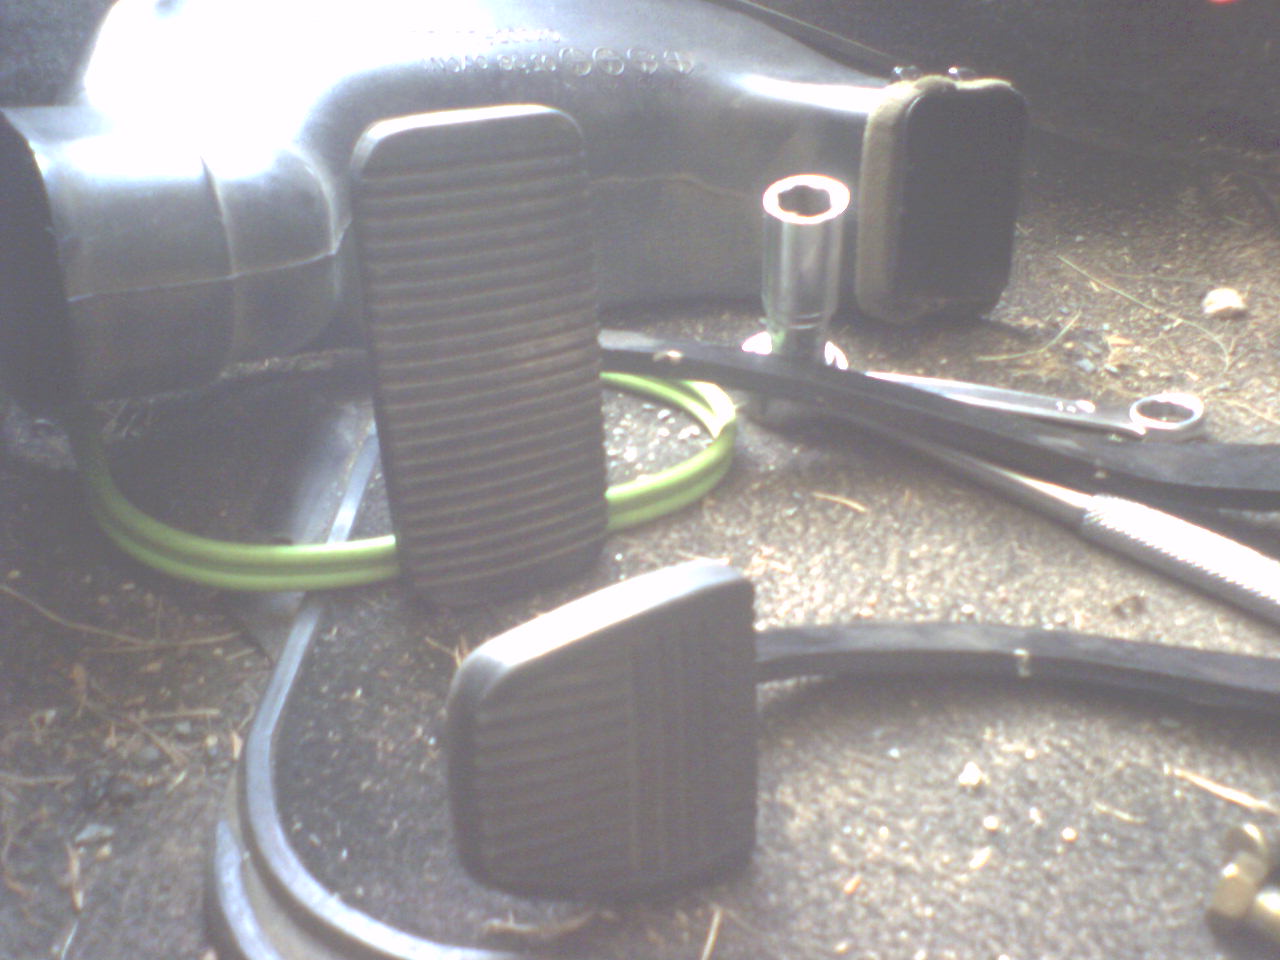
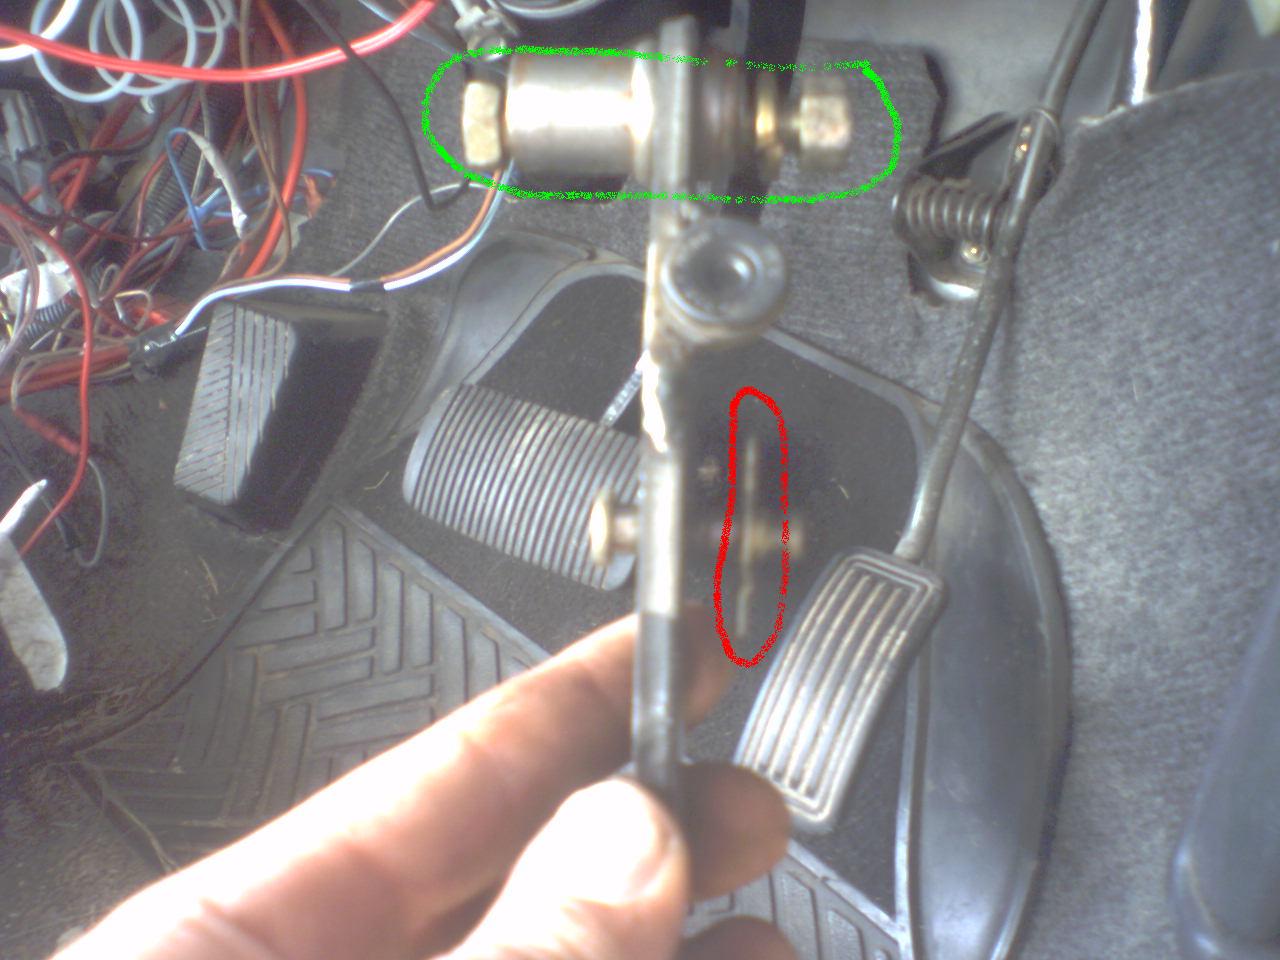
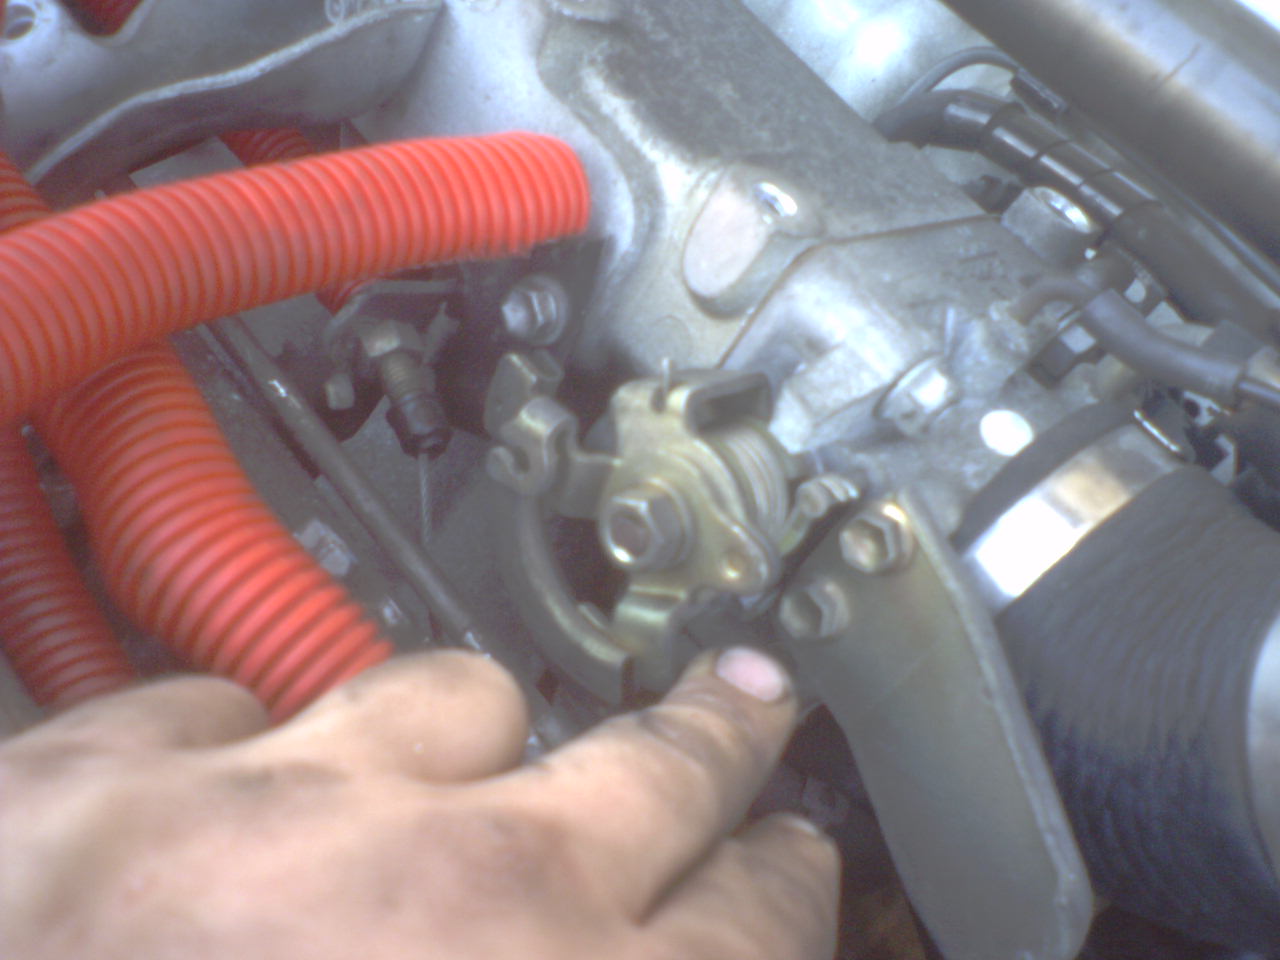
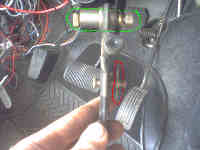
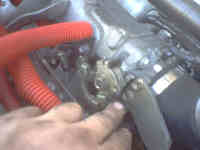
First, I removed the brake pedal and fitted the new pedal. This is necessary because the auto brake pedal is over twice the size of the manual one, and it will get in the way of the clutch pedal. To do this you need to pull the pin out that is circled in red. This will allow you to pull out the bigger pin that it is holding in (as seen in the pic). Then, you need to undo the bolt at the top (circled in green). Also, remove the spring (you will know which spring I'm talking about when you see it, there is only one on the brake pedal). The pedal should now come out. Do this in reverse to fit the manual brake pedal.
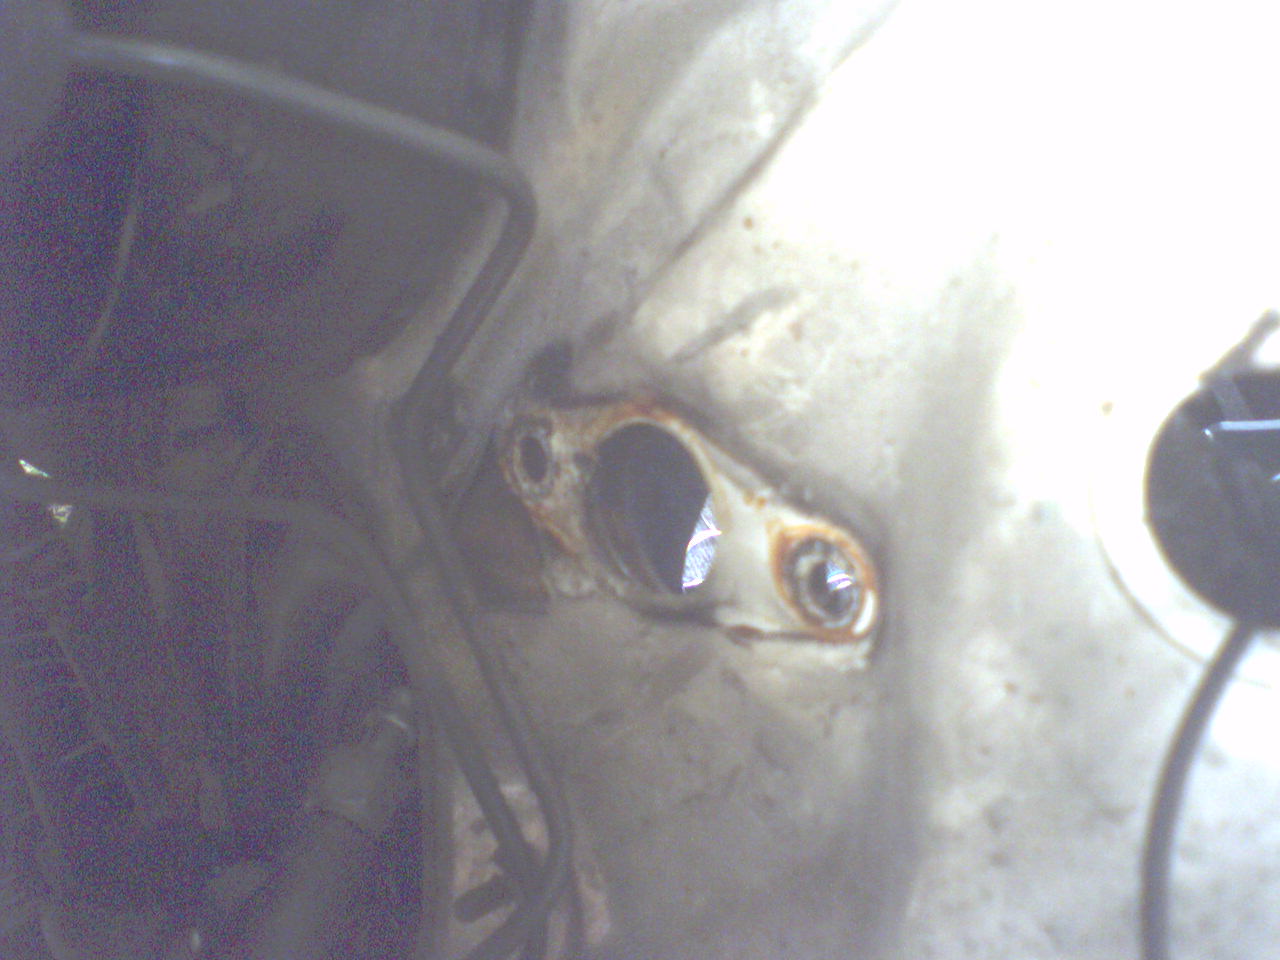
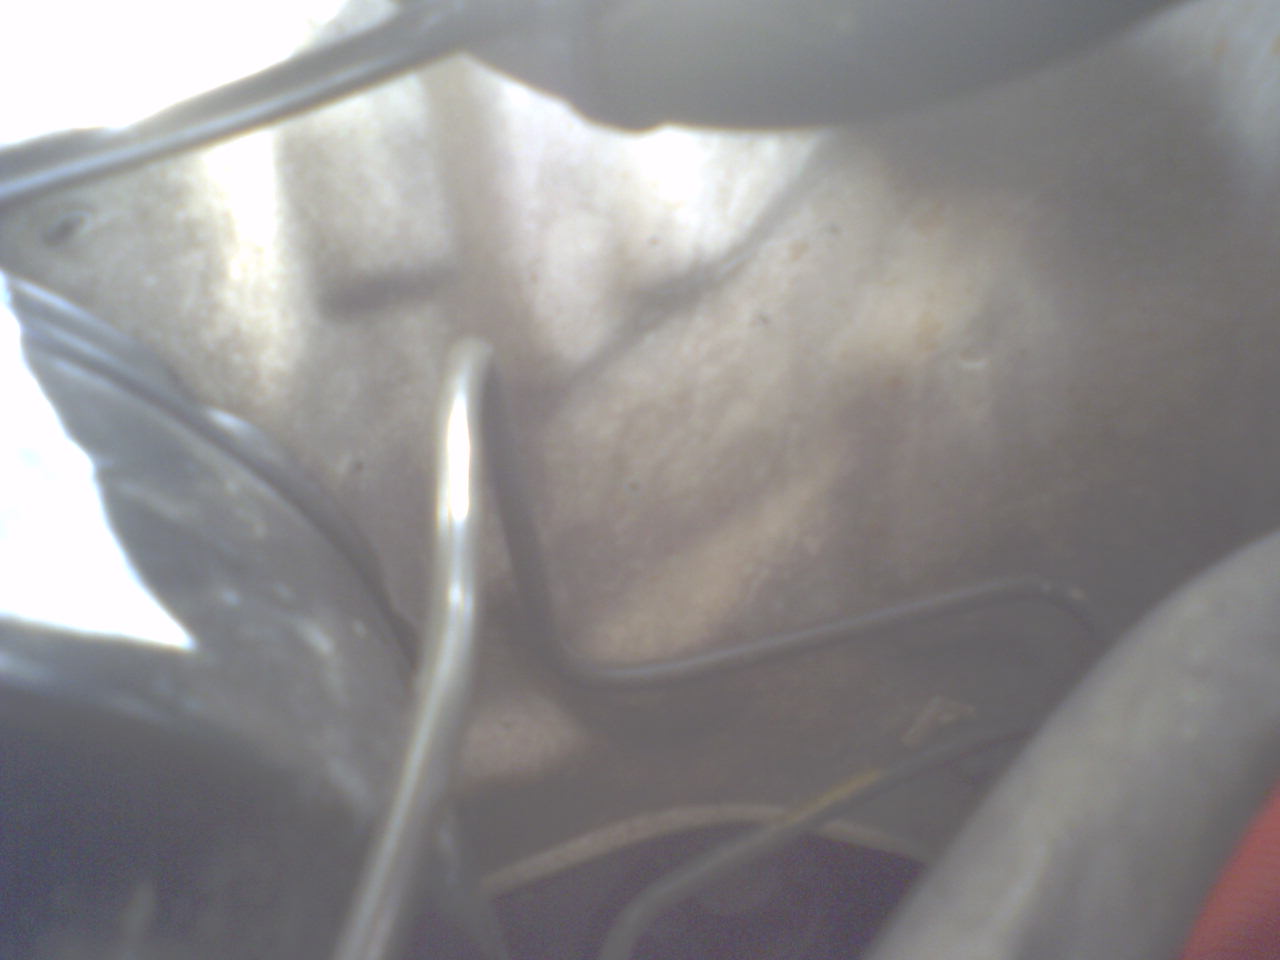
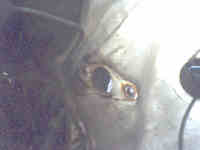
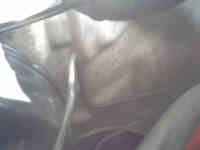
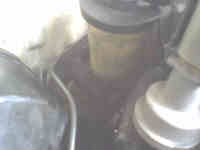
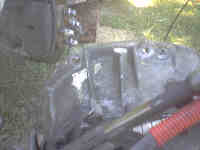
The next step is prepping the firewall for the fitting of the master cylinder. First you will need to cut out 3 holes in the firewall. This is how it looks on Swanny's car cut from factory (left picture). This is how mine looked (right picture). The indent was there for the slave cylinder but there was no hole, so you have to cut it out the same as in the first pic. This is easier if you have a doner car to work off as you can do rough measurements. How you cut this hole out is up to you, it took me hours to cut it out right. I used a combination of large and small drill bits along with some tin snips and a file. There is practically no room at all to work with, so have fun.
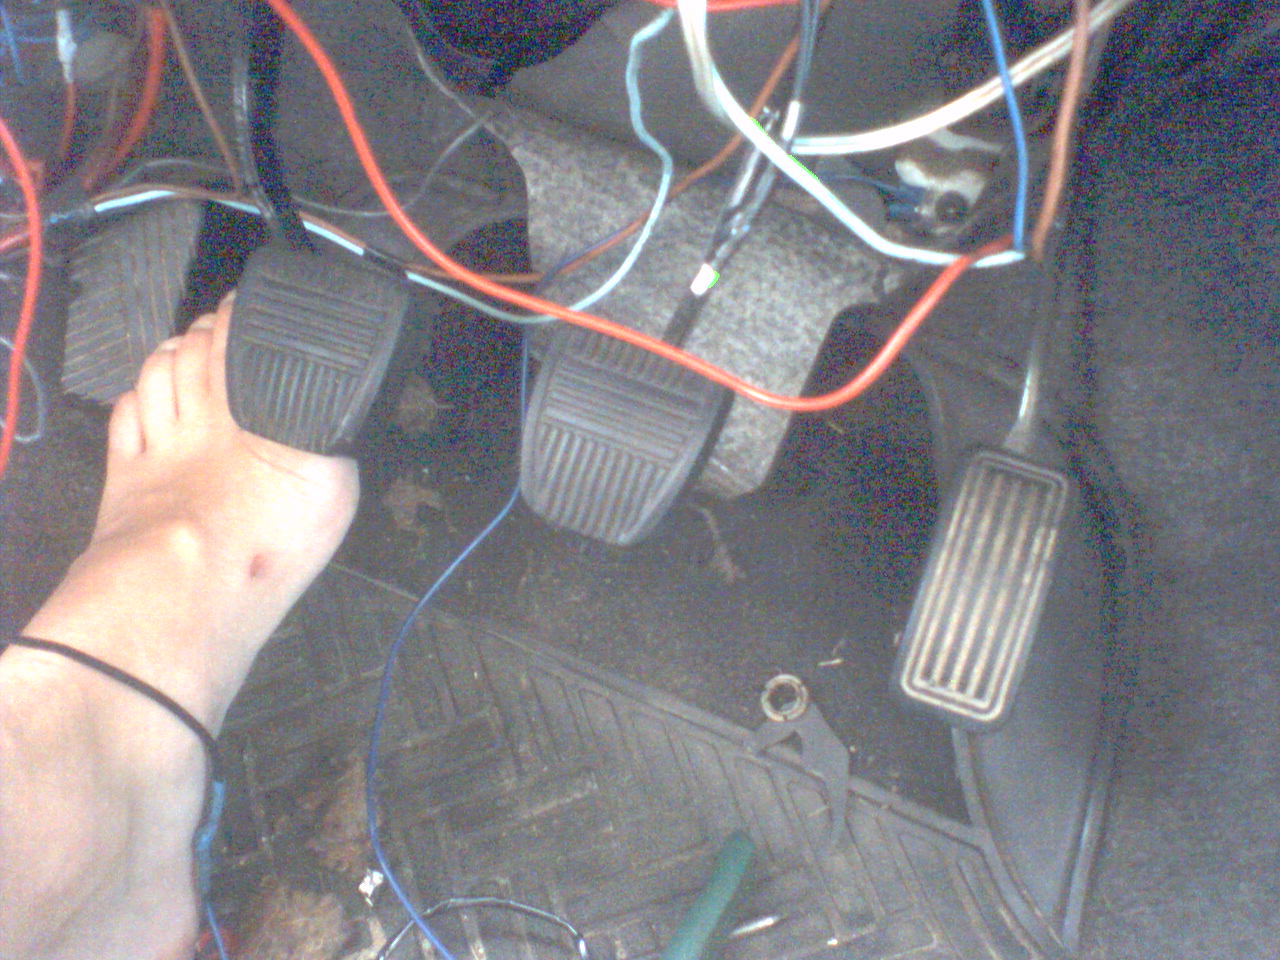
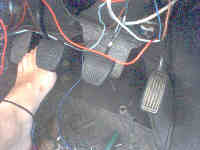
Next, we fit the master cylinder and clutch. Once the holes are cut out its pretty smooth sailing for a little bit. You may need to undo some small bits and pieces in the engine bay to fit this in. I removed the diagnostics thing thats on the side of the inlet manifold to give me a little bit more working room. Now its just a matter of pushing it into place then jumping in the car to bolt the clutch pedal up to the master cylinder. You have two nuts you need to do up on the back of the master cylinder (now inside the cabin) for the clutch pedal, and also one nut to the big support beam that runs from one side of the car to the other underneath the dash. The camera didnt like the lack of light sorry. But, here is the clutch pedal installed, no comments regarding the wiring, thanks.


I did these steps first as it meant I could still drive the car around. These first steps took me about a day to do mainly due to cutting out the hole being such a pain in the butt. From here on in I had the car up on stands. Never get under a car that is solely supported by a jack, they can and will roll off it. I've seen it happen.
Next is taking the auto box (transmission) off. To do this I took out the battery, top mount intercooler and anything else that was in the way. You'll need to pull the driveshafts out of the gearbox. To do this you need to pull the clip off the big side of the rubber boot on the inside cv. The shaft then pops right out. Then you need to disconnect the selector cable from the gearbox and get it out of the way. Also, disconnect the speedo cable. I disconnected it from the cluster instead of the box because I couldn't figure out how you remove it from the box.
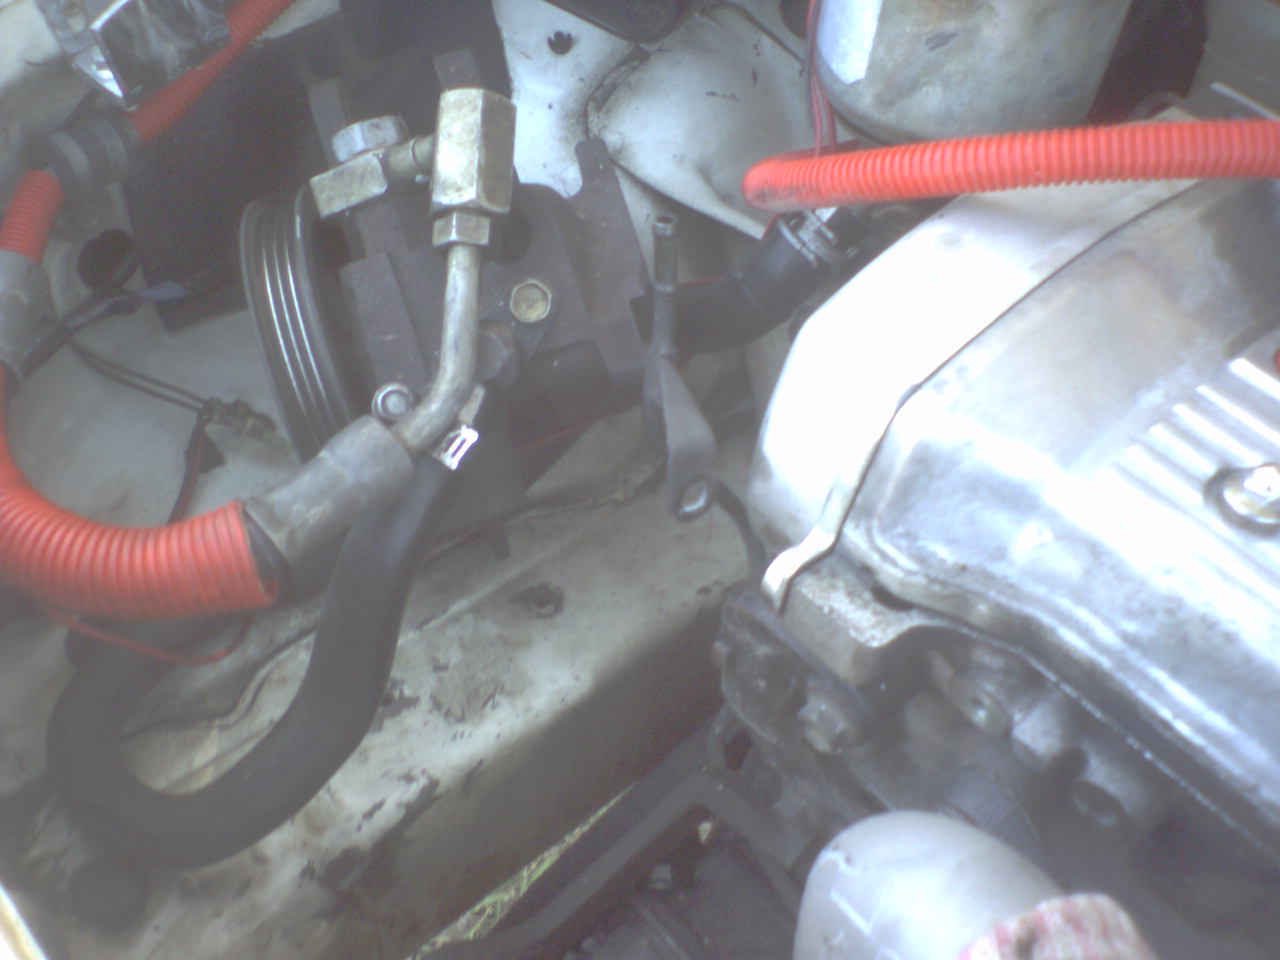
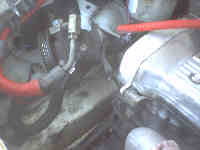
Next you need to take the power steering pump off the engine.
Then, remove the cable that goes the the throttle.
Then undo all the bolts holding the box on, and remove the starter motor.
Now, you need to put the trolly jack under the gearbox to support its weight and undo the engine mounts. Slowly let the box down making sure the engine and power steering pump don't hit the chassis and do any damage. You then need to wiggle the box around a bit and use something to leaver it off the engine, it takes a little bit of effort to get it moving first off, but pretty much falls off after that.
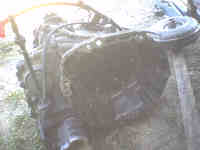
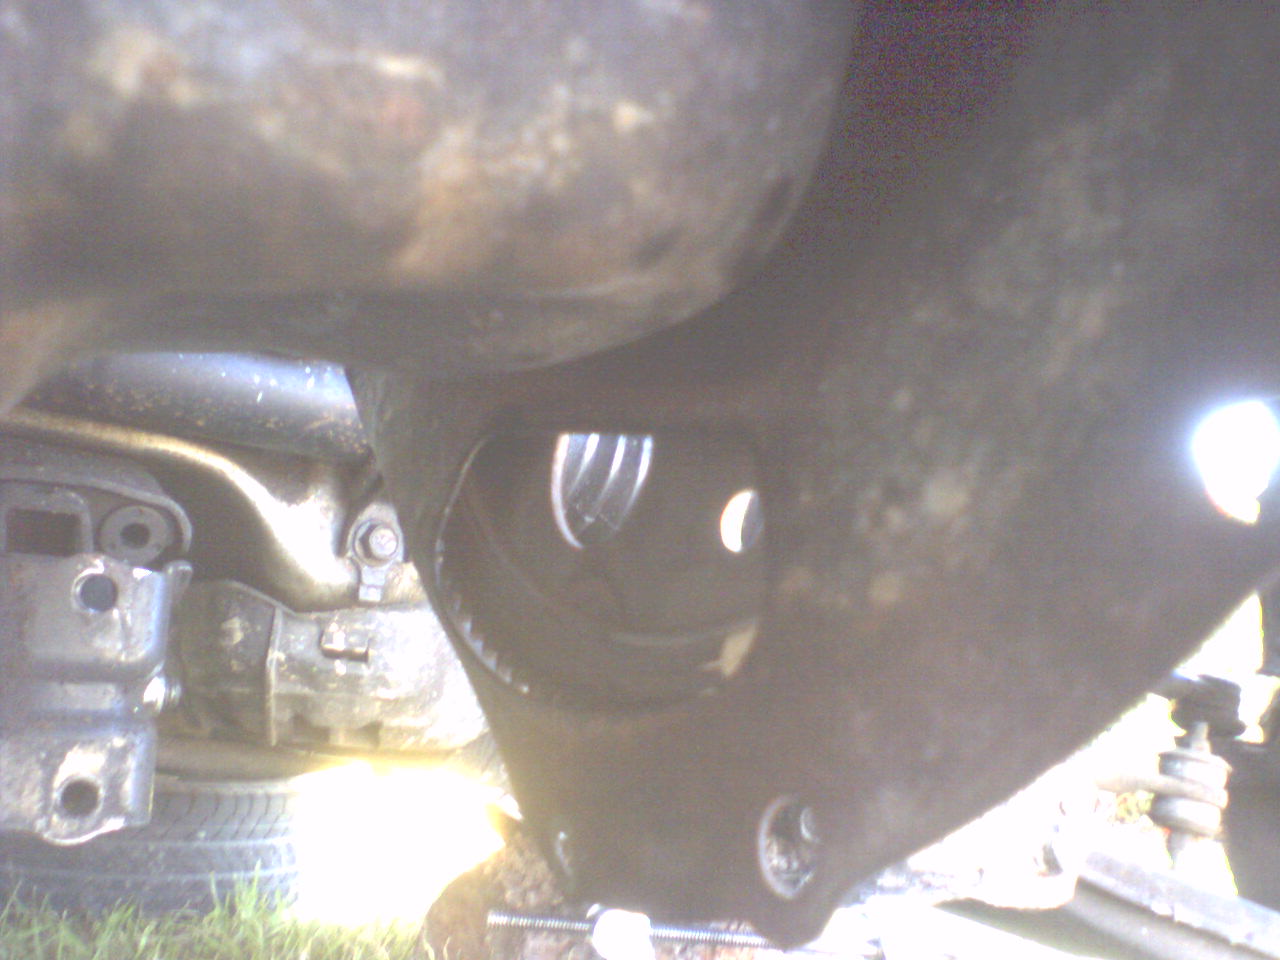
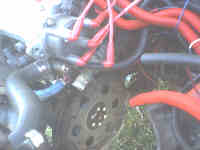
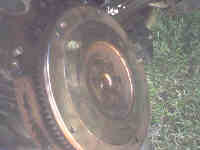
Once the box is off you need to remove the torque converter and flywheel (not really a flywheel but I forgot the proper name). This is the torque converter. To undo the torque converter you need to pull the plastic plug off the back to get to the bolts. You need to undo them one at a time, and then spin the torque converter to get to the next one until all are undone. Be prepared because they weight a little bit.

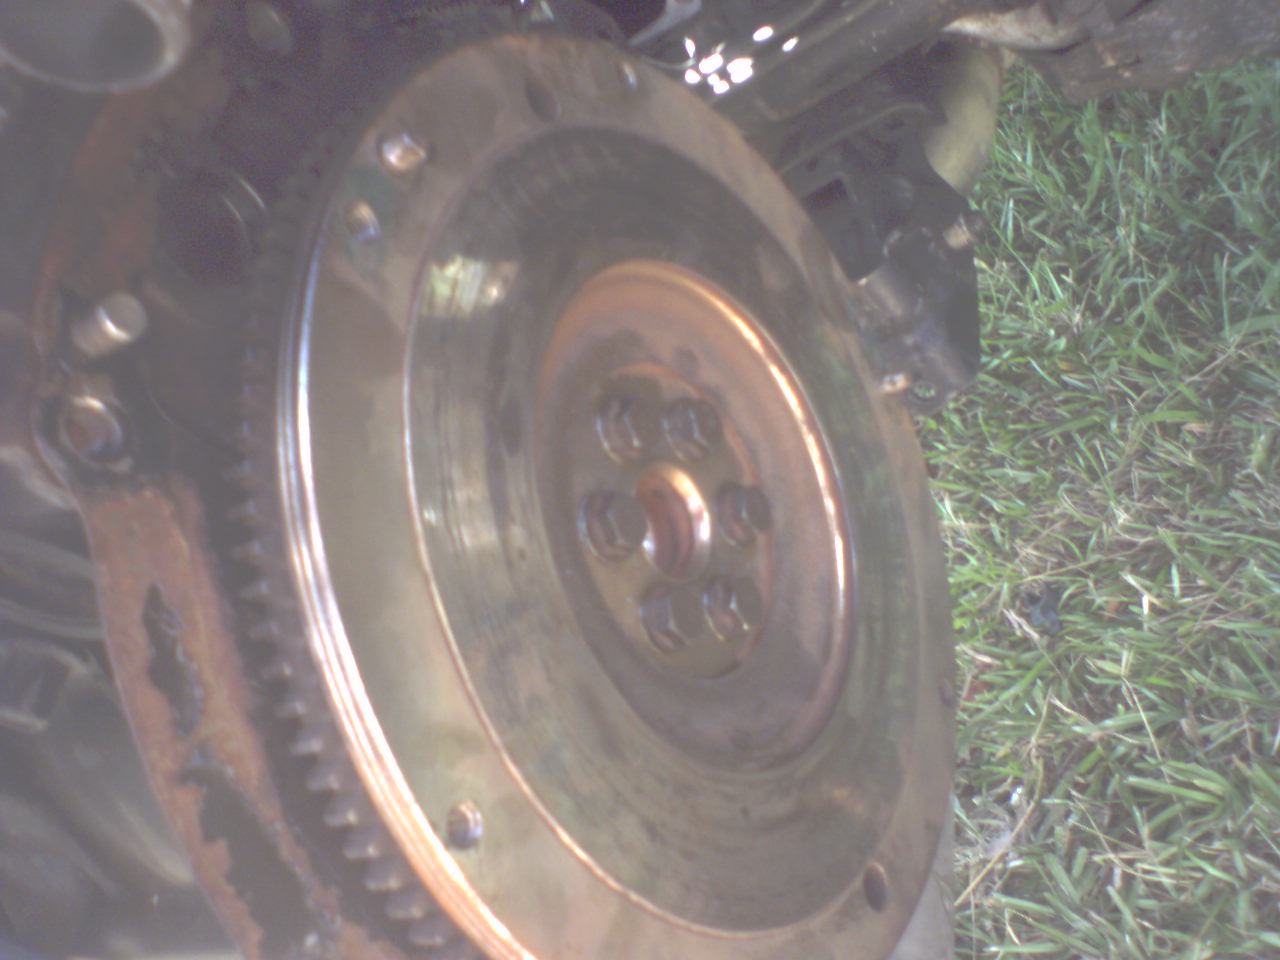
Then, you need to undo the flywheel bolts. Keeping the flywheel still while you undo the bolts proved to be an issue. I got dad to jam something in the teeth to stop it from spinning. There are two spacers that you don't need to reuse in there too.
Now, you need to put the flywheel and clutch on. This is not overly difficult, but the flywheel does need to be done up to correct torque specs. Bolt the flywheel on, then chuck the clutch disc and cover on (don't do it up tight, just put the bolts in a little bit). To line up the clutch plate I used the handle of a screwdriver that was the perfect size. You just need to put the handle in where the spline from the gearbox would normally go, then tighten up the pressure plate.
Big thanks to Paul for the flywheel torque settings.
The manual states 900kgf/cm, 88Nm, or 65 ft/lbs.
First you need to apply adhesive to a few threads on each bolt end. Use THREE BOND 1324 Adhesive. You can also use Toyota's Adhesive part # 08833-00070.
The bolts MUST be tightened in sequence, working clockwise (starting at 12 o'clock) bolt tightening sequence as follows:
1 = 12 o'clock
2 = 6 o'clock
3 = 10 o'clock
4 = 4 o'clock
5 = 2 o'clock
6 = 8 o'clock
Now, just do the reverse of what you did before to put the gearbox back on. The manual box was much easier to work with. I just picked it up and put it into place while dad lined it up properly for me. You may or may not need to change the engine mounts before you do this step.
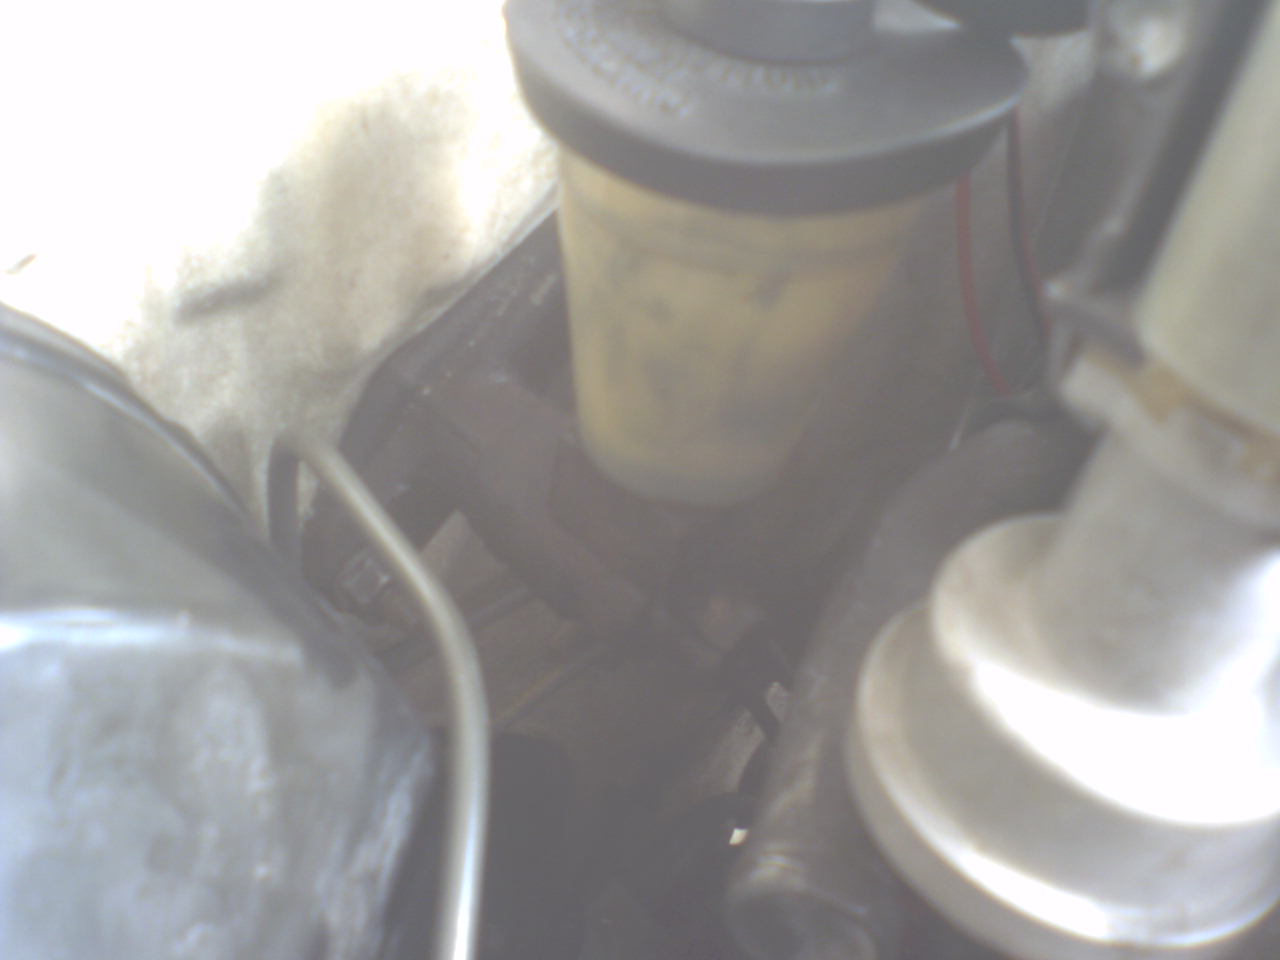
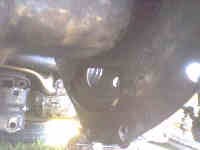
Now, you need to fit the clutch slave cylinder and lines. This was easy to do. The slave cylinder bolts onto the gearbox down under the thermostat housing, and the lines are mostly shaped metal so they fall into place by themselves.
Next, you need to fit the shifter. This is just a matter of unbolting the auto one, removeing the cables, then bolting the manual one in and feeding the cables through to the box.
Re-attach everything you took off before (power steer pump/speedo cable/battery/etc.)
There are two wires that go to the auto box's selector box. You need to bridge these two wires for the car to start if you have stock ecu. I didn't need to do this step as I have an aftermarket ecu. After everything is connected up you should be able to ride off into the sunset happily, and in full control of when you shift.
BACK