BACK
CV Boot Replacement
Written by: icyfyer
Here ya go, a DIY on CV boots. I had to replace mine after both of them tore, and I had been driving on them for a few months. I want to stress that in NO CIRCUMSTANCE should you EVER drive without sealed CV boots for extended periods of time. The only reason I did it is because I just didnt have the time (military time). I was waiting on a friend of mine to help me because he kept rescheduling, but I eventually said FLUX IT and did it myself.
Here goes:
TOOLS
1/2" drive impact wrench (with compressor of course)
impact socket for lug nuts, use the double sided one
impact socket size 30mm
center lift or jack and jackstands
17mm wrench/socket and wratchet
angled cutters
large pliers
needle nose pliers
something to clean grease (like a solvent station)
prybar or really long, thick strong screwdriver
CV boot kit
oil pan
vice
brass hammer or brass drift and normal hammer
lots of rags
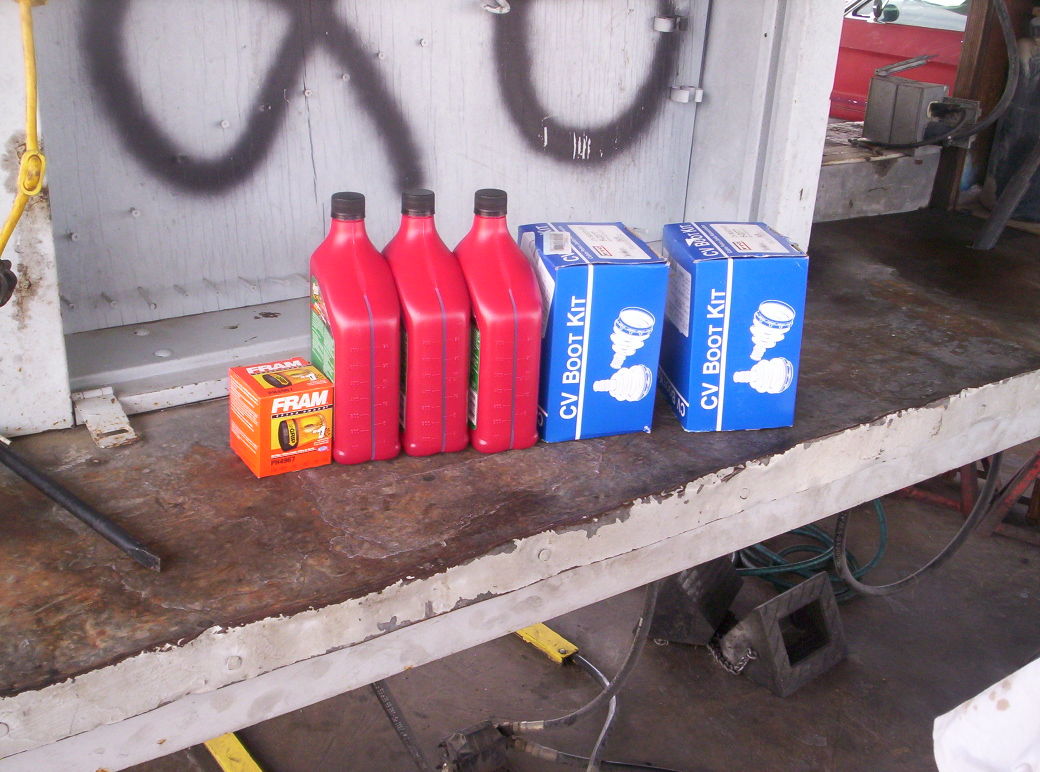
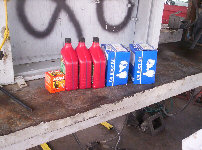
Heres the kit I bought, your milage may very.
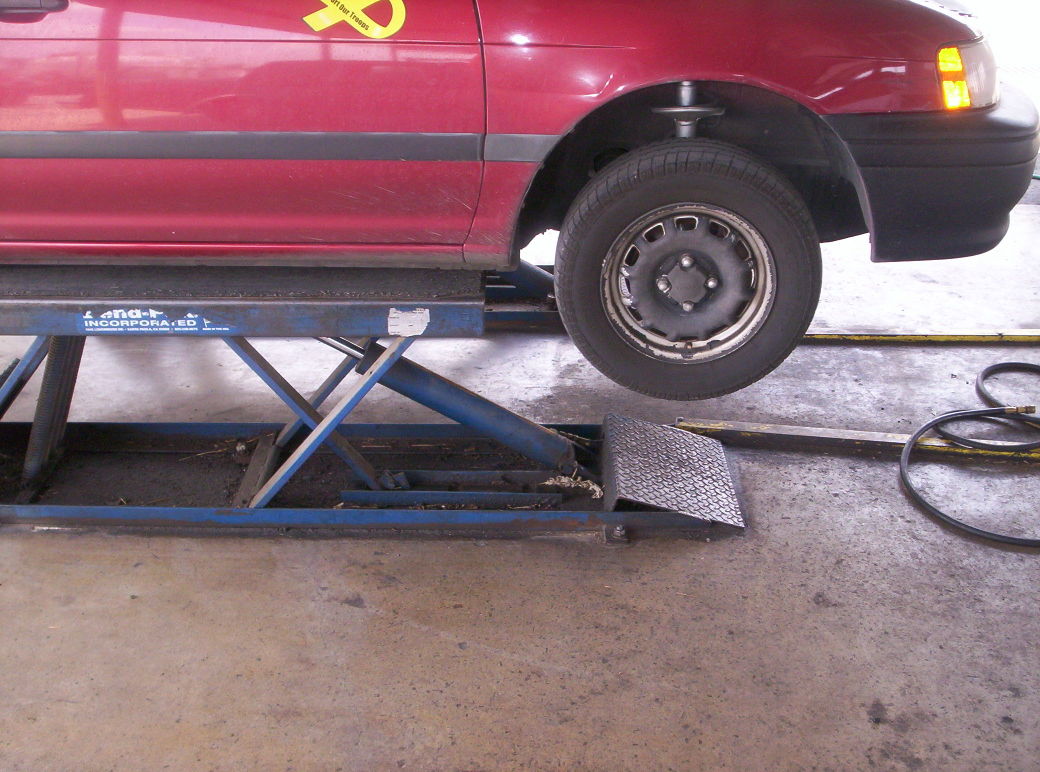
 I did an oil change while I had the car lifted since I was there already. First, put the car on the lift, and lift it. I would suggest that if you are using jack stands you are very careful because some of this stuff requires you to be under the car for extended periods of time and applying pressure to certain points which may cause it to become unbalanced.

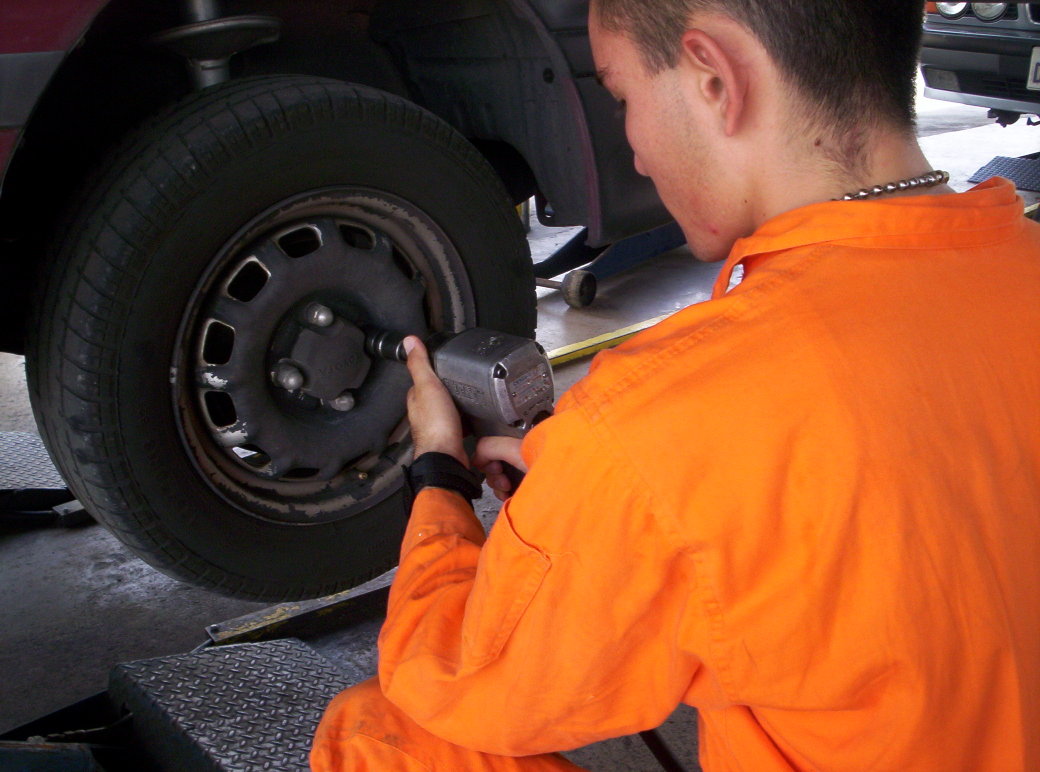
After you've got it jacked up take off the tires. I say tires because I did both sides, but just use common sense.
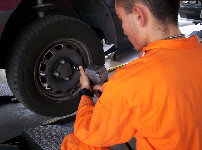
Get the tire out of the way, and put two of the lug nuts back on the studs to hold the rotor in place.
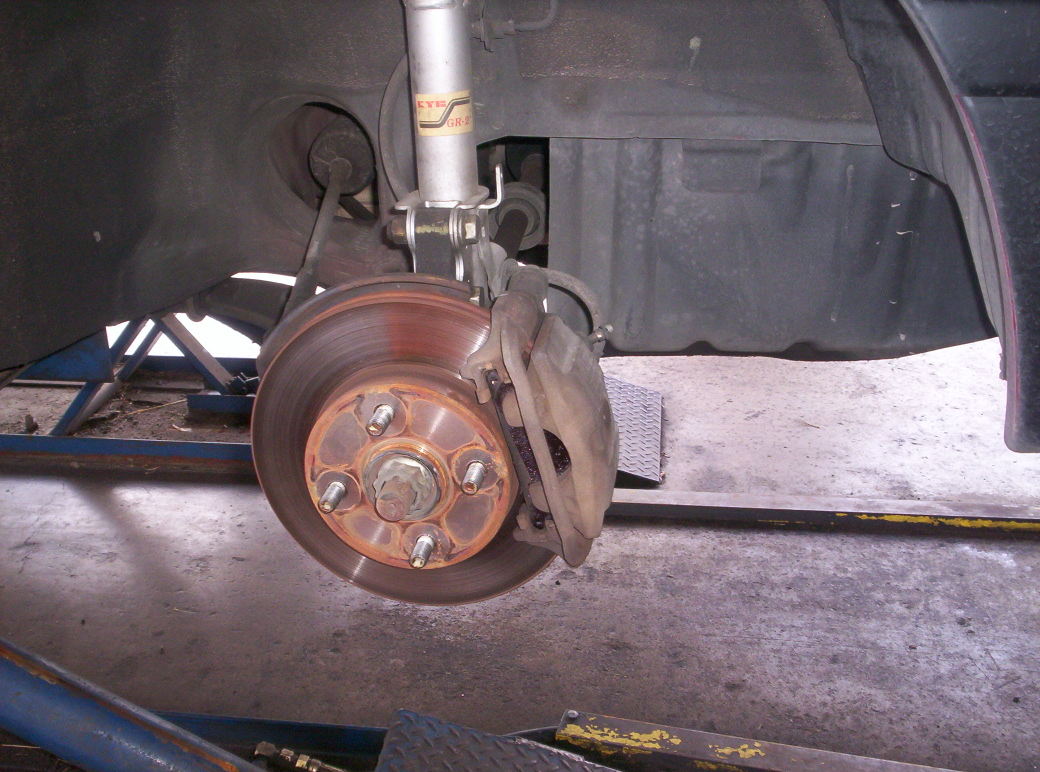
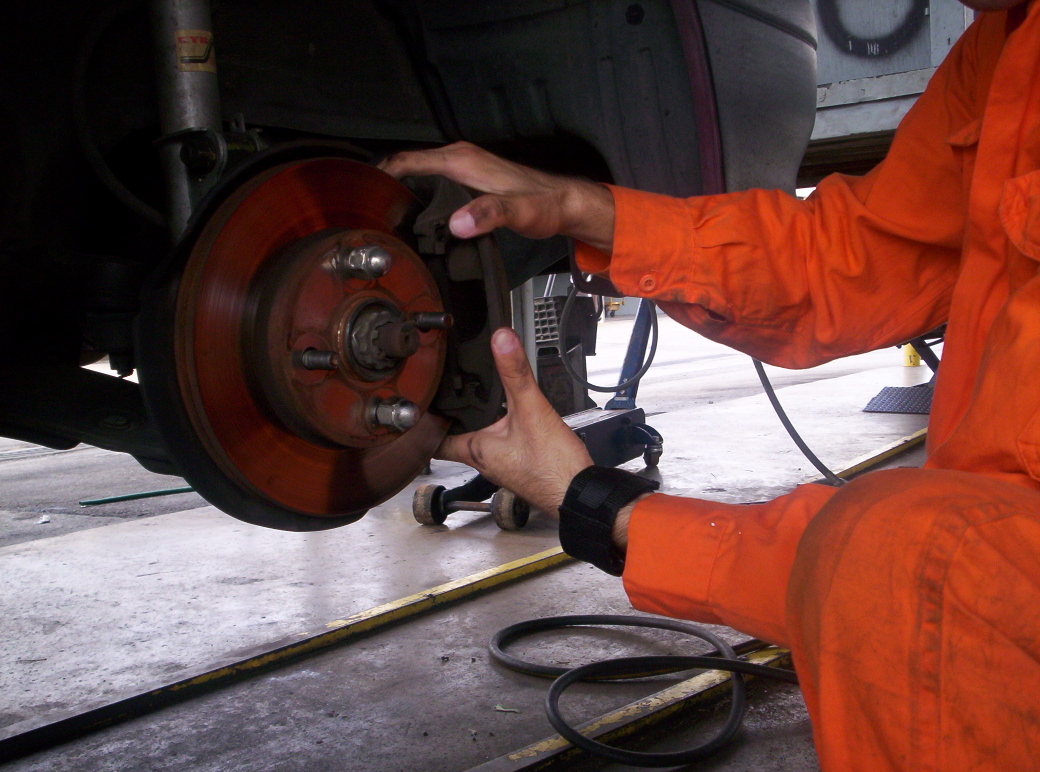
Use a 17mm wrench/socket on the back side of the brake caliper, and take out the two bolts that hold it to the hub.
One on the top, and one on the bottom.

Once you've got the bolts out you should be able to just slide the caliper right off the rotor. If you haven't put lugs on the studs to hold the rotor in place it will be annoying to try to wiggle the caliper off. I imagine that you could probably leave the caliper on the rotor but you can seriously damage the rotor during some parts of the removal/installation. It should just take a little bit of movement to get the caliper off the rotor. Once you get it off, you can just *****CAREFULLY***** let it hang off to the side. This is what I did, but only because I knew that I was the only person working on the car, so I didnt have to worry about someone else jerking on it and tearing the brake line.

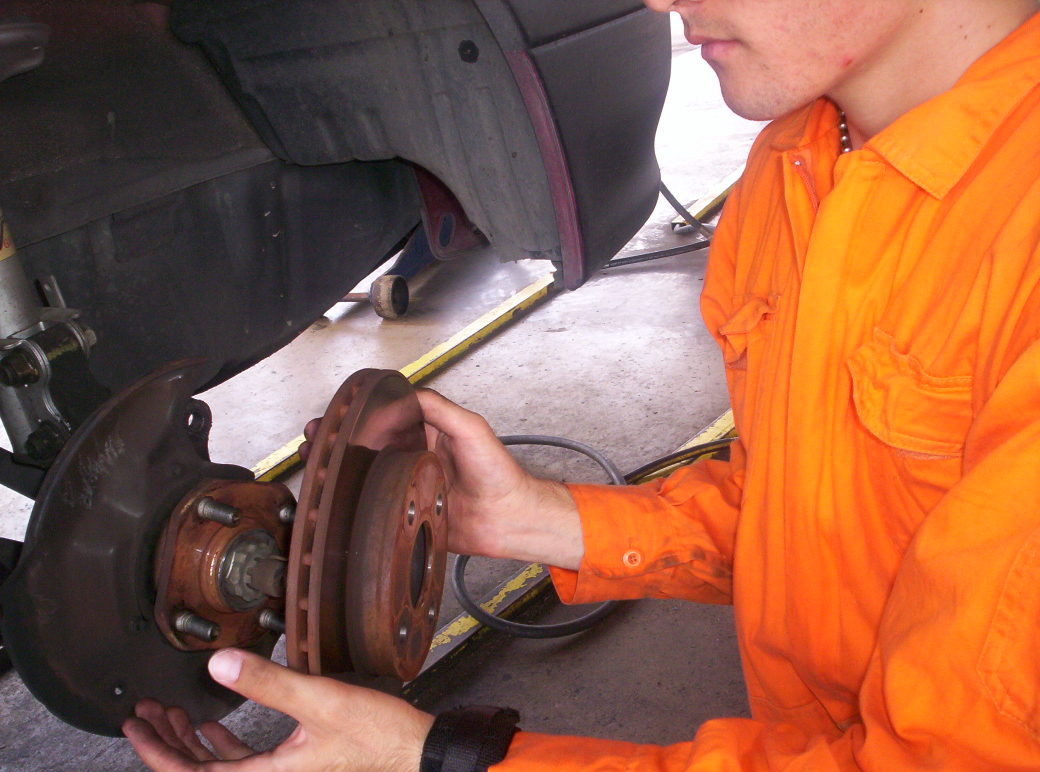
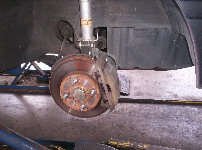
Once you have the caliper out of the way, you can take the lug nuts out of the rotor and remove the rotor from the hub.
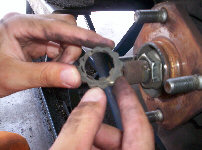
After removing the rotor and setting it in a place where it will not be harmed, take your pair of pliers (large or needlenose, your preference) and bend the cotter pin back into its native straight form.
Once you get it straight, pull or tap it out of its hole in a common sense fashion. It only goes one way.
After you get the cotter pin out you can either set it aside in a place where it wont get lost, or you can throw it away and get a new one. I would recommend the latter. Its a bad idea to reuse such parts, according to mechanics.
Next take off the "fastener" that holds the axle nut in place. It normally just slides right off. If not, you could use a screwdriver to pry it off. But, if you are going to reuse it, I would suggest being very careful because it is rater fragile and bends easily.
Now take the 30mm socket and put it on your impact wrench and have at the axle nut. If you dont have an impact wrench I'm not sure how you would get this nut off very easily because it spins freely with the axle. Find a way I guess.
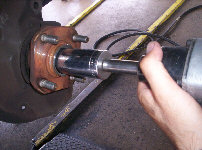
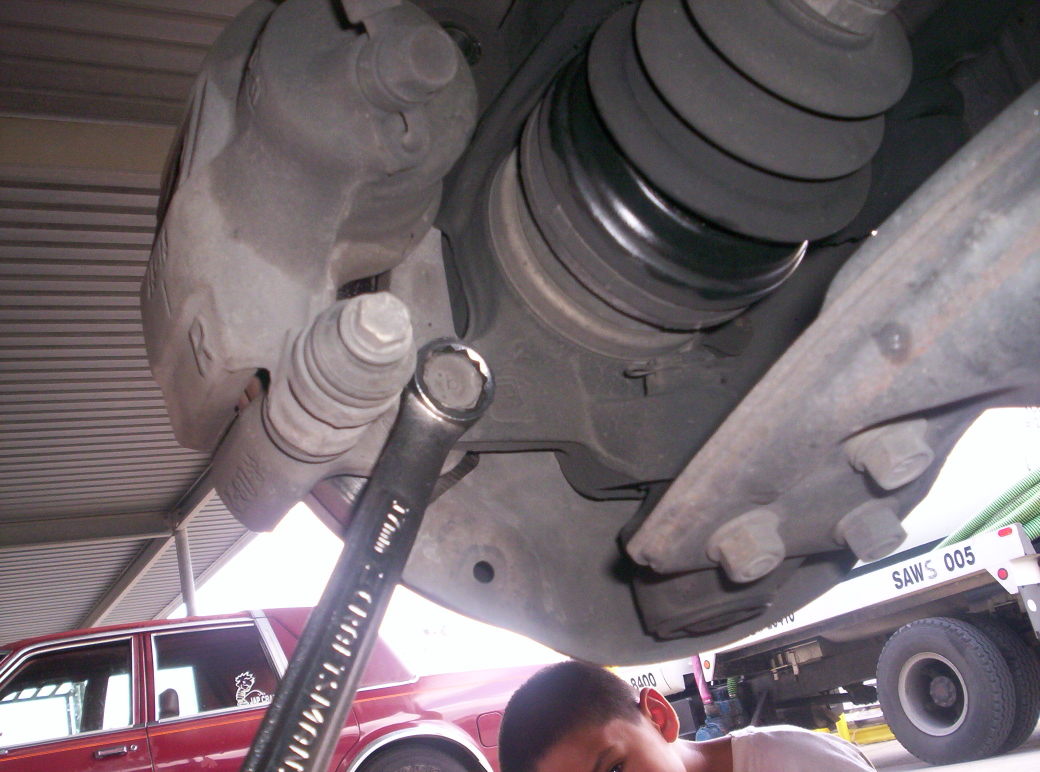
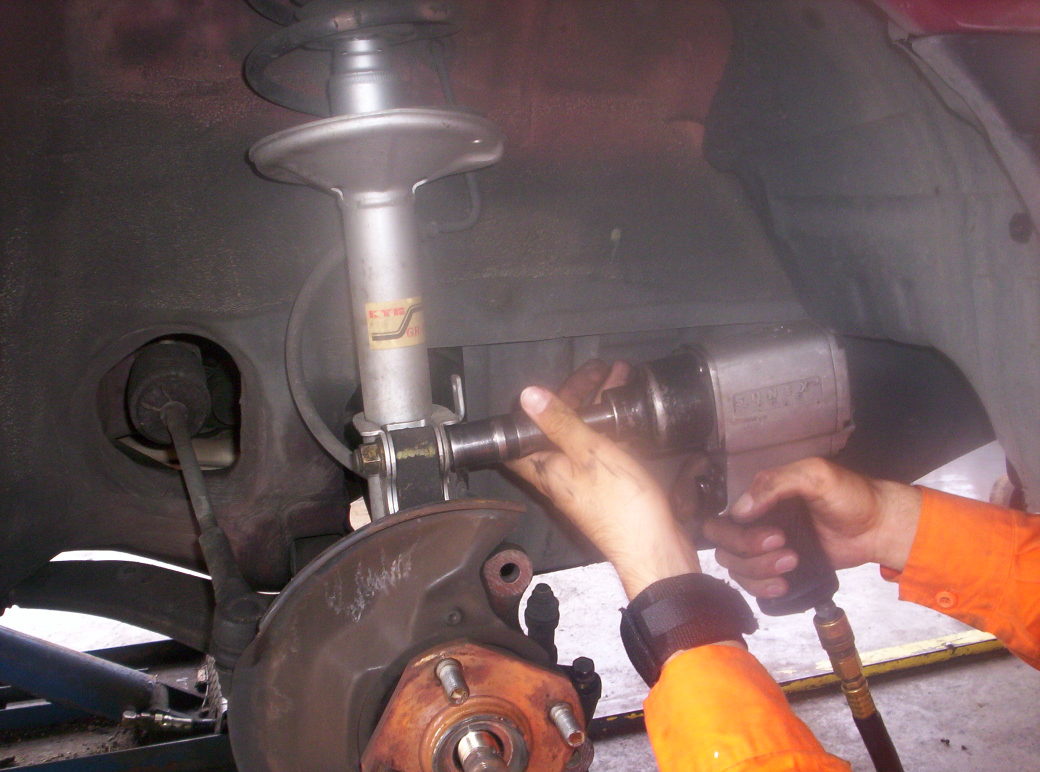
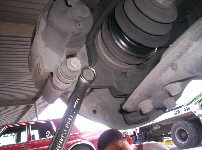
Once you've got the axle nut off, reach for your double sided lug socket for the impact wrench and flip it to the smaller side. Use this socket now to take the two bolts out of the bottom of the strut. It's so much easier with an impact wrench.
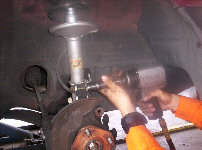
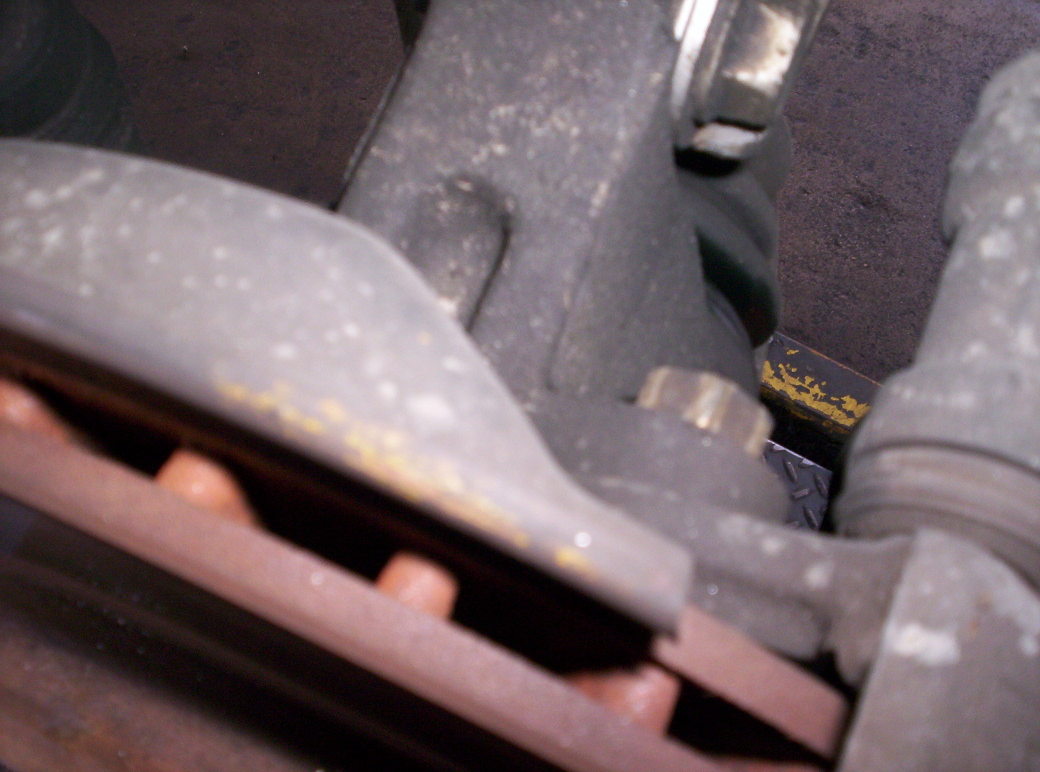
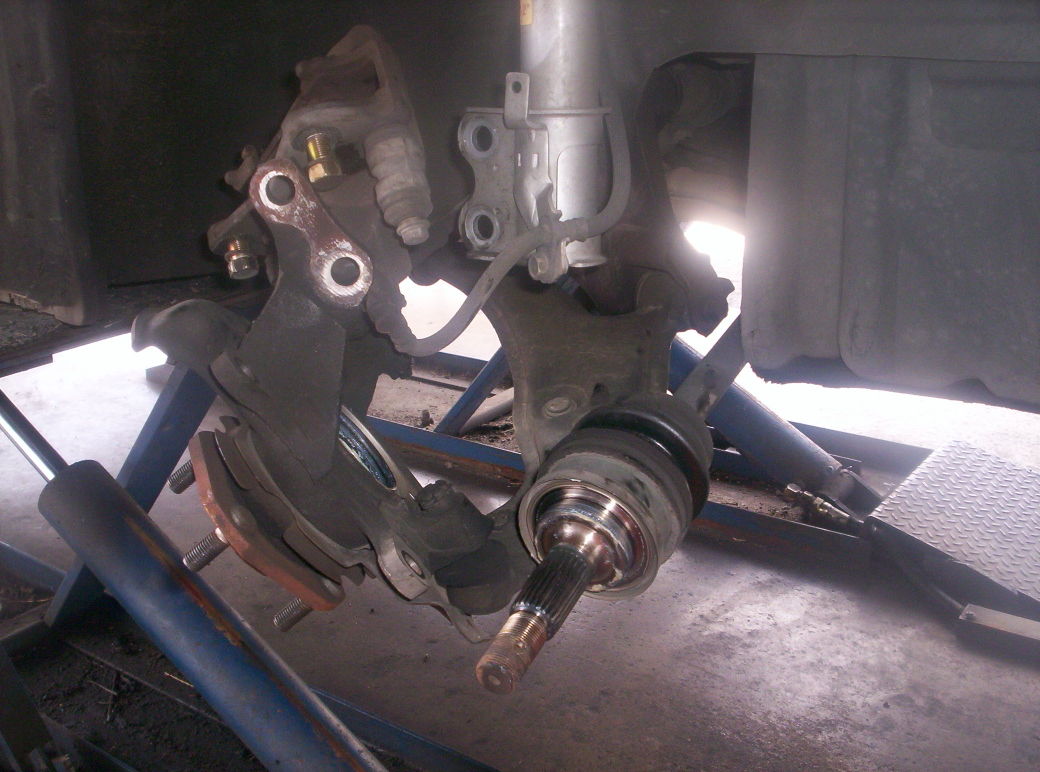
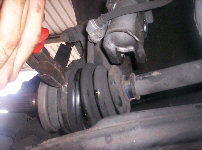
Take the bolts out and set them aside. Now comes part of the fun. Maneuver the hub while pushing the axle toward the tranny in such a way that the end of the axle comes out of the hub. Remember that the CV joint is meant to bed in such ways, so dont worry too much about how you move the axle. Whatever you do though, don't let it fall or hang freely because the side that is in the tranny could get damaged. It should look like this when you are done. I have the axle sitting on something, it is not just hanging freely.
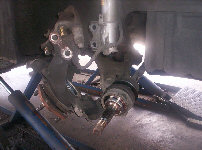
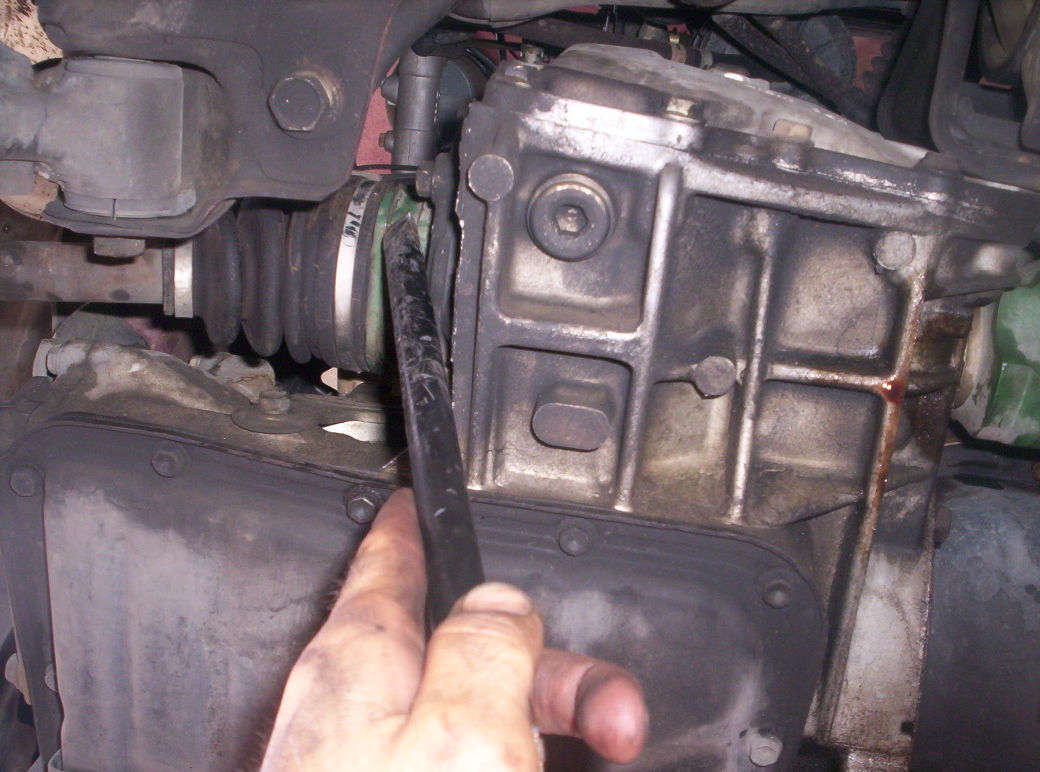
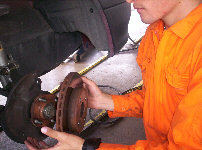
Now, you have to get the axle out of the tranny. This was really easy for me on the passenger side. It just took a little bit of pressure on part of the axle while prying against the tranny casing.
This is a picture of the drivers side. It is so much easier to pry against the passenger side because it is not recessed into the tranny. There is really nothing to get a good pry against on the drivers side.

I cracked the seal, and got out from under that car so that I could slide it out and have the pan to catch the oil in place already. It only leaked about maybe 6 ounces of oil, so dont be worried about a huge spill.
Now, take the axle to the vice and torque it down in the center of the axle with the outer CV joint downward.
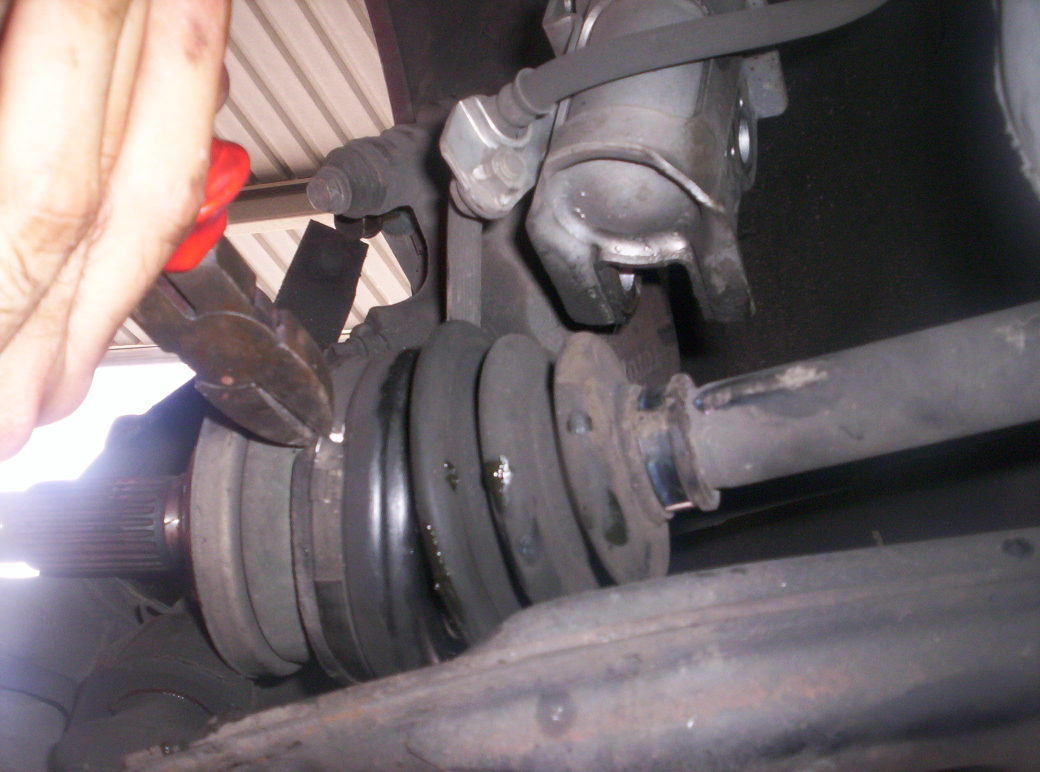
Take those diagonal cutters I mentioned earlier, and use them to cut off the metal bands that hold the boot on.
Next, take your hammer (or drift and hammer) and tap the CV joint around the outside in a downward fashion so as to get the joint off. It is built very similarly to the splines that make the axle fit into the hub. So what you are actualy doing is almost exactly like tapping the hub off the axle.
Sorry, no pictures of this one. What I did was cut the boot down the middle to get it off BEFORE tapping the CV joint off, because I didnt know that I had to take the joint off. Thanks to the mechanics of the autocraft shop on post I figured it out eventually.
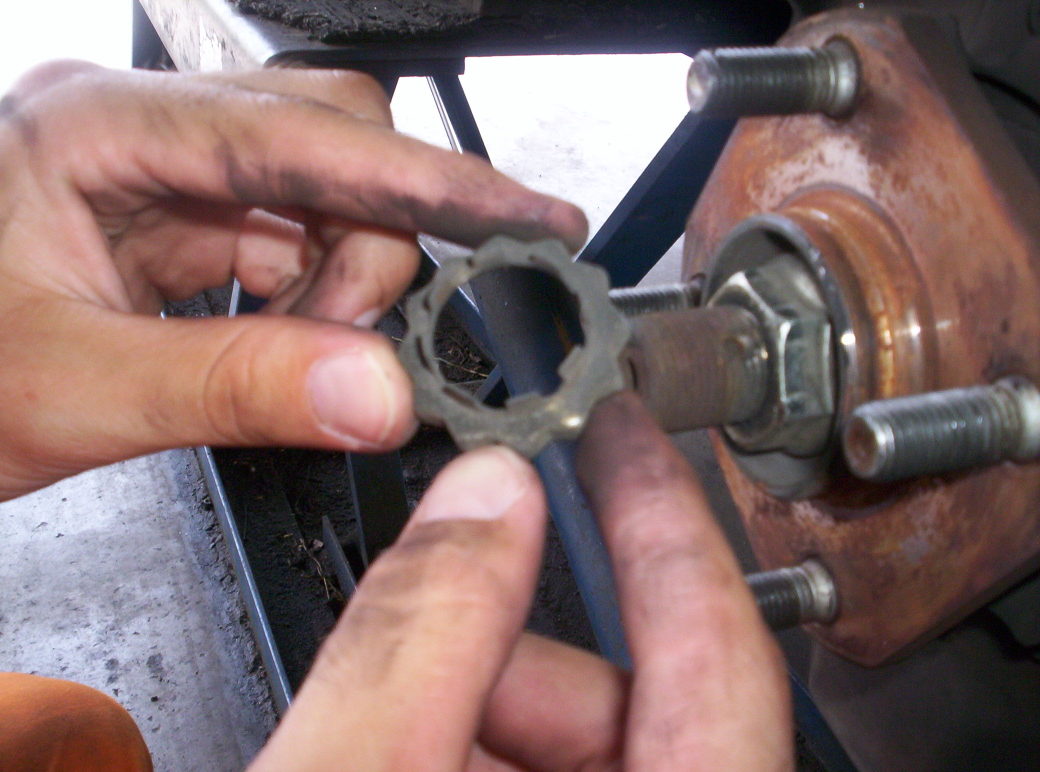
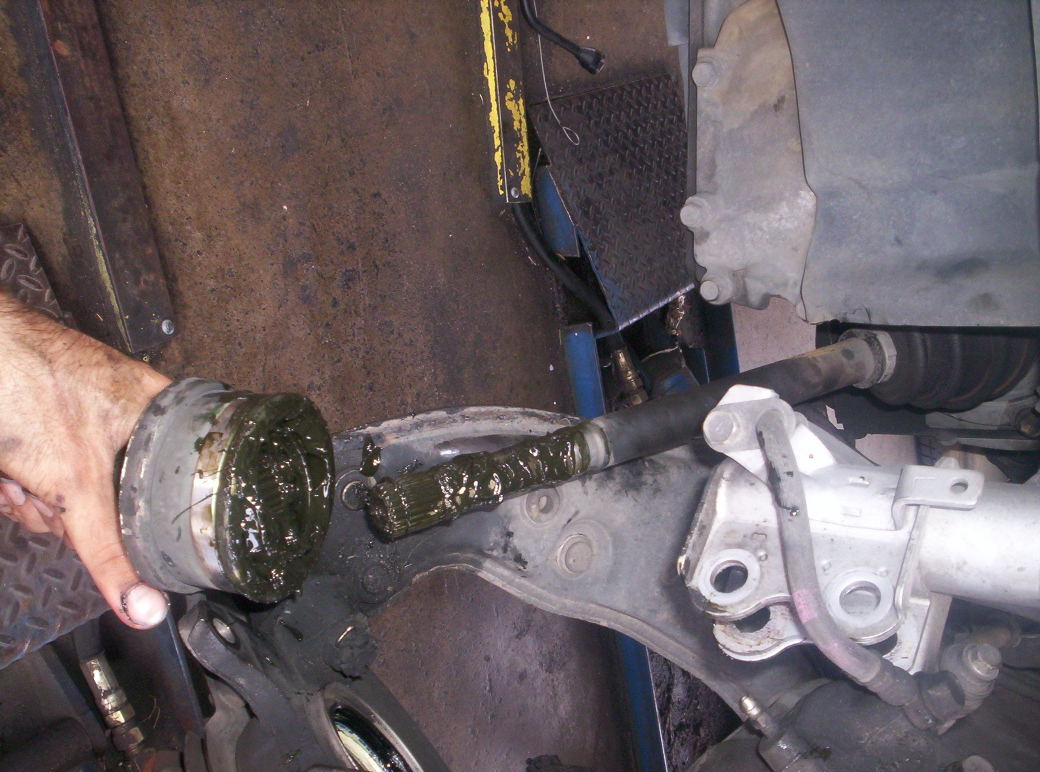
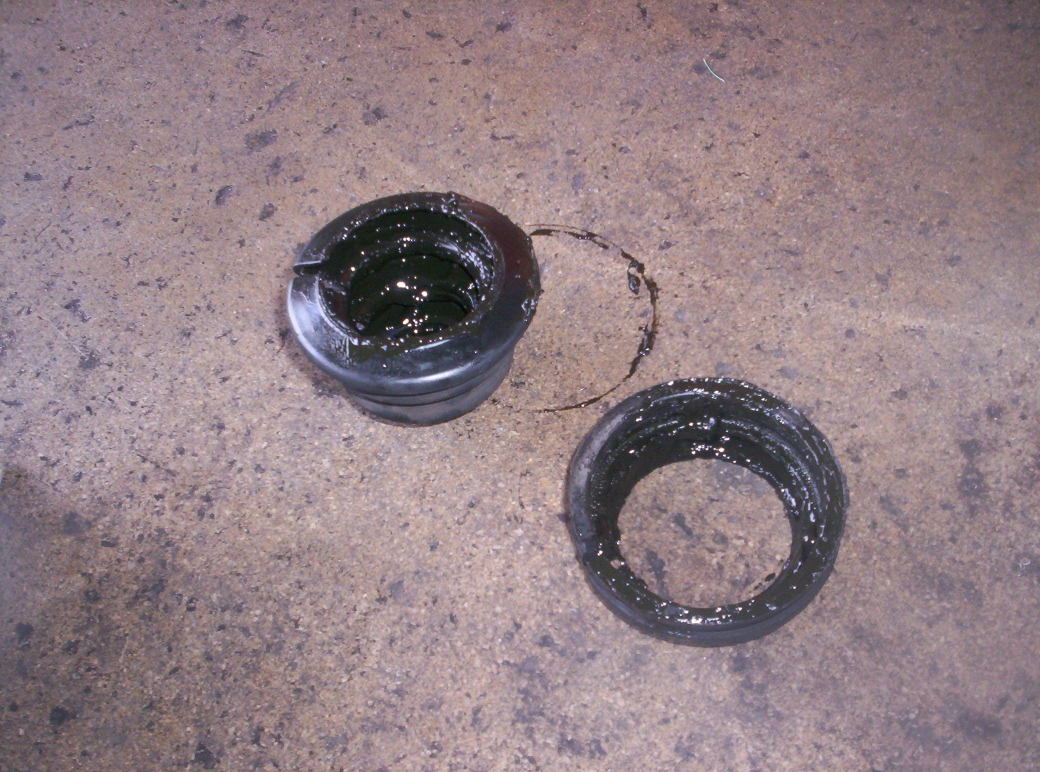
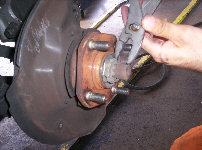
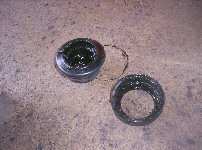
Heres what it looks like when the joint comes off, and without the boot. Pay special attention to what it looks like to make it easier to get off when you do it

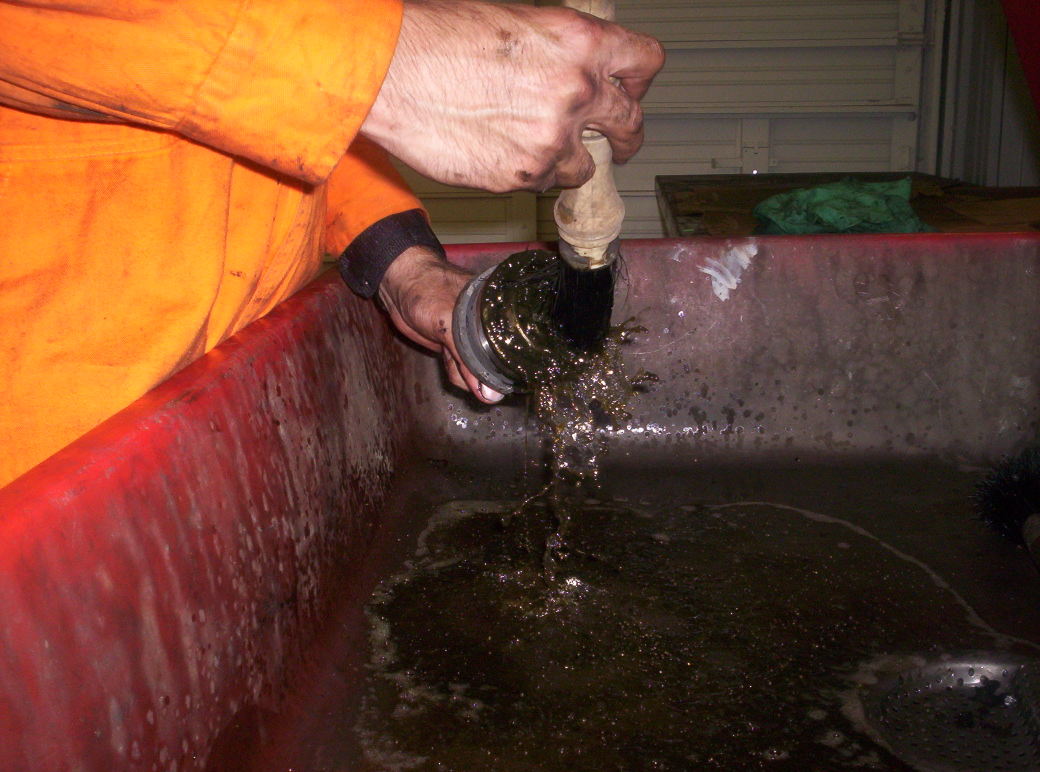
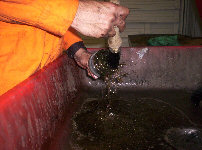
After you get the joint off, take it over to the solvent solution tank and clean it good. Make sure that you get ALL that dirt and old grease out of there because the slightest bit could cause your joint to fail, and you would have to replace it soon.
After you clean the joint, clean the shaft (the part of the axle that goes into the joint) you can do one of 2 things. You can either pack it now, which is what I did. Or you can pack it once you put the boot on.
Just for the hell of it, heres a picture of the torn boot. It is in 2 pieces.
Take your new boot, and make sure that you remove any dirt or crap that may have somehow gotten into the boot when it was just sitting there. Take the small end, and slide it over the shaft up to the depression that surrounds the shaft. Heres the tricky part. Take the small clamp and put it around the small portion of the boot and secure it as tightly as you can. I had absolutely NO IDEA what I was doing when I did this, so it took me about 20 mins for each of the 2. Your milage may vary on exactly how to secure them, so I wont include that part. But, it was a pain.
After securing the small part, tap the CV joint back onto the shaft using your brass hammer (or drift combination). DO NOT TAP ON THE SOFT PARTS OF THE JOINT!!!!!!! You can seriously damage the joint if you tap it too hard in the wrong spots. There is a solid ring around the spline portion of the joint that you can tap on, or you can CAREFULLY tap on the threaded portion of the joint. I wouldn't recommend the latter because the mechanic told me not to. Maybe its because it could compromise the integrity of the threads, but I'm not sure.
Once you've got the joint all the way on you can commence to packing the joint, or if you have already packed the joint, you can fill the boot with the rest of the grease that came in the packet. Then slide the larger part of the boot over the joint and secure the clamp in place.
Once you've got it sealed, work it out a little bit to make sure that there are no holes or tears or the boot is not too loose or anything like that. This will also help to work the grease into place.
Take the axle out of the vice (maybe you did this already), and put it back in the car. The installation is the reverse of the removal. Be careful when putting everything back together. Make sure that you do not screw anything up. I used thread lock to hold the nuts on the bolts for the struts because I had a problem with them coming loose and rattling.
****NOTE******
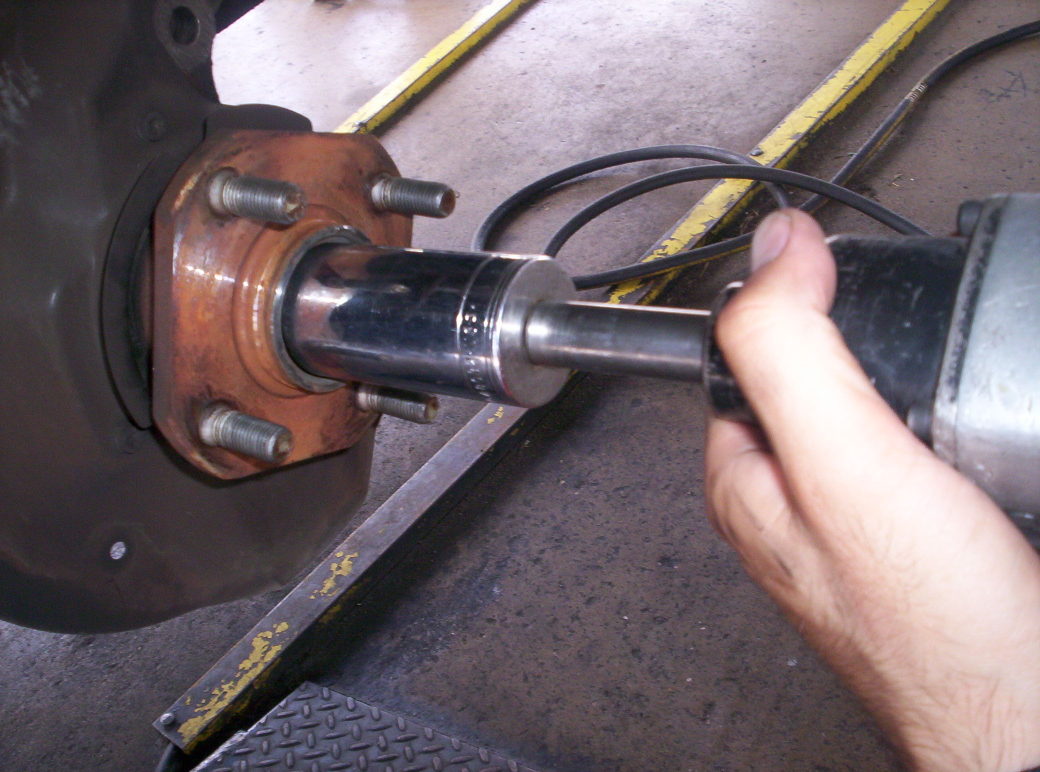
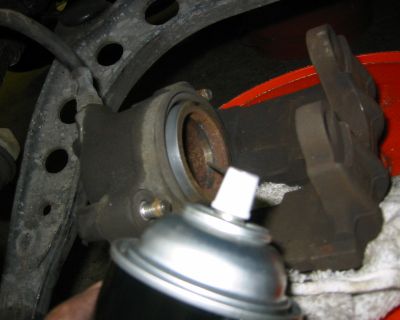
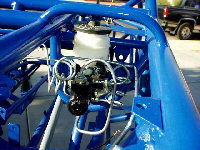
When you are putting the caliper back on the rotor, it may be necessary for you to push the piston back into place. If you dont know what the piston looks like, heres one from someone else.
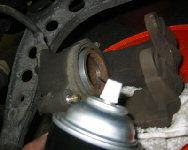
The part where he is spraying the liquid is the piston. if you cannot get the brak caliper back on the rotor because the brake pads are protruding too much, you need to push it back in. To do this, take the cap off the master cylinder. Looks similar to:
After taking off the cap to the master cylinder, take a c-clamp and VERY CAREFULLY/SLOWLY use it to push the piston back into the caliper. You can do some serious damage to the hydraulic components and lines if you try to do it too fast, so be warned. You can also use really large channel locks to do this, but I do not recommend it.
Please take the brake pads out of the bracket before doing this so that you don't break them or something.
Put the brake pads back into the bracket, and put the caliper back onto the hub all nice and snug.
Once you have gotten everything back on, and after you put the cap on the master cylinder (I almost always forget this part), lower the car. If you don't have the e-brake on yet, put it on now. Turn the car on, and pump the brakes a few times. The first time you pump the brakes they will most likely go pretty far down. After a few pumps it should be good to go. If it isn't, you screwed something up. Turn off the car, and look for leaking lines or master cylinder or booster or something like that. You're done now.
notes:
I will NEVER EVER EVER be doing this again. I will from here on out replace the entire axle instead of just the boots. It isn't worth the hassle, and if the boots are torn, very likely you are going to lose the joint soon too, regardless of changed boots.
The drivers side axle was impossible for me to get out without completely messing everything up in the process. I wanted to blow the car up while I was trying from lack of patience. I ended up just changing the boot while the axle was still attached to the car. It was a pain in the glute, still, but I didn't have to take the entire axle out to do it. I just tapped off the cv joint and took it to the solvent station, and used a rag to clean the shaft. When I had to put the joint back on I had to be EXTREMELY careful while tapping it so as not to put impact into the tranny, or the other joints of the axle. It took longer this way, and I ended up breaking the pin that holds the joint onto the axle. I would not recommend this to anyone, but im sure someone will try it. Make your own decision.
It took me a total of 3 1/2 hours to do this and an oil change. It would have been a lot faster had I been able to get that drivers side axle off. I struggled with it for about 1 1/2 hours before deciding to keep it in.
BACK