BACK
Fuel Tank Replacement
Written by: Terseoman
STEP 1
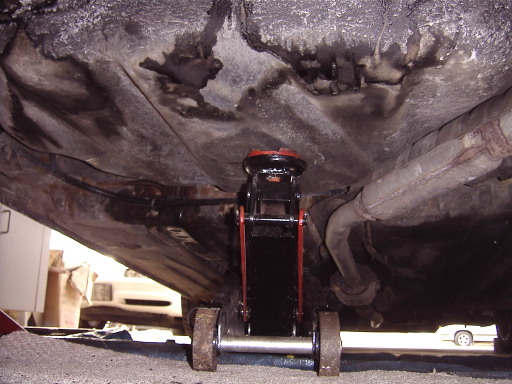
Jack that car up as high as you can get it…Truck axle stands do the trick perfectly.
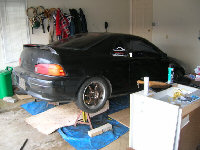
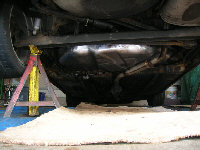
STEP 2
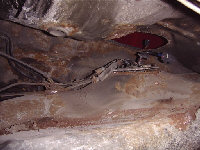
Place a hydraulic jack under the existing gas tank while it’s still bolted in. This allows you to raise and lower the tank at a controlled rate rather than having it drop on your noggin.
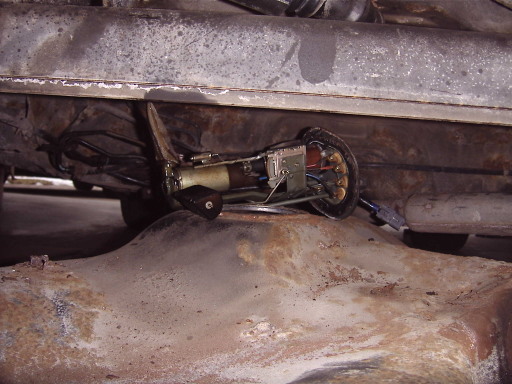
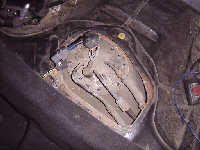
STEP 3
Start by unscrewing the black plastic cover (not in picture). Then start unscrewing all of the sending unit screws. There are 8 of them and require a star screw driver or a 7mm socket. For now, just unscrew the screws and don’t worry about pulling it out yet.
STEP 4
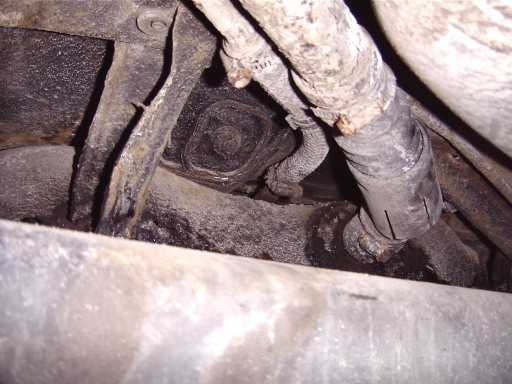
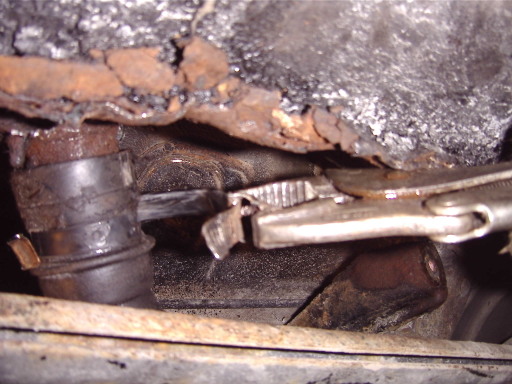
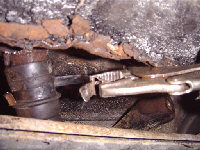
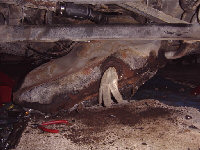
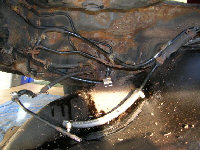
Disconnect the fill pipe and the fume pipe. Notice in the second picture, there literally is no fume pipe, it’s rusted away.

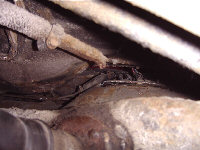
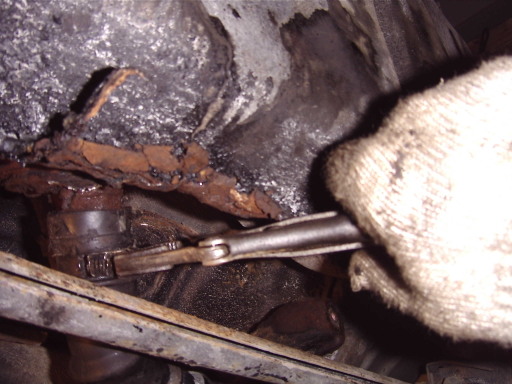
Some of the hose clamps holding it may be rusted through as mine were. So I went to town on them with vice grips. The following pictures show how I got them off..
Just remember to keep moving your hand back and forth and it will eventually break free.

STEP 5
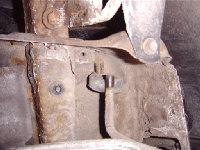
Now you can unbolt the actual tank from the undercarriage of the car. There are 4 bolts which can easily be spotted. At this point, watch out not to reef on the ratchet as you may shear off the bolt. Go nice and slow allowing the bolt to cool down after every turn. If its too rusted its gaurenteed that you will be shearing it.
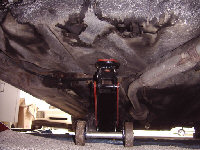
STEP 6
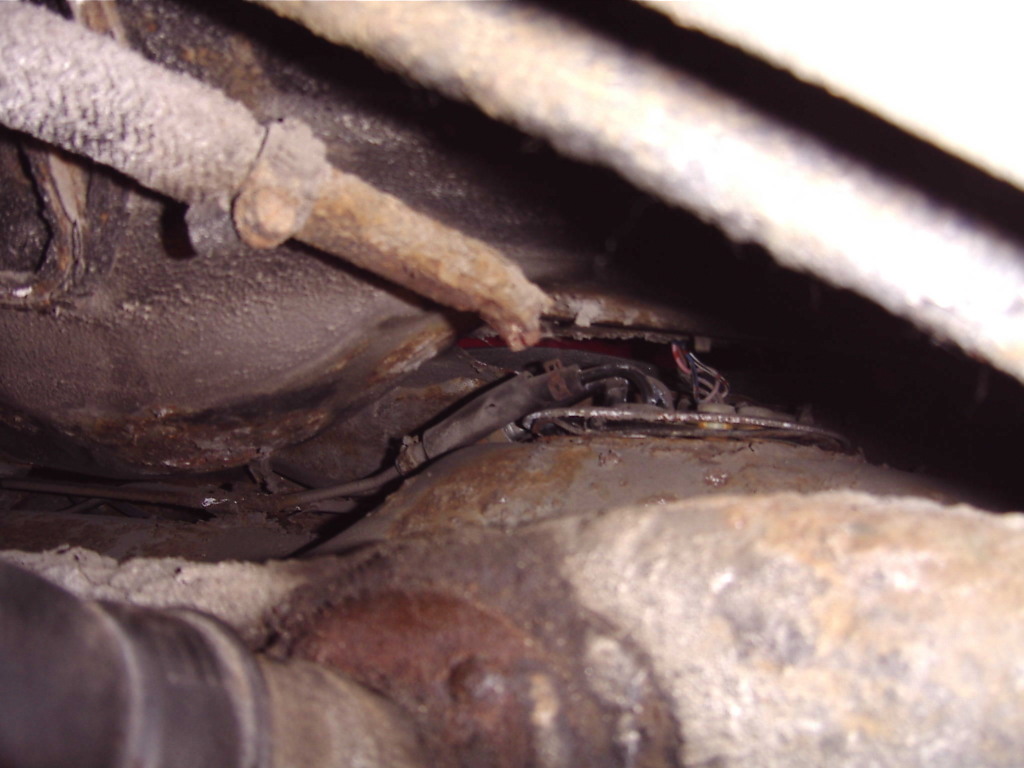
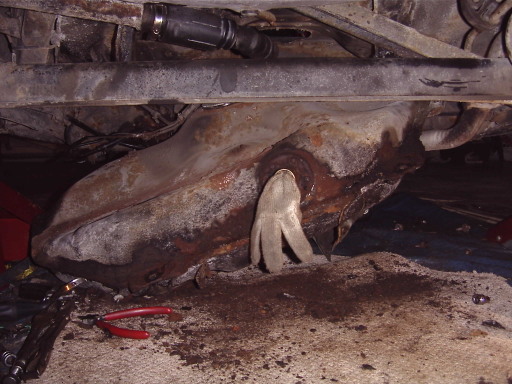
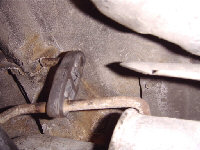
Using the hydraulic jack, you can start to lower the tank SLOWLY. Notice in the picture the tank rests on top of the exhaust pipe. You need to unscrew the heat shield on the actual tank AND take the muffler off the rubber hangers. This will give you the clearance you need to lift that part of the tank up and over the pipe.
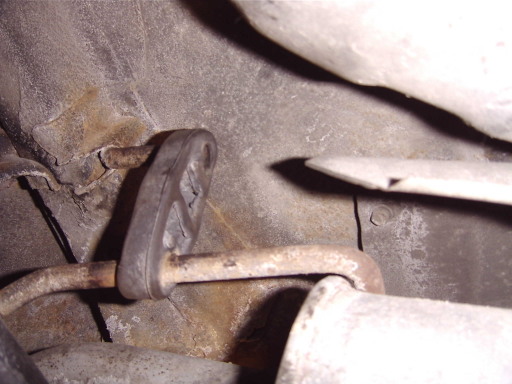
These are the 2 rubber hangers for the muffler.
STEP 7
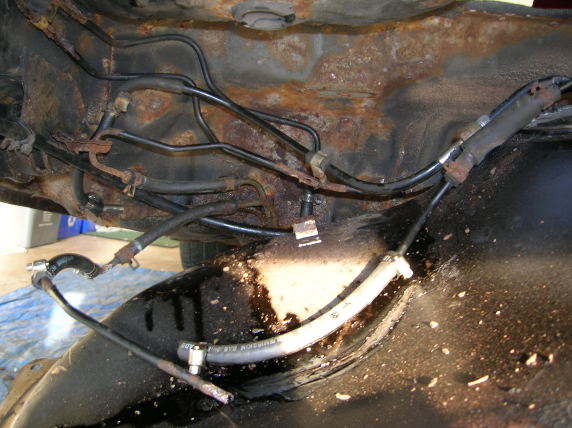
Ok, the exhaust is lowered, heat shield is gone, and you started to lift the tank over the pipe. WATCH OUT! Depending on the state and year of your car, chances are that those fuel lines are rusted. When you lower it, those lines may bend and break. There is really no way around it, if they’re rusted, they WILL break or crack. Either way you will have to replace them. Not only should you watch out for the fuel lines, but your rear brake lines are in the same vicinity, so watch out for them too.
STEP 8
Carefully, and I mean CAREFULLY remove the sending unit by sliding it up and out of the tank. You will have to kind of twist and turn it out since it is an awkward shape.

STEP 9
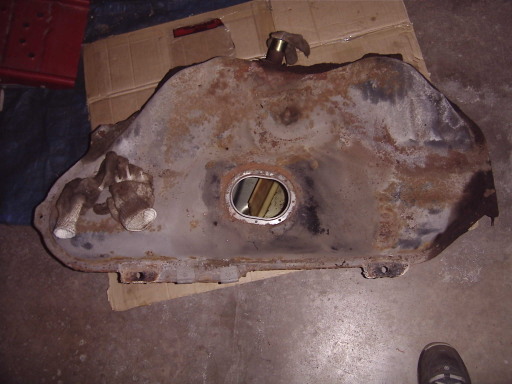
Your tank should now be free. Pull it out, and inspect the area of the undercarriage above the tank. There will be a bit of rust. Spray some tar in there. But, make sure you cover up the hole to the sending unit, unless you want a black interior.
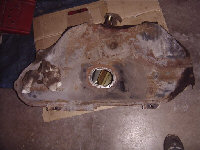
THE OLD TANK
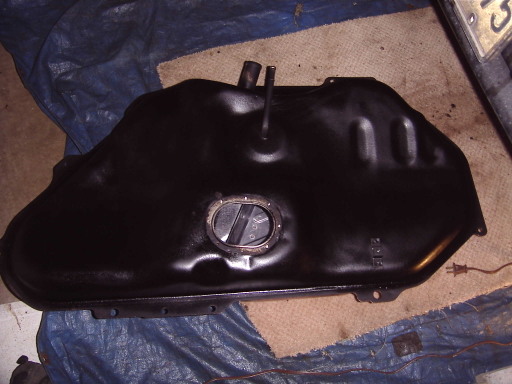
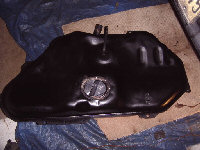
THE NEW TANK
NOTE: The new tank comes unprotected, meaning, there is no rust protection, just the steel. As you can see in the picture above, I’ve coated it with tar to give it the extra protection against and rust.
That’s it as far as removal goes. Doesn’t seem too hard at all on paper, but when you actually do it it definitely gets worse. The removal of the actual tank was no biggy. It took about 1.5 hours, but when I realized the amount of rust there was on the actual lines I almost wanted to wake up like it was some sort of nightmare. If you have the courage and the knowledge, try it out. Hopefully you have a newer car. For those of you contemplating, I’d take it to a shop. Sure, I would have saved about 4 days in time (had to redo the the fuel AND brakes line), but I didn’t exactly have $600 to pay for all this either.
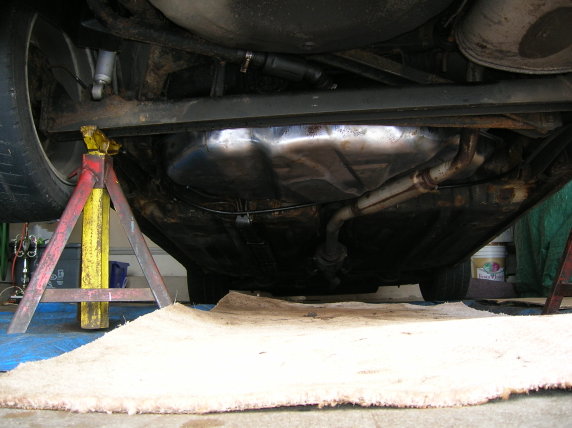
THE FINISHED PRODUCT
Just make sure you spary the bottom of the tank with tar as well.
PRICES:
I actually went to my local shop and they quoted me around $600 for the tank and lines.
Brand new tank – $130 (regular $220) (got a good discount)
Fuel Lines (rubber and steel) and the couplings – 30$
Brake Lines and all the couplings – $50
All together…………….4 Days……………$210.
Not too shabby?
Enjoy!
BACK