BACK
Heater Core Replacement
Written by: OPMNYC
AlrIight folks, when I first wrote this I should have taken photos, but I was painting the interior so I thought I'd take some flicks. Not all was taken but I took what I could rememeber. I hope this help.
I used a Haynes Manual as reference. Book # 92085 / ISBN 1 56392 106 5. Please excuse if I don't use correct terms. I'm trying to explain as easiest as possible.
My car is a 1991-1994 automatic, has A/C and no airbags so this information is based on that. Heater core was from Dealer. The reason for changing the core was when the heater was on the vents emitted antifreeze.
DISCLAIMER: THIS POST IS MINE SOLEY AND NO ONE ELSES, I "OPMNYC" NOR DO THIS WEBSITE HOLD ANY REPSONIBLITY OF ANY ACTION(S) TAKEN FROM THIS WRITE UP. SAFETY IS ALWAYS FIRST!!!
So lets begin. Have the refridgerent discharged from car by a certified technician or someone with experience and equipment. When your back at home leave the front wheels straight before starting job.
DISCONNECT THE BATTERY.
Engage the emergency brake and use wheel stoppers. If you have an automatic use the shifter override and pull the shifter all the way back.
Remove the face plate of radio console (its clipped on), and disconnect the rear defroster button. Remove the whole stereo console which is 4 bolts. Pull the unit out and disconnect lighter as well as all removeable plugs. NOTE: if you have to label wires, do so. I did. My car has a system so I'm not gonna go into the removal. My setup and your setup are different. Any RCA's or exposed wires from removing stereo you should tape up (electrical tape of course). Also release plugs mounted (possibly bolted on for grounding purposes) to the metal frame. NOTE: you can place bolts back in their holes as a reminder when reinstalling.
Remove the glove box and the panel under the steering column. Release the hood before removing the panel under the steering wheel. NOTE: Some bolts are covered by caps. The panel under the steering column has a clip attached and a little tug may be needed (located on the left side, where it meets door.) The glove box is in one piece it's not seperate from panel surrounding it. The book says the panel under steering wheel has two screws for the hood release cable removal, my car didn't. I had a clip on mine but couldn't get it off. I actually did the whole job with panel held by cable. Hence releasing the hood at the begining of this step.
Remove the center console and emergency brake cover. The emergency brake cover needs to come out before center console.
Pull the knobs off of climate control. Remove the face plate of climate control (just pull out). Be careful not too pull too hard. You have to pull out a/c button as well.
Remove the steering column cover and steering wheel. There's a screw underneath the column. Remove both the horn portion and screw that holds in wire. Remove the steering wheel backplate held in by 4 screws, and one big nut that hold the wheel in place. Remember the wheel was left straight before starting job so reinstalling wheel will be easy. Remove the screws and nut. The wheel might not come off easy so wiggle it a bit while pulling out.
Remove the signal and wiper component that's attached by three screws. Pull it out past the mount and let it just hang there.
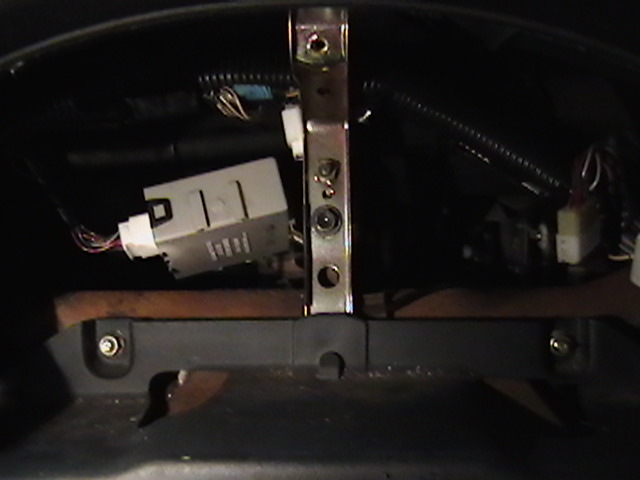
Now, with underside of dash exposed, underneath the steering column, unscrew the cabin fuse box and remove the vent that runs under column which is held by a screw on the left side. Also, unplug any plugs mounted to metal.
Back to the climate control. Follow the control cables. There are 3 cables. One goes to the left side of the vent box and one goes under the vent box. The third goes the left side of heater blower (the white unit all the way to the right under dash.) To remove the cables move the climate control switch ot extend cable you're working with so you can pull it off the mounting point and take cable off the clip. With the face plate removed it'll expose 3 screws, remove them. The trick with the removal is the the right side gets pushed back sliding the left side behind dash. NOTE: If you want to label your cables now is the time.
Remove the bezel where the cluster dimmer and hazard switch are. Undo the 2 screws at the top, and pull out around switches. They're held in by clips. Remove it enough to get your hand behind the switch to unplug the connecter on both sides.
Remove the instrument cluster by undoing the 3 screws and/or bolts. When done, reach under the dash on the right side of column and feel for speed cable that's attached to cluster. Feel for a notch on the plastic end of the cable where it meets the cluster and press and pull out. Now, that gives you some space to remove the 2 clips attached to cluster. To take the cluster out, pull the bottom out first.
Remove the clock from dash. Just lift and pull it out. Then unplug connector.
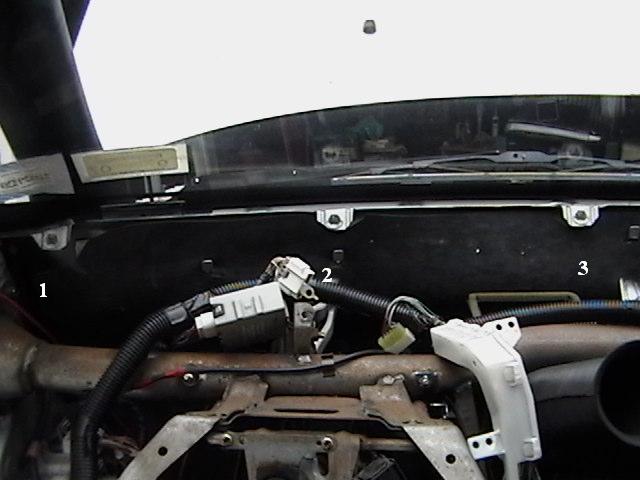
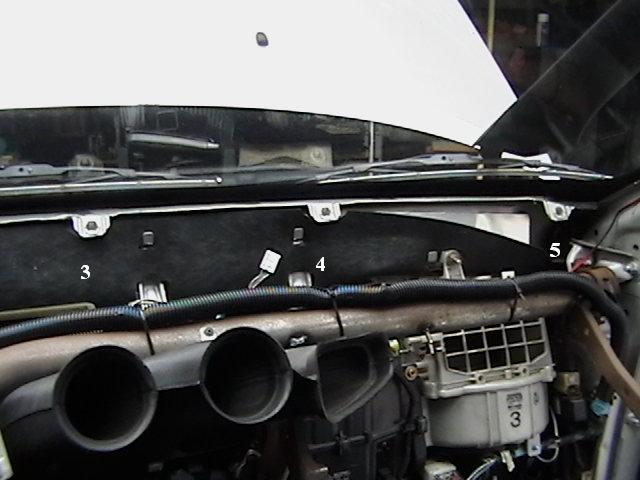
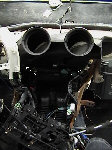
Now here comes the fun part. The dash board removal. Remove the a pillar pannels. They attach to the dash. They're held in by clips, so just pull them off. If memory serves me right, the only thing holding in the dash are 2 nuts and 1 bolt that are behind cluster. Remove those and check all around under dash to see if there are any wires clipped onto the dash. Unclip all mounting clips. Using needle nose pliers helps alot to release clips. If there are plugs that are bolted to dash behiind cluster unbolt them. I can't say mine will be the same being I had an engine swapped. After all that said is done, lift the dash a bit and pull it out. The dash is held in be 5 clips in the back. Do this with care for the simple fact you don't want to pull anything important out. If you feel a slight restriction, stop what your doing and check to see what is caught. This too needs a little tug to remove.


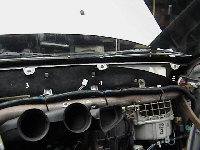
Now that you car is naked inside, go outside in the engine compartment. Drain the radiator out. Some radiators have drain plugs, and some you have to remove a hose. I have a drain plug, yours might be different. check specs of your radiator.
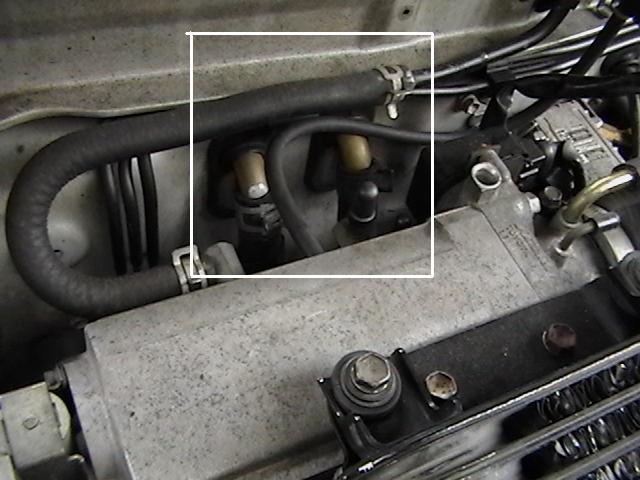
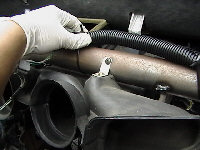
Undo the hoses connected to your heater core. There may be little antifreeze in the hose, so a little may spill. Remove what the book called "grommet" the rubber piece surrounding heater core link.
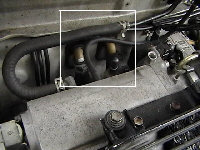
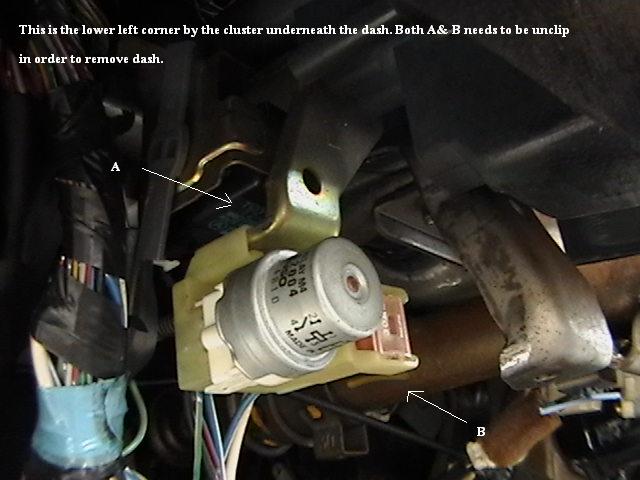
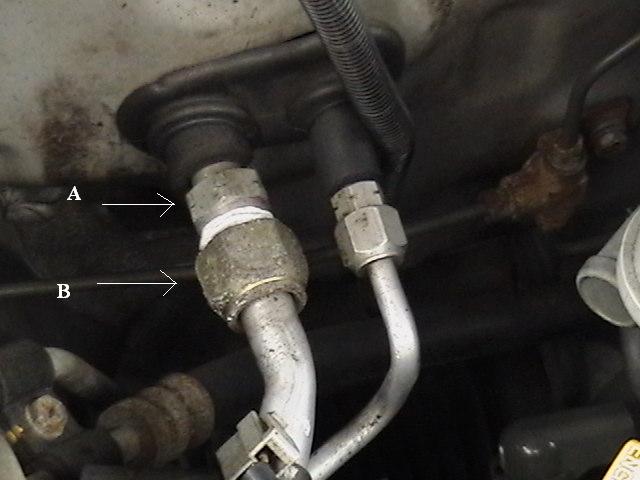
Now for your A/C. There are 2 pipes (refridgerant lines) going into passenger side firewall. You'll need 2 wrenches for this use. Use one wrench to hold the bolt closest to the fire wall (labeled A) steady, and use other wrench to loosen connection (labeled B). Stand at the side of the car and pull towards you. Use caution, because you don't want to break any pipes. Do this for both connections, and remove the rubber piece or "grommet".

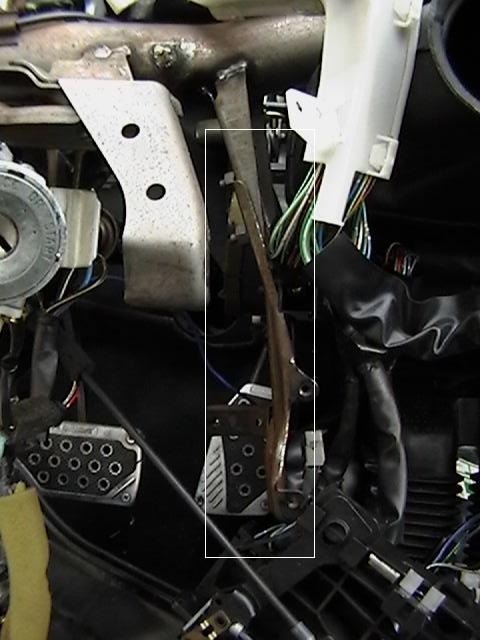
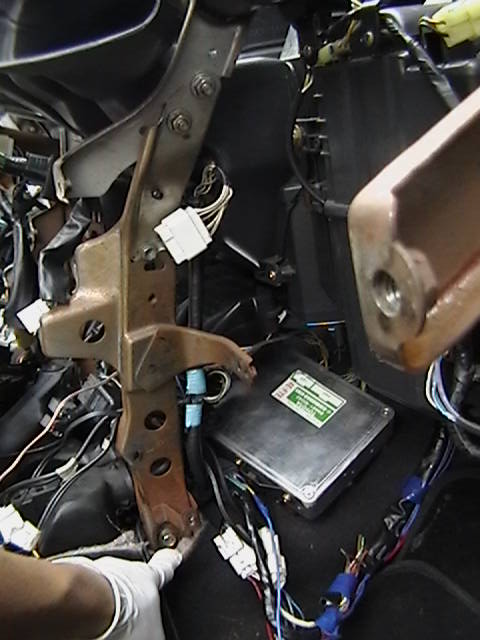
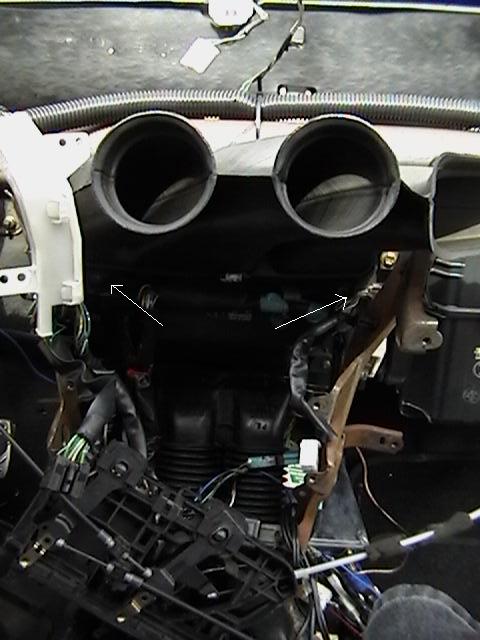
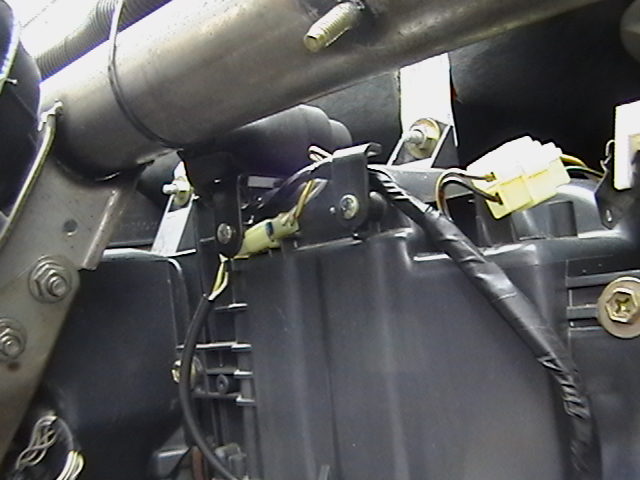
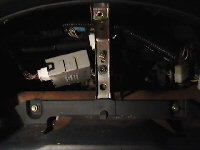
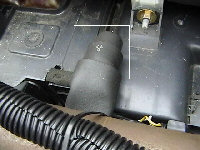
Back into the car now. Remove the 2 metal center braces. Both have 2 nuts at the top mounting points. The left side has 2 bolts at the bottom and the right side has 1 bolt at the bottom. Of course disconnect the plugs.
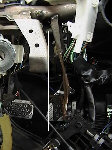
Remove the vent port in front of vent box. It has 3 screws. One is mounted to the reinforcement support and 2 at the lower corners of piece. Also, remove the vent behind the reinforcement support above the vent box. Its held in by 1 screw.
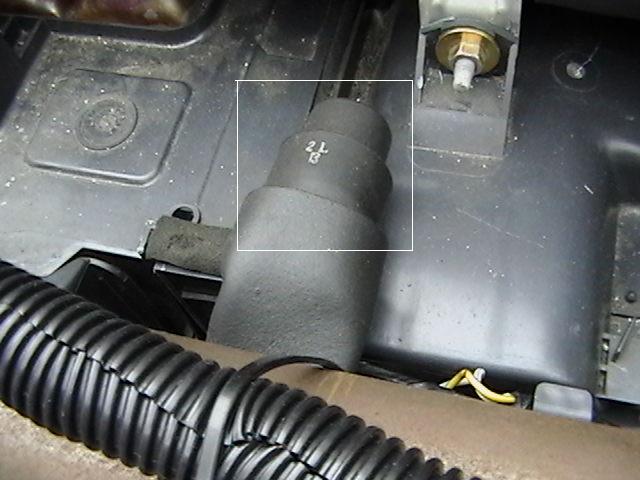
To remove the a/c unit, unplug all connecters and the magnectic clutch relay (the cylindrical unit screwed on by bracket). Unscrew every bolt and nut on the top and bottom holding it in. Pull it out. Notice the drain hose at the bottom, that will come out too. To prevent dirt from entering the unit, cover the connecters inside engine compartment and the a/c unit itself. When you're under the hood, this is your chance to replace o-rings on 2 a/c pipes. Also check the insulation for any wear. If so, now is your chance to replace it.
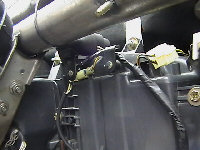
Now removing heater unit, undo all nuts and bolts around unit. Remember that the heater core pipes are hooked. Lift the unit a bit and pull out the top. NOTE: There's still a bit of antifreeze in the core. A little may spill so put something down to catch it.
The heater core is held in by 2 braces, unscrew them. The heater core then will slide out from the top. Here is your chance to clean all the vents out from dust and whatever else. Reinstall the new heater core and reverse all that was said.
Testing your job will take the assembly of the heater unit, a/c , dash, climate control cables, and all plugs except for the radio console. Double check all taped wires before reconnecting battery. Start the car and check/smell for any leaks, and then crank the heat.
If all is good, shut the car off and DISCONNECT THE BATTERY. Now, you can continue reinstallling everything.
BACK