BACK
HKS Actuator Setup and Installation
Written by: Racer5e
Actuator Setup
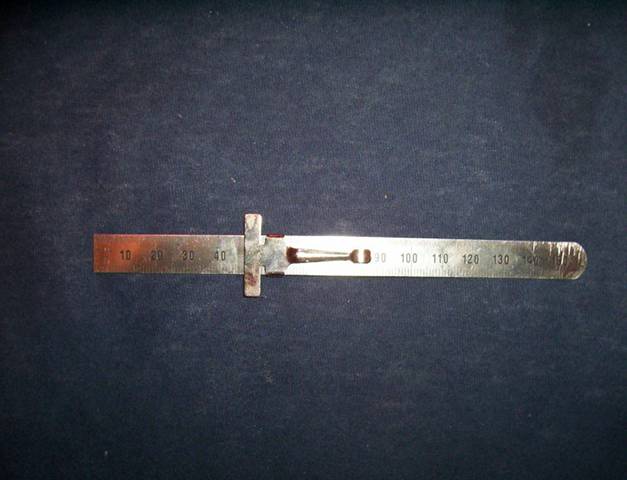
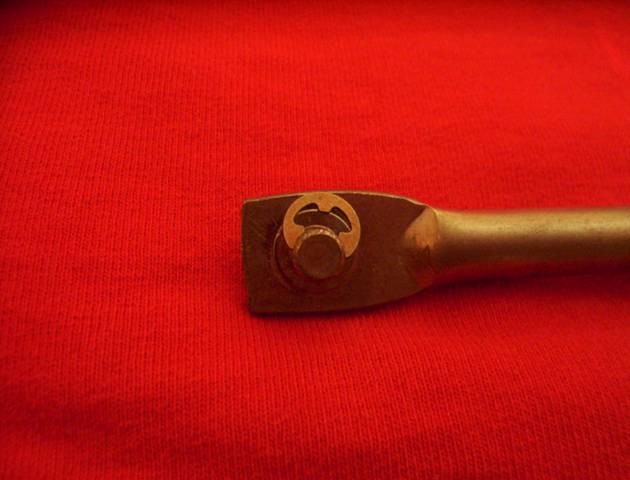
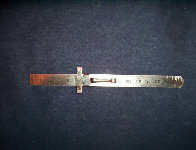
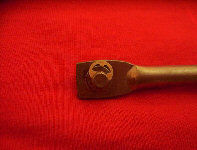
To begin we will setup the actuator for the amount of boost you wish to run. You will need a ruler like this one:
You will need to preset the boost you want. See the chart below:
| Length
| Boost Pressure
|
| 128 mm
| .5 bar
| 7.25 psi
|
| 123 mm
| .8 bar
| 11.6 psi
|
| 121 mm
| 1.0 bar
| 14.5 psi
|
| 119 mm
| 1.2 bar
| 17.4 psi
|
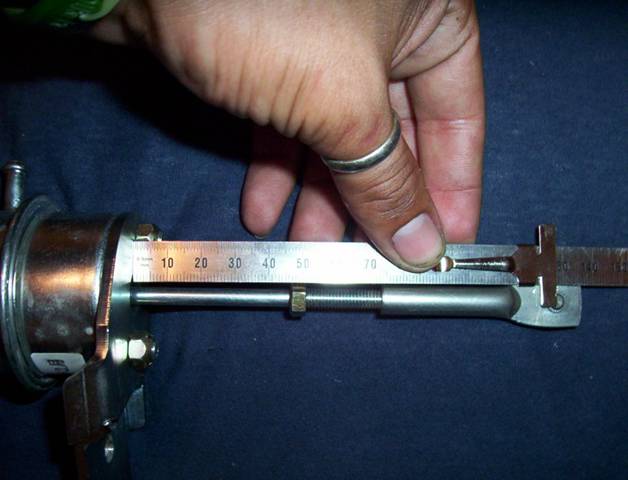
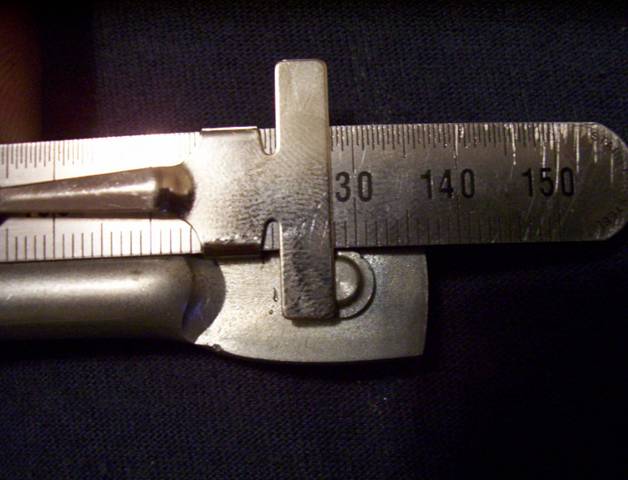
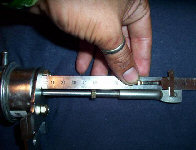
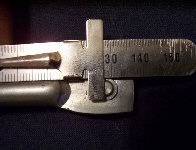
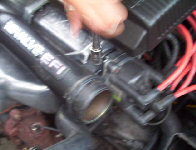
You set the boost by adjusting the sleeve with the ruler set at the length wanted. The length must be measured to the centerline of the pin (shown in picture below). The actuator here is set to 128mm to achieve .5 bar or 7.25 psi. You will set yours to what you want.
Actuator Installation
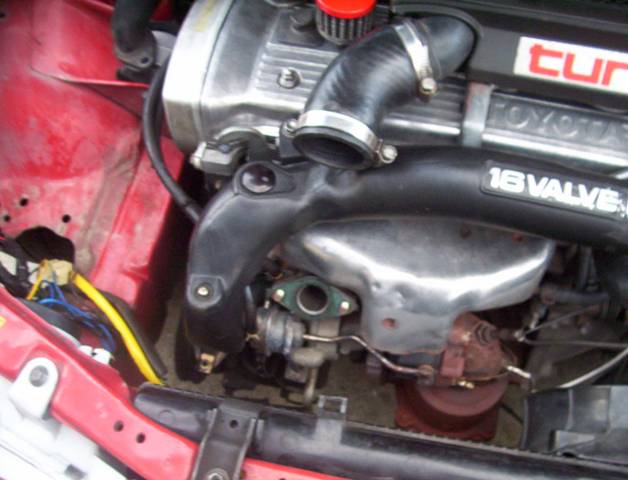
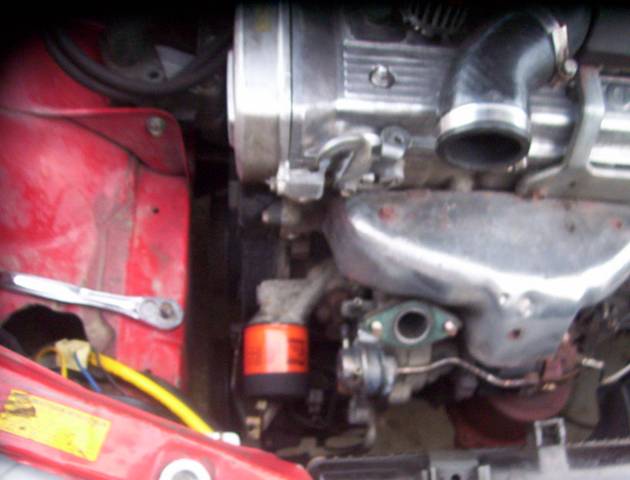
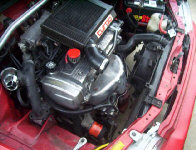
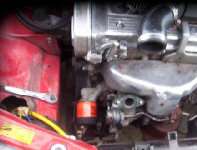
Now that the actuator is setup lets get on with the installation. Remove the intake pipe using a 10mm socket.

Remove the charge pipe. Use a 10mm socket on the intercooler and a 12mm socket on the turbo.
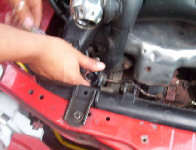
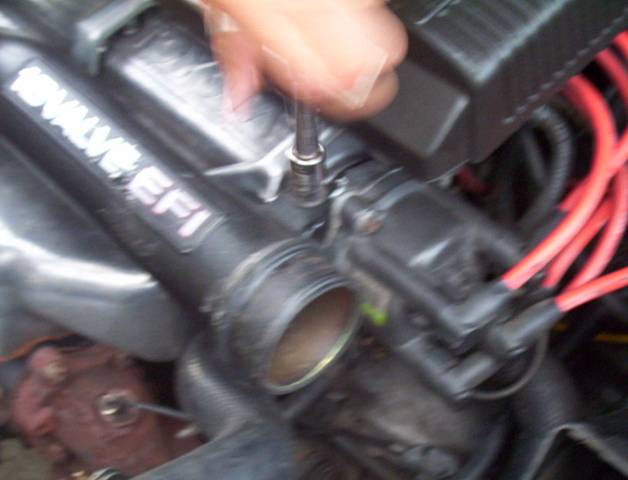
Remove the remaining intake pipe. Use a 12mm socket on the top and a 10mm socket on the turbo.

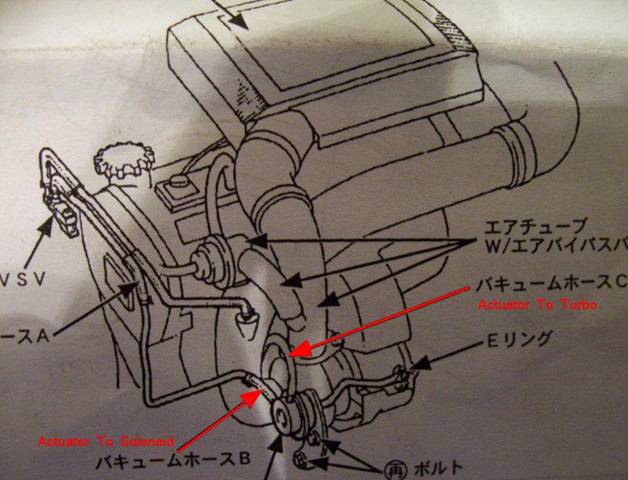
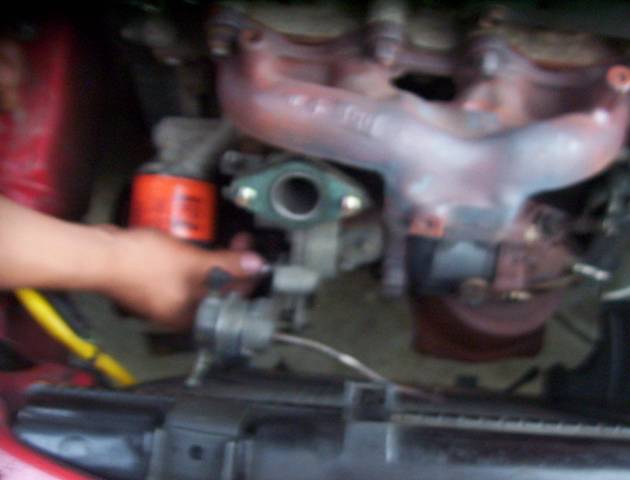
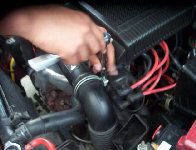
Remove the hose from the actuator to the turbo and the tube from the actuator to the solenoid.
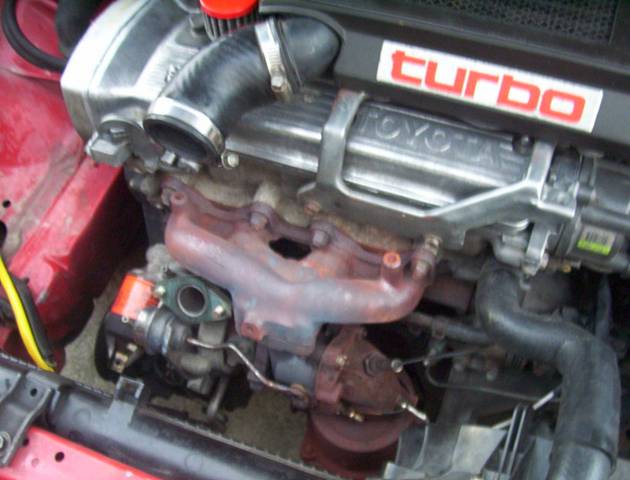
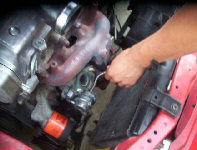
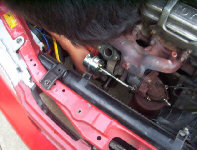
Remove the heat shield for better access.

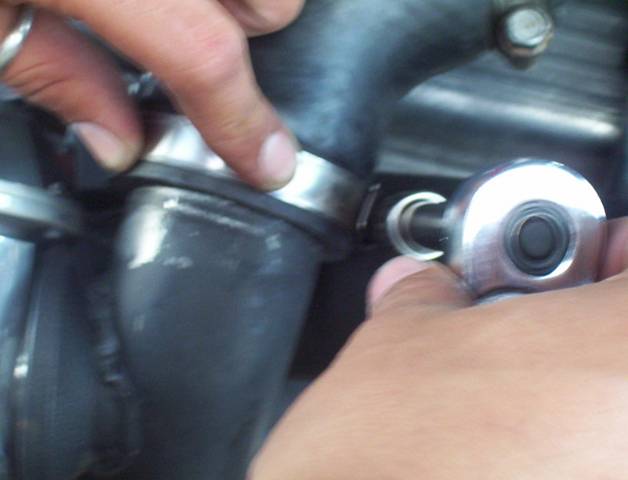
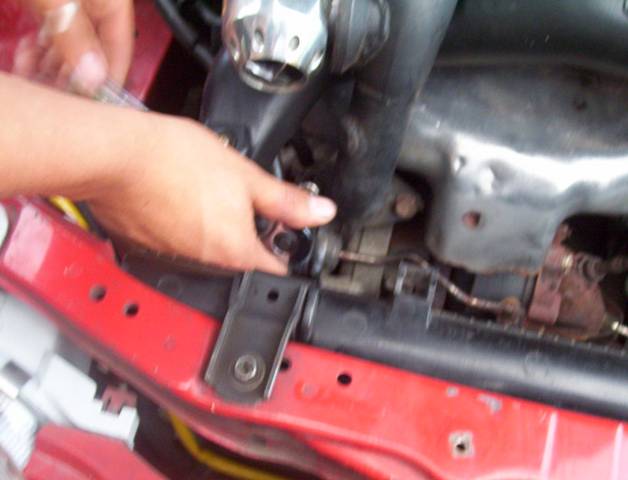
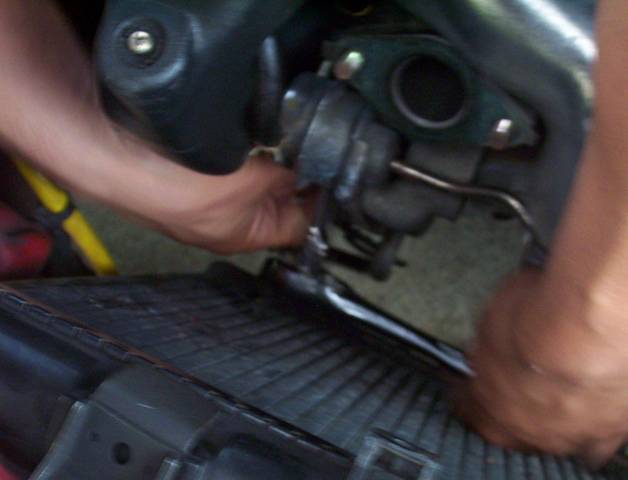
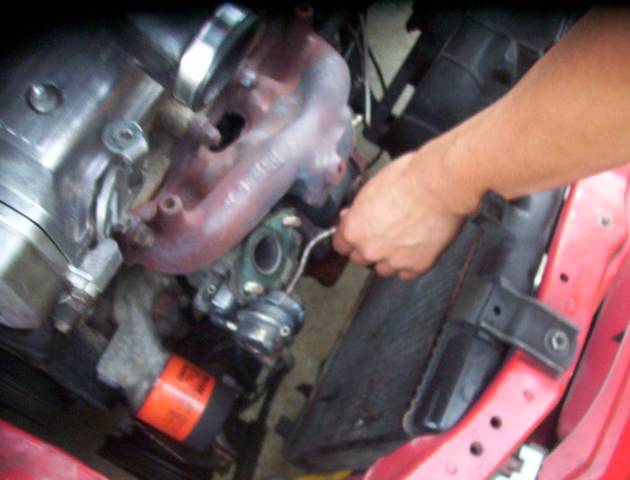
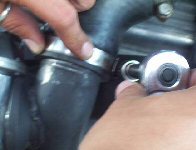
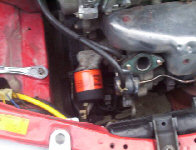
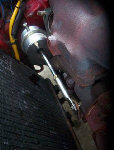
Remove the stock actuator. There is a pin that holds the actuator to the wastegate like this one. Use a 12mm socket to remove the actuator from the turbo.
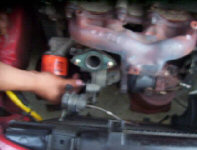
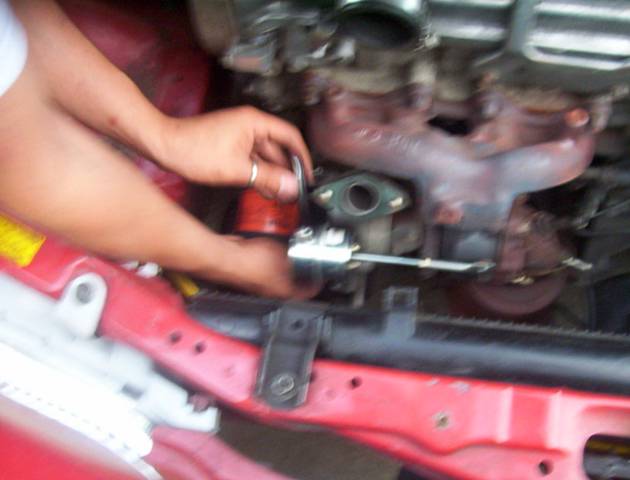
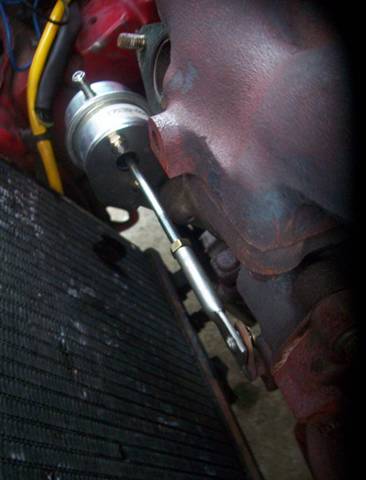
Next, install your already setup HKS actuator. Notice the pin on the wastegate pictured below.
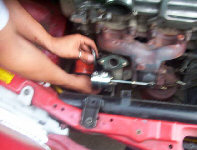
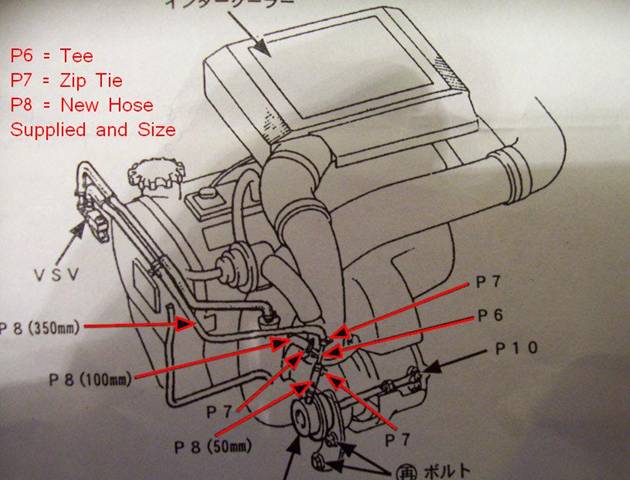
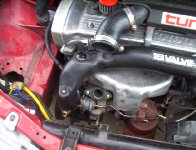
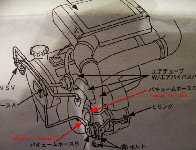
Install your new vaccum lines. See the picture for plumbing details.

Reinstall the heat shield, and all the intake plumbing. Thats it, your done!
BACK