
In this article you will learn how to install an intake manifold insulator. What is an intake manifold thing-a-ma-jigger you ask? Well, if you don't know its probably a good idea to head on over to this site here and do a little reading. That should clear up most questions you have about the item. If you have any additional questions you may email me at daox [@] hotmail d-o-t com. My intake manifold spacers do the exact same thing, and I think may even be made out of a higher quality material.
As for the installation, it is relatively simple. It can be done in a few hours depending on how often you drop your tools through the engine bay. Other than that, it is a very simple install.
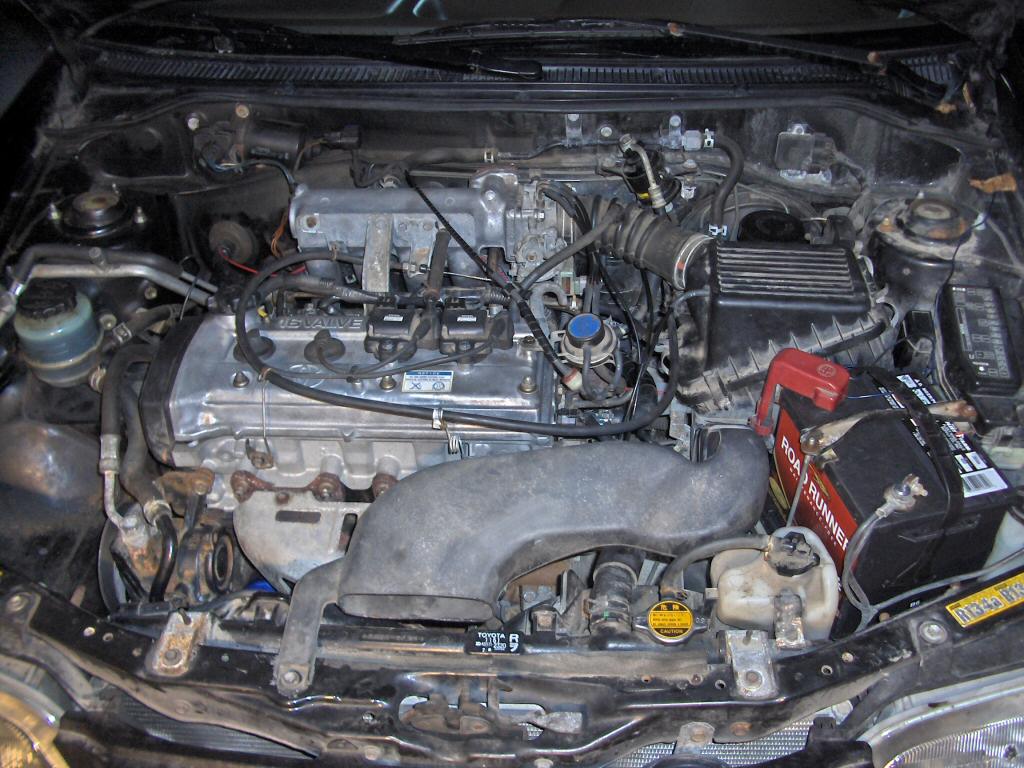
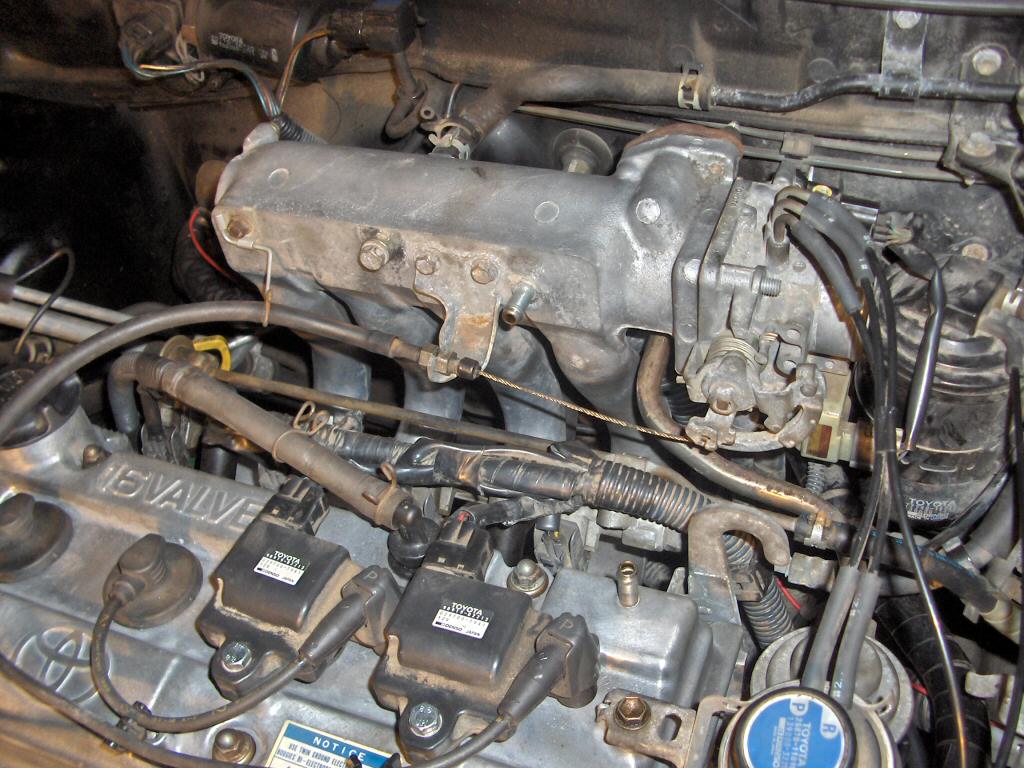
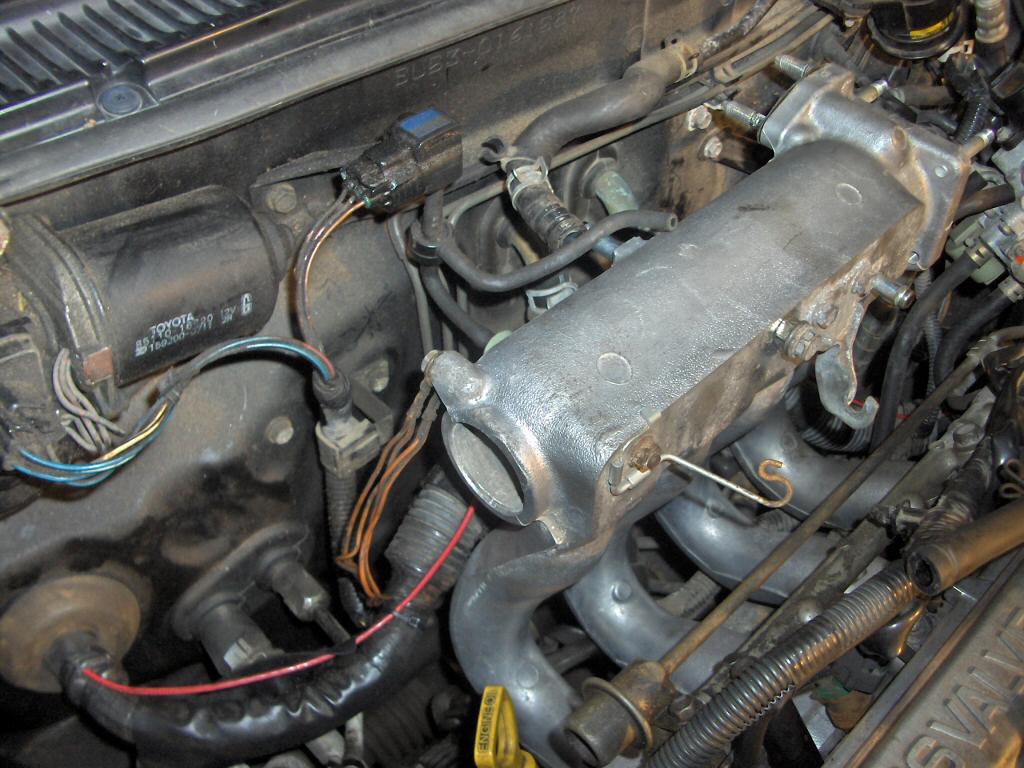
So, this is how we start out. This is the stock engine bay of a 1996 Tercel. Basically, we have to take out some intake plumbing, detach the throttle body and remove the intake manifold. So lets get started.
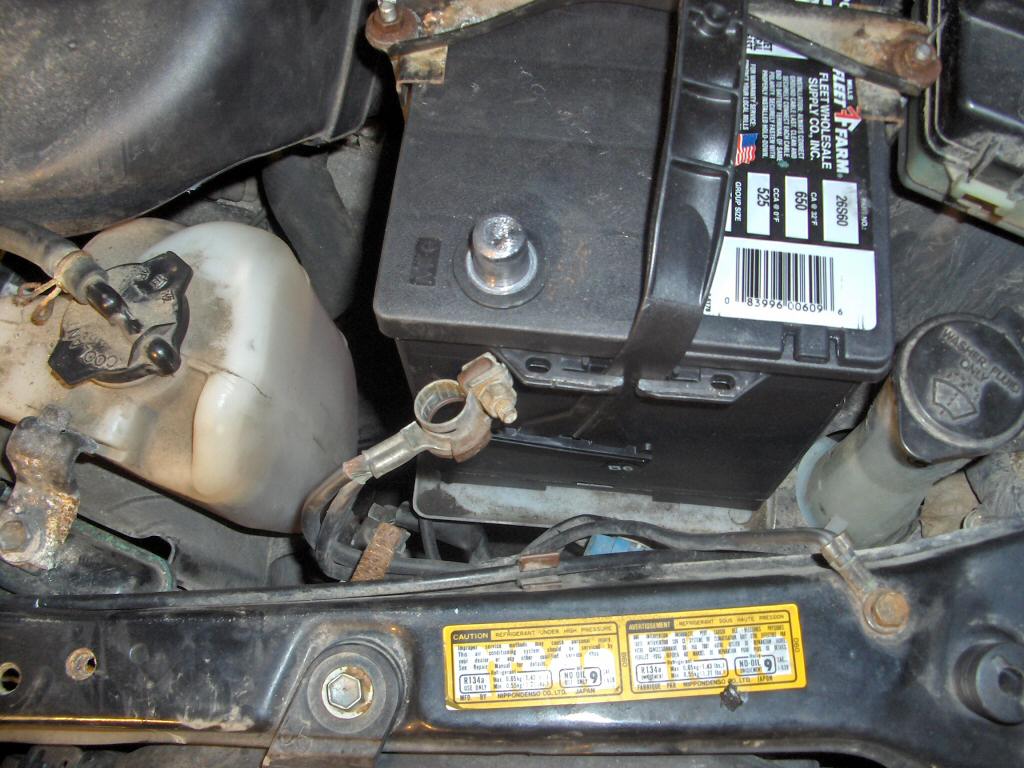
Start by unhooking the negative battery cable from the battery. We aren't really working with the elctrical system here but there is a piece we are removing. You can probably get away with skipping this step if you really want to, but why take the chance of messing something up? Its good to do this pretty much everytime you work on your car.
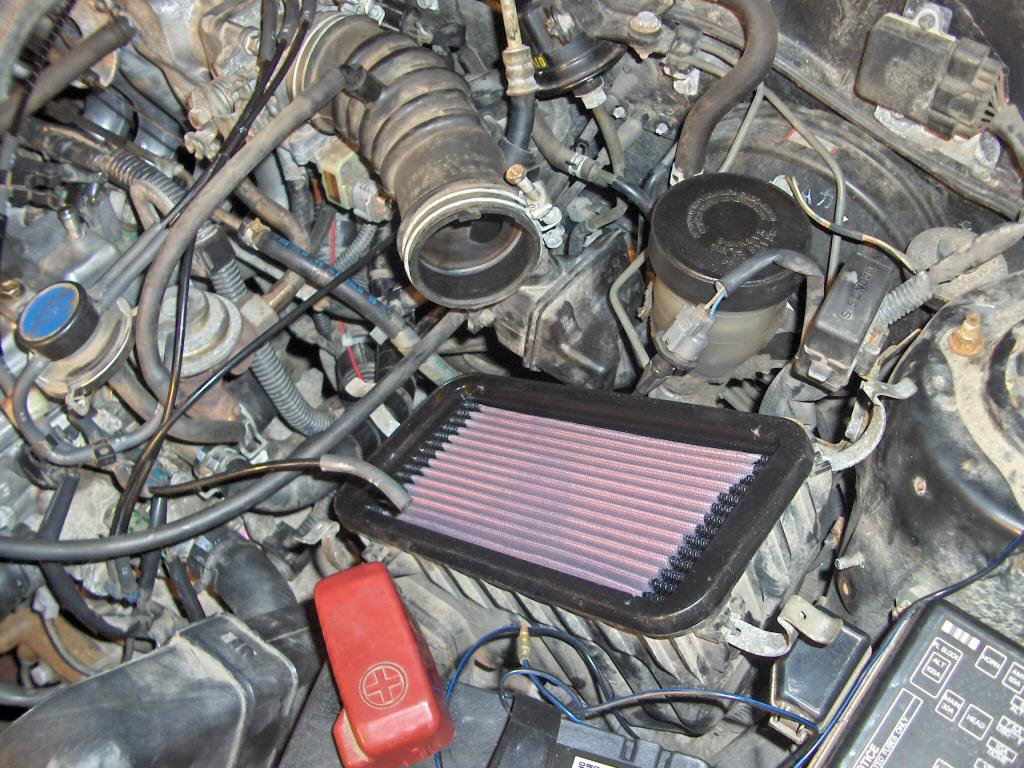
Now, unclip the clips holding the airbox together and pull the sensors and vaccum tube(s) out of it. Loosen up the clamp holding the intake tubing to the throttle body, and also disconnect the vaccum tubes and anything else connected to that tube. If you think there are too many tubes and you will get confused putting it back together, make sure to label them as you take them off (I recommend masking tape and a Sharpie). After everything is disconnected pull the intake tubing and the upper half of the air box out of the car and set it to the side. In my case I pulled the airbox upper half off the tubing because the tubing was stuck on the throttle body pretty good.

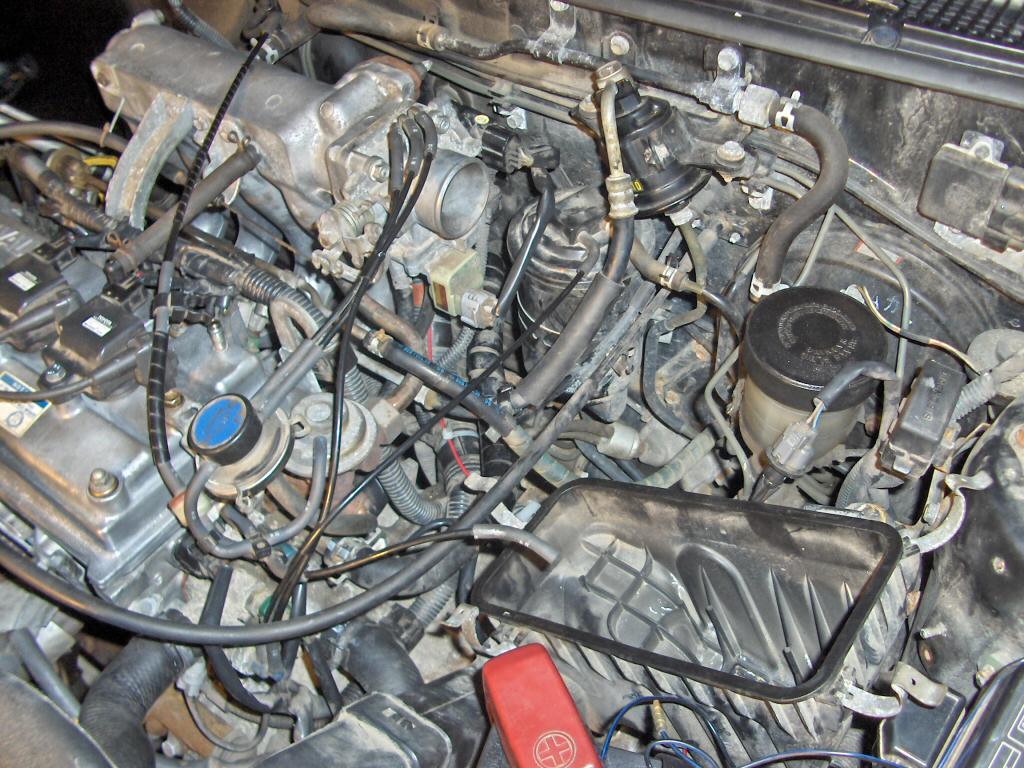
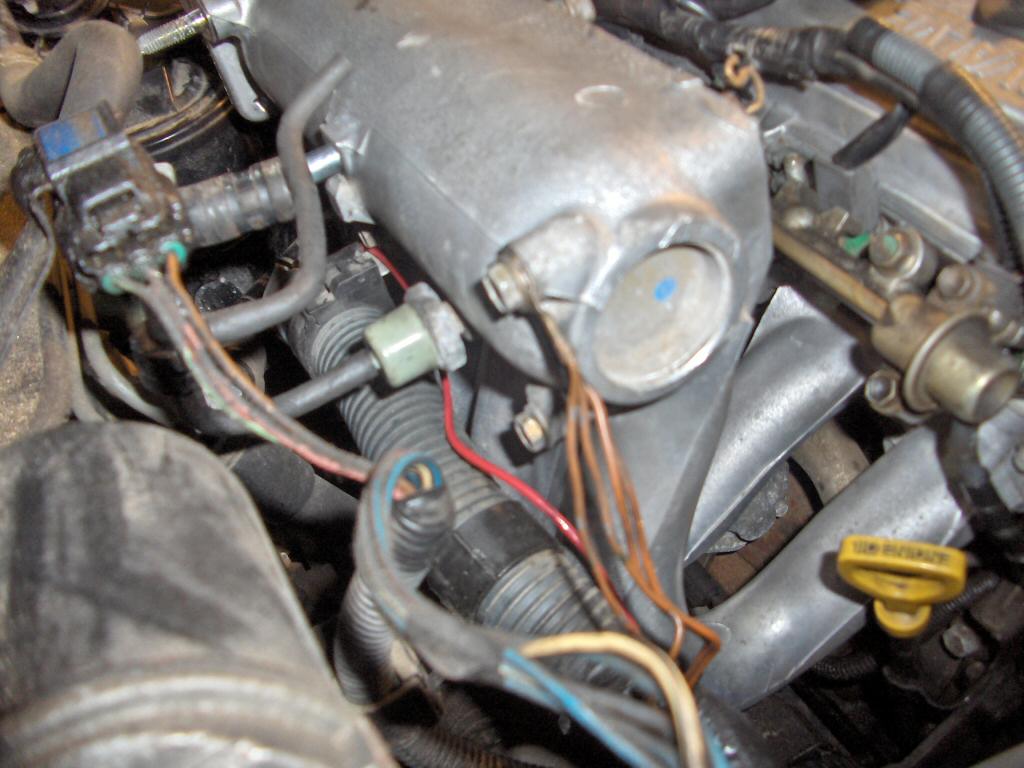
Remove the throttle cable from the throttle body pulley and intake manifold. Remove the throttle cable from the bracket on the intake manifold and the hanger. This will require the removal of the bracket holding the intake manifold to the head. Its just one bolt and one nut. One for the manifold and one attached to the head. Also, remove vaccum lines if they get in the way, as you can see I disconnected the three on the top of mine. Next, remove the two bolts and two nuts that hold the throttle body to the intake manifold. Once removed, be careful when pulling the throttle body off the intake manifold. The gasket is probably old and is very prone to cracking/ripping. With a little (maybe a lot of) extra care, you should be able to get it off and reuse the old gasket. Leave all the coolant lines, etc. on and set the throttle body off to the side in the engine bay so you have room to work around it.
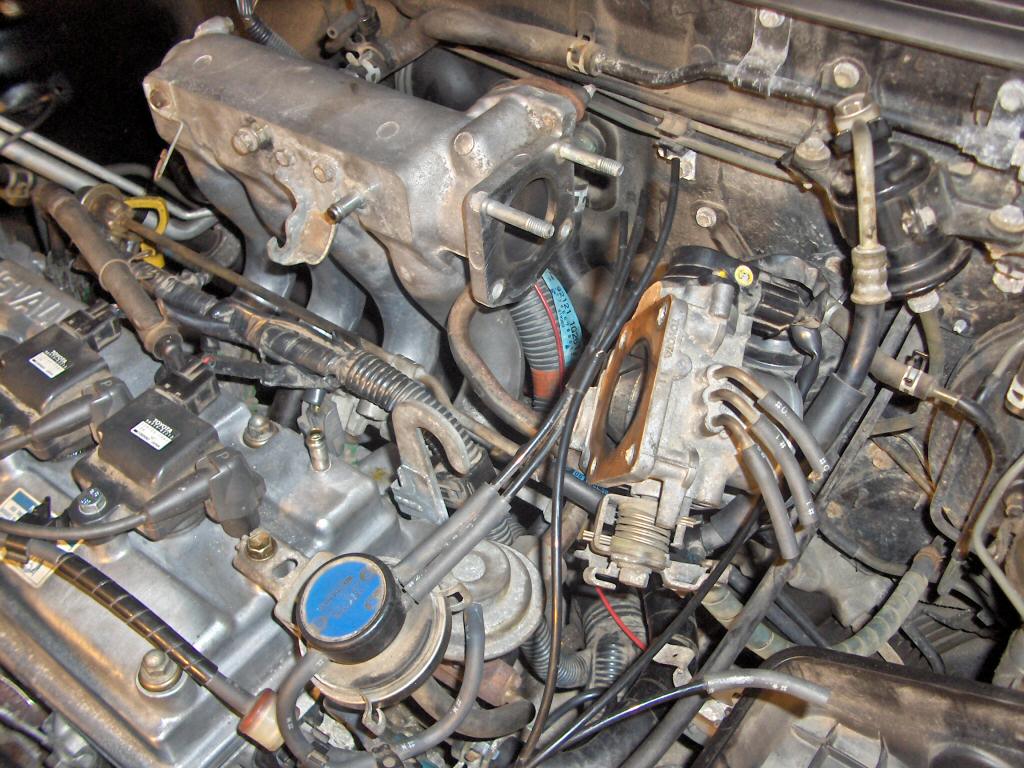
If you do not have an EGR system you can skip this step. If you do have an EGR system you must remove the pipe from the EGR valve to the intake manifold. This is a pretty quick and easy one. Just remove the two bolts by the intake manifold and the one big bolt at the EGR valve.
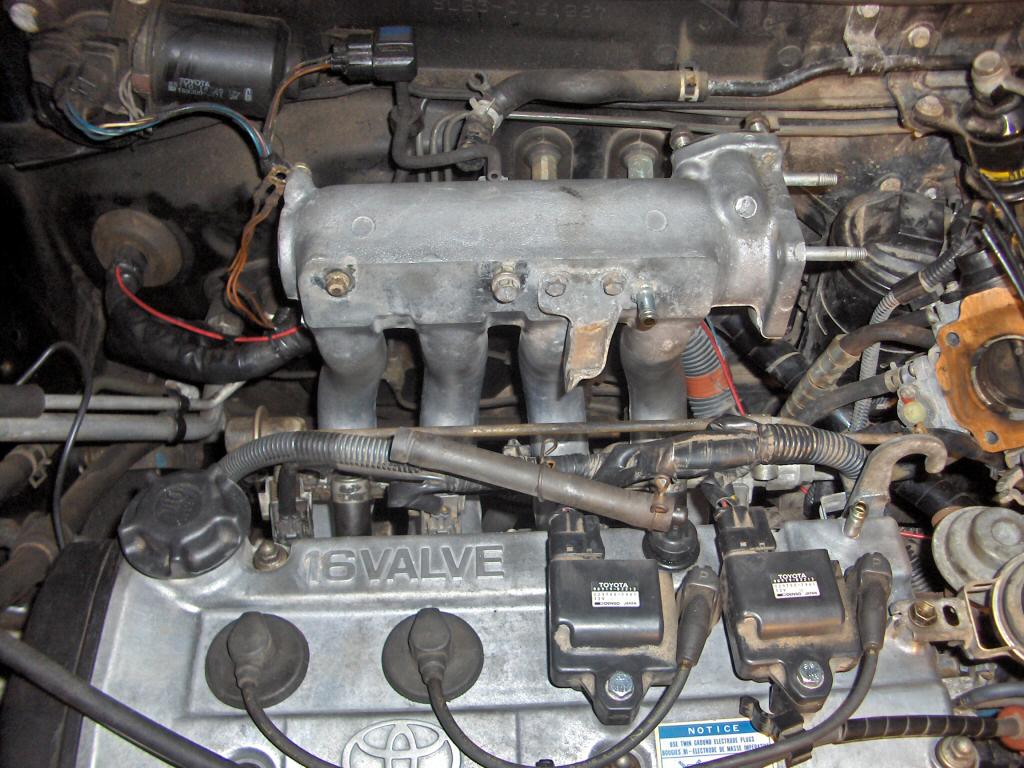
Now, to remove the intake maniold, pull off all the vaccum tubes and other things connected to the manifold like the electrical ground. The wire harness is also bolted to the back of the manifold, that will need to be removed. Its also not a bad idea to remove the throttle cable bracket and cable holder. Once that is done there will be six bolts holding the manifold to the engine. There are five on the flange itself, and one on a small bracket under the manifold. The one on the bottom is the fun one to get to so make sure you have a small ratchet handy. I'll be nice and let you know that it uses a 12mm socket so you don't have to fiddle around. I've found it best to reach in from the right side of the charcoal canister and reach over to this bolt. After you get all the bolts and nuts off, pull the manifold out of the engine bay and set it to the side. Remove the gasket as well. Congratulations, you are halfway done!

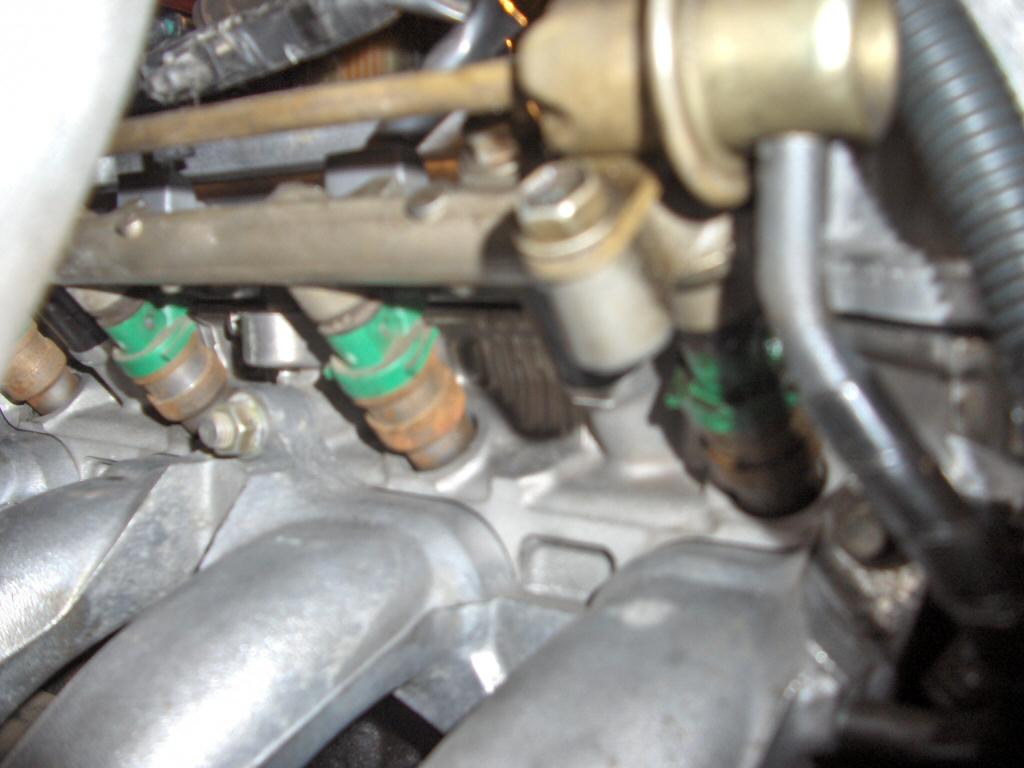
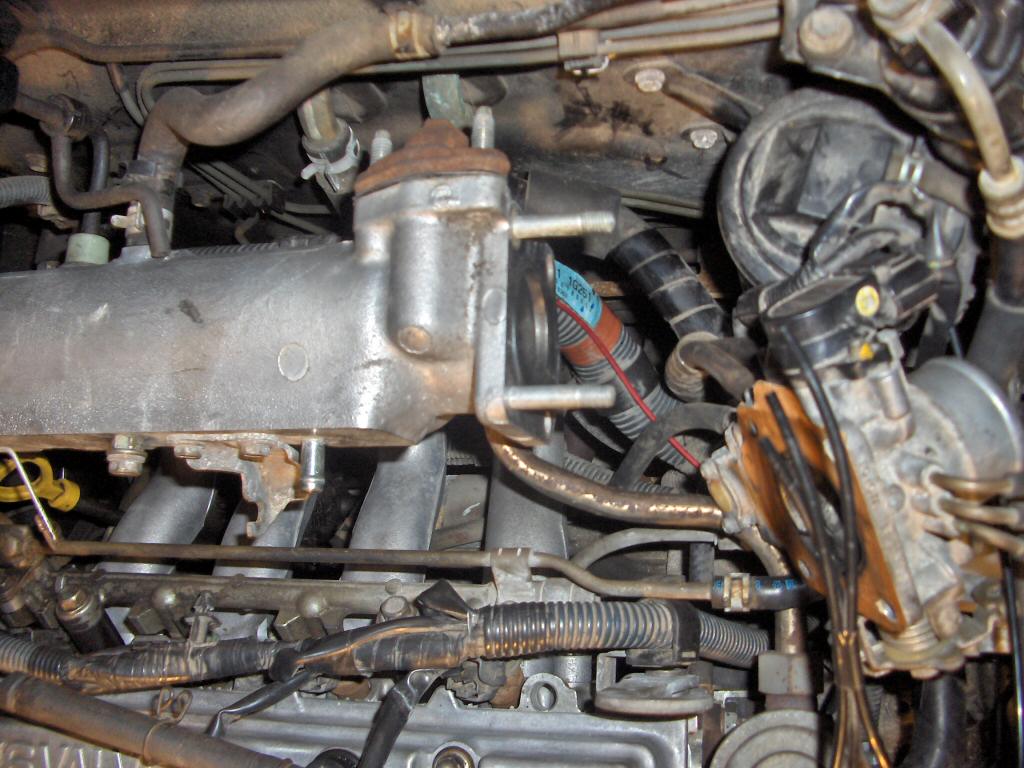
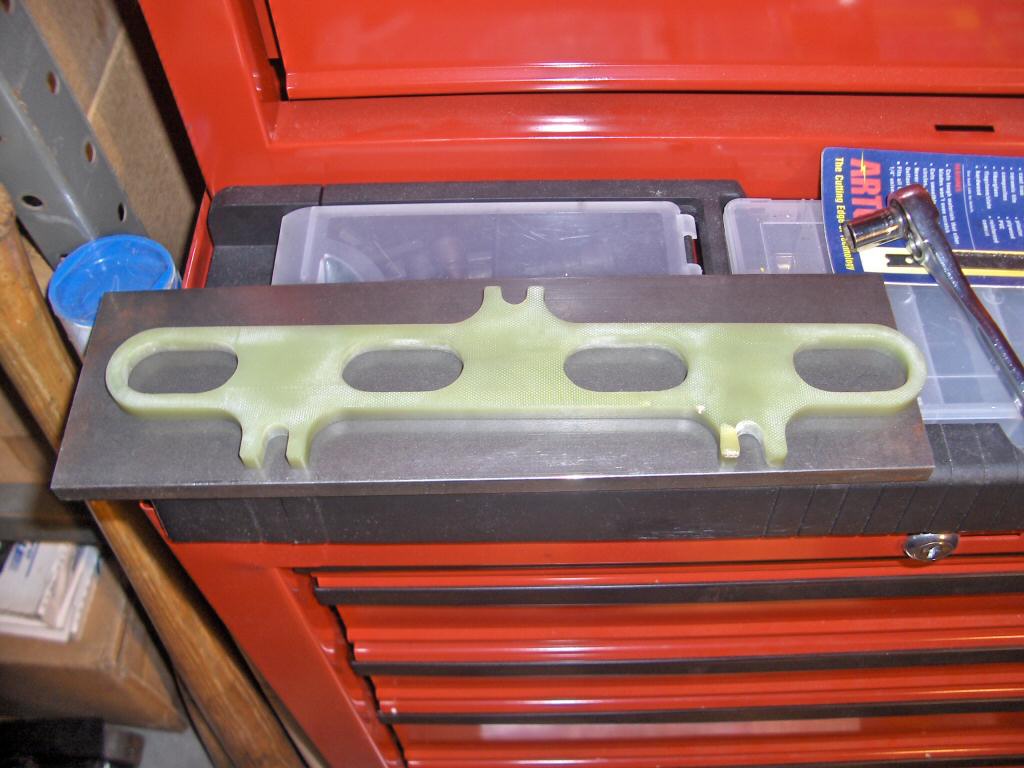
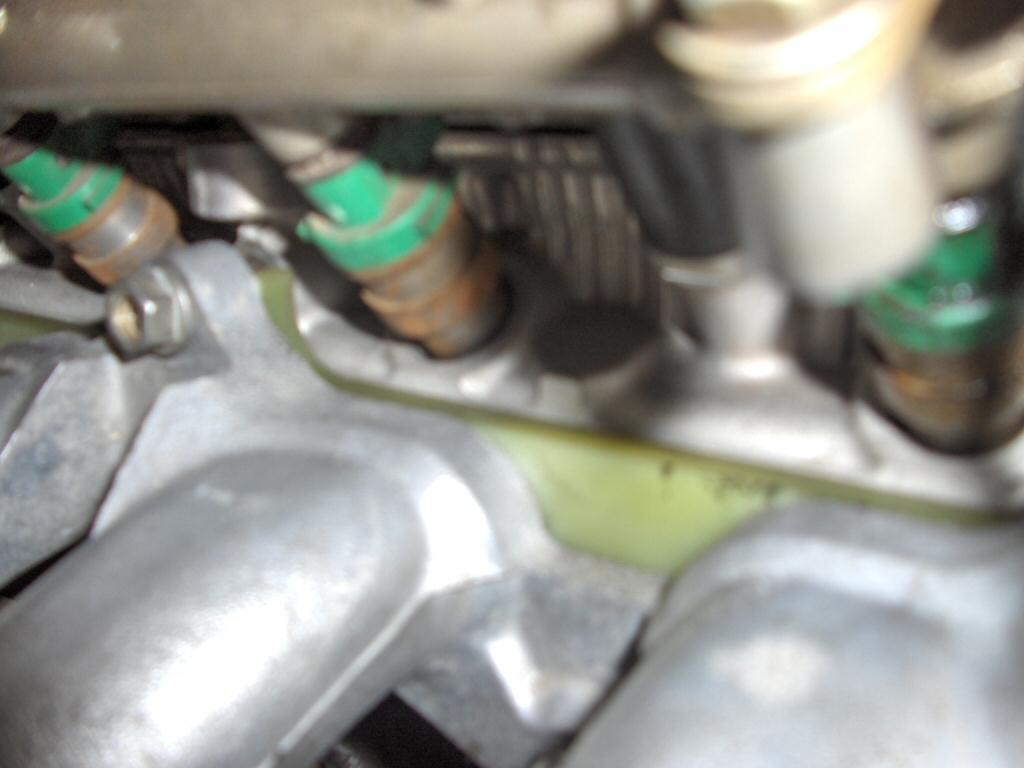
Now, go get that beautiful piece of horsepower making plastic and fit it to the head (note: mk2 insulators are white in color, mk1 are green). I highly recommend that you smear some gasket maker on before you install the insulator even though they may seal without it. Then, get your intake manifold and fit it back to the head. This is tricky and pretty annoying as the wiring harness runs right in back of the manifold. You may have noticed this when removing the manifold. Just be patient, and work it back to where its supposed to be. Of course, replace all the bolts and nuts that were previously removed. Put all the vaccum lines and the electrical ground back on.
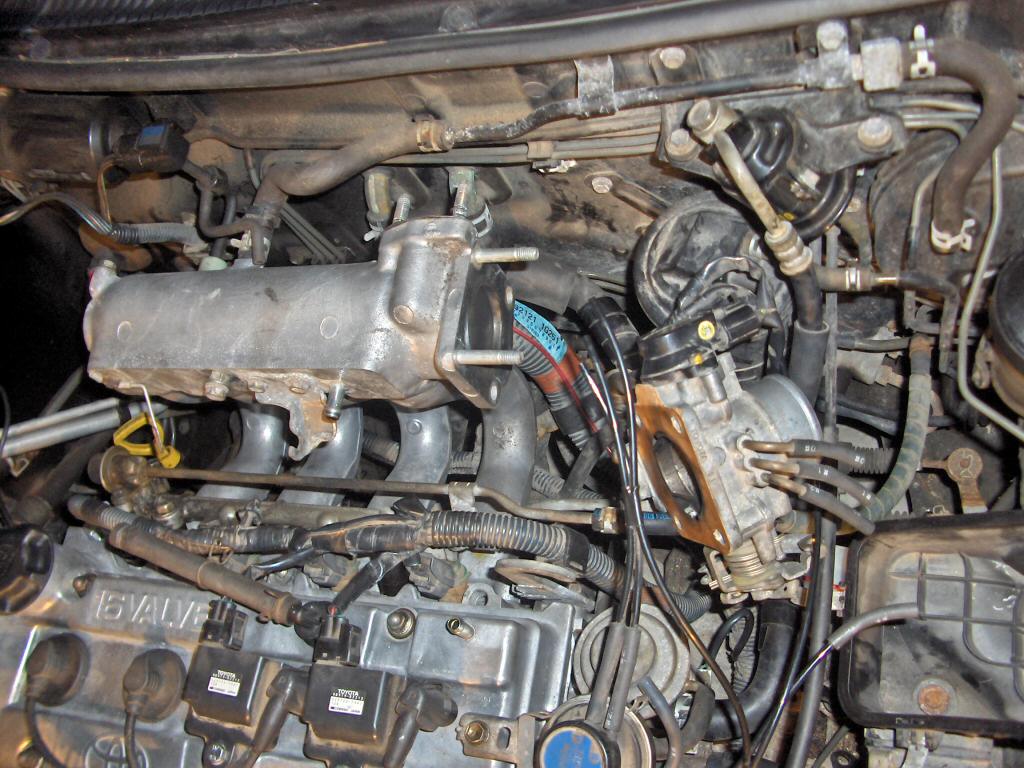
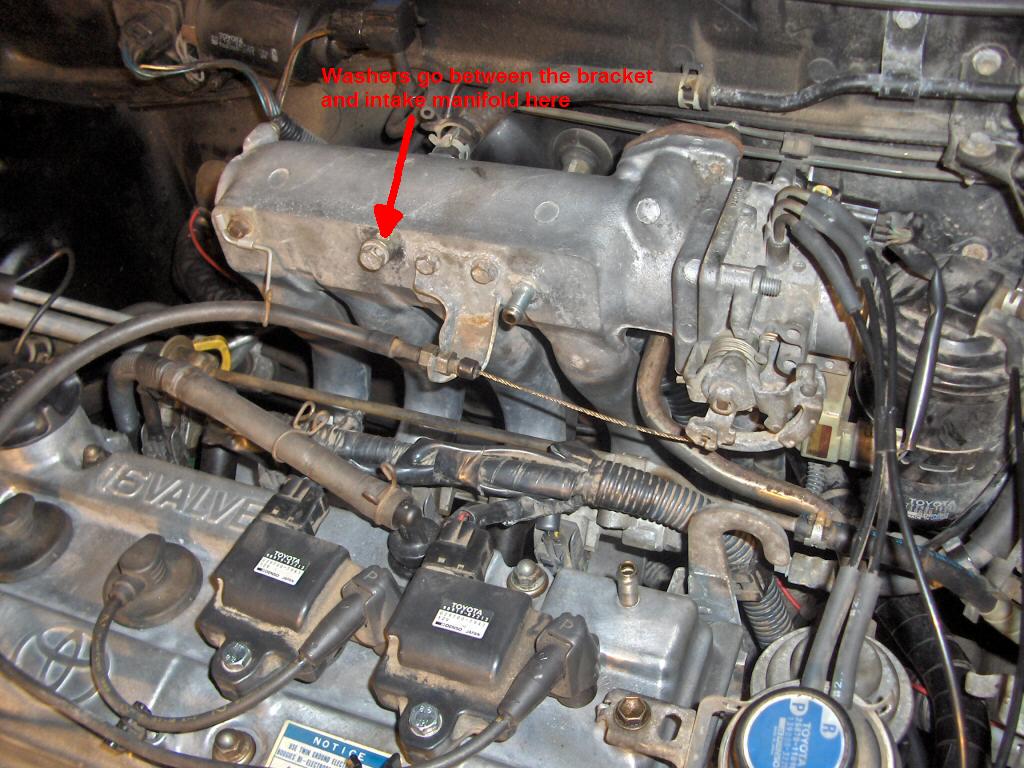
Next is the throttle body. Put it back on with the two nuts and two bolts. Also, re-attach the throttle cable to the manifold and attach the cable end to the throttle body pulley. Now, reconnect the upper intake manifold bracket. Use the washers provided to fill the gap between the bracket and manifold. Reconnect the vaccum hoses to the throttle body if you have removed any of them.
Your on the home stretch now. Get your intake plumbing back in place and reconnect all the vaccum lines, sensors and battery. Wow... looks pretty much the same eh?
Make sure you go over everything one last time. Double check vaccum hoses and all that good stuff, you don't want to drive off with any problems. Thats it, you're done! Go enjoy your new intake manifold insulator with a nice refreshing drive.
If you are interested in buying one of these you can email me at daox [@] hotmail d-o-t com. You can read more about my Tercel specific insulators here.
BACK