BACK
Strut & Spring Replacement
Written by: Daox
This is a fairly straight forward article. The whole procedure is actually usually quite easy. With the exception of spring compressors you don't really need any special tools either. However, an impact wrench really does help things along. On that note, you must be very careful you don't spin the strut/shock shafts with the impact as this can damage them. Keep this in mind as you read if you use an impact.
Front Struts
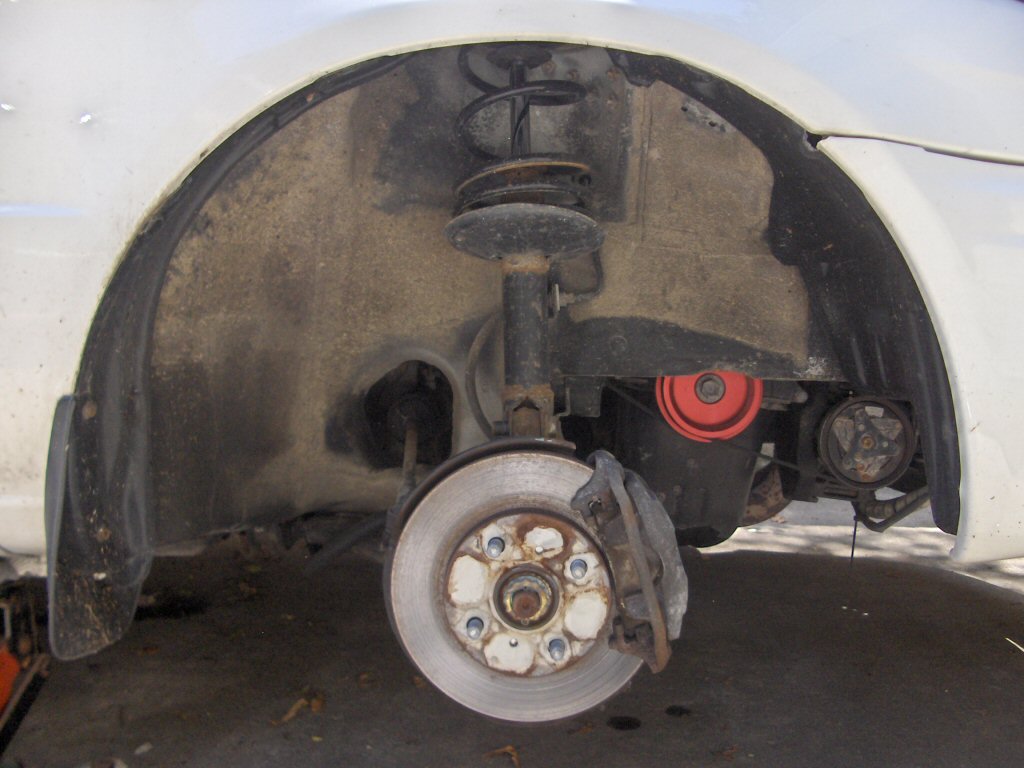
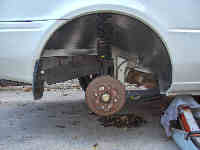
We'll start with the front struts. Start by loosening the lugs on the front wheel you are going working on. Jack the car up and remove the wheel.
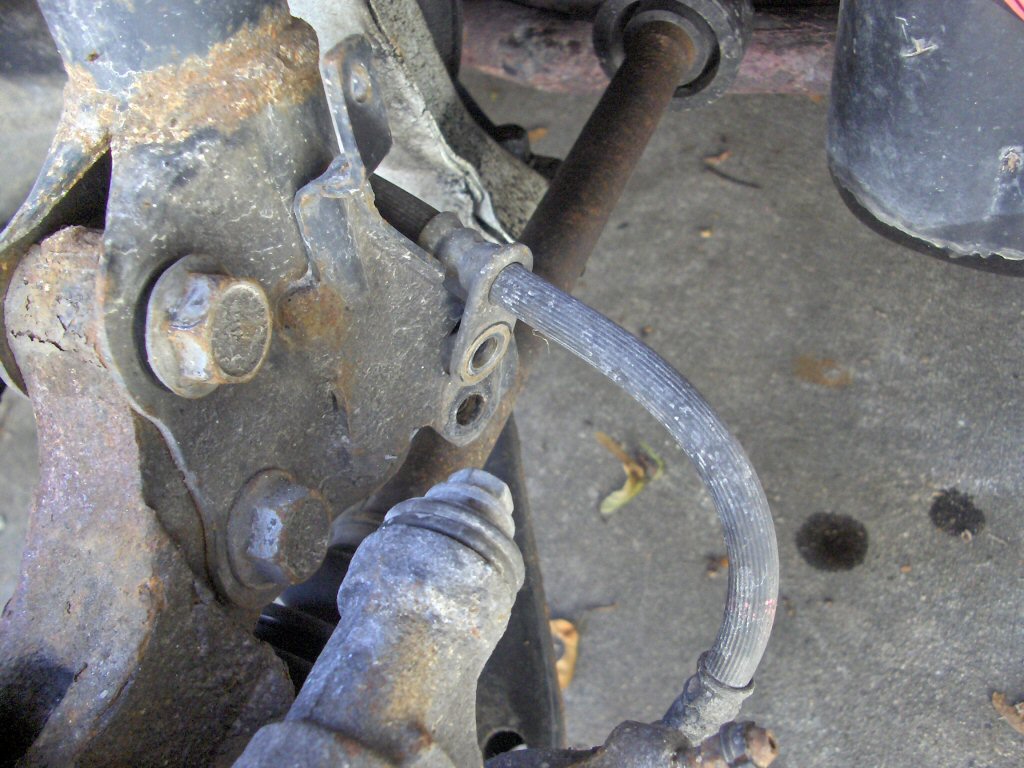
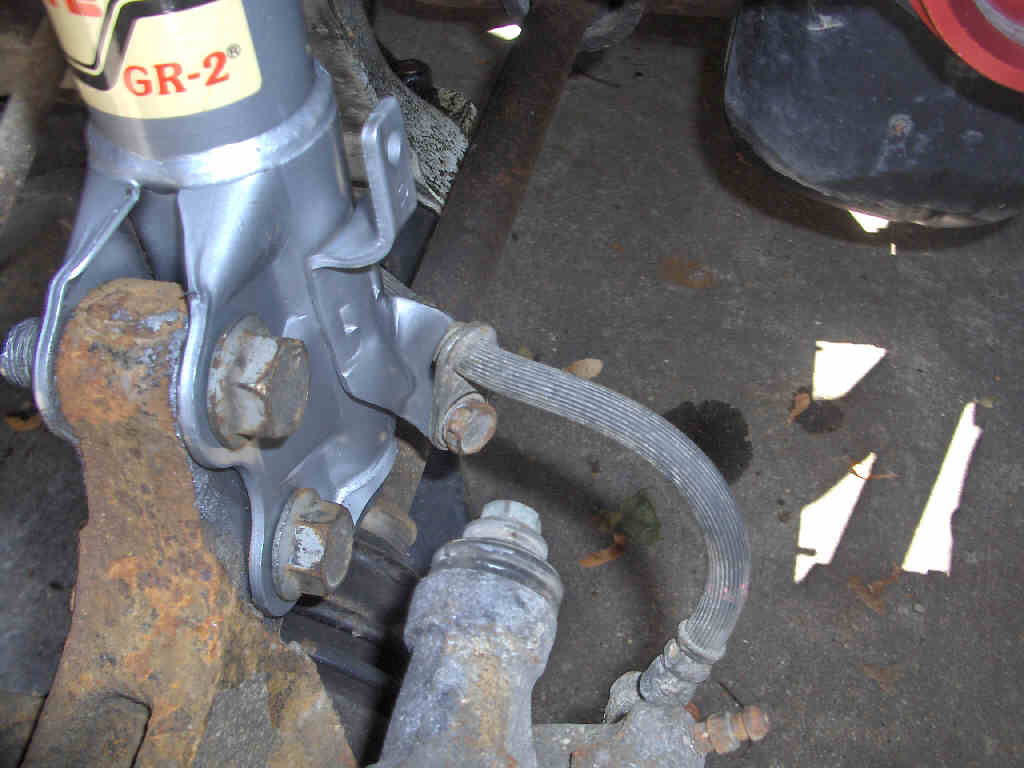
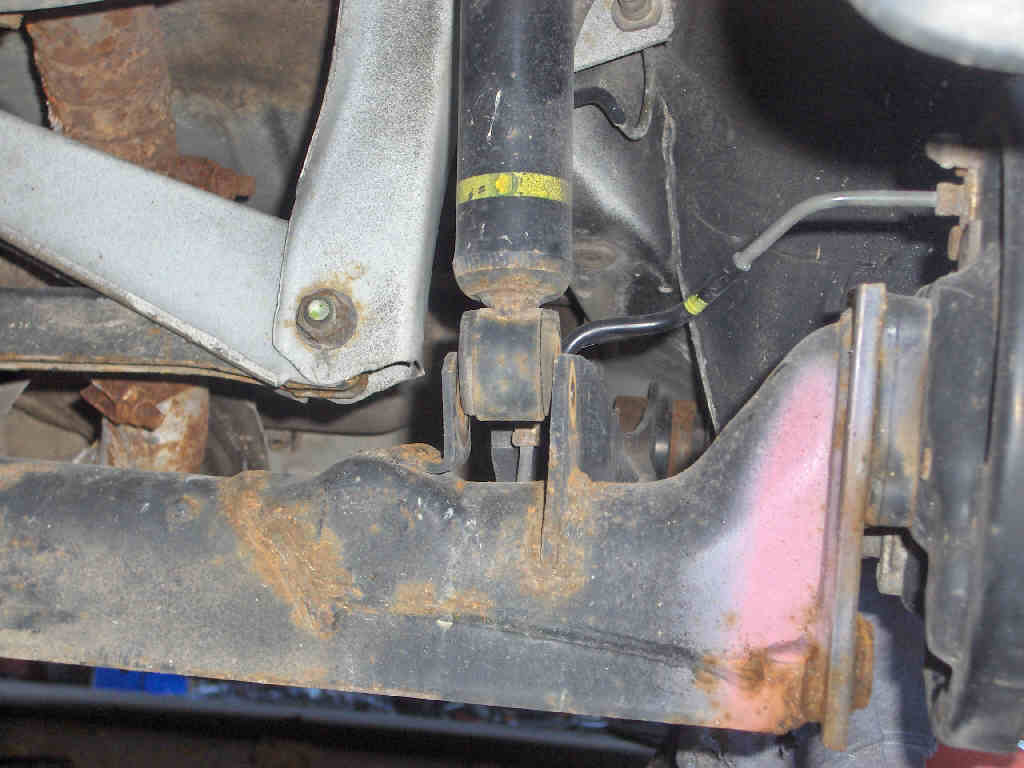
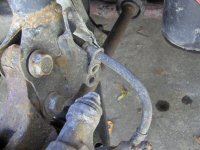
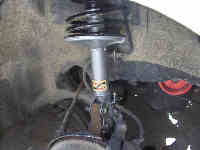
Now go grab your 14mm socket and remove the bolt that is holding the brake line bracket to the strut. These sometimes like to be rusted so be careful. Use some penetrating oil if need be. I would avoid using a torch to heat it as its so close to the strut.
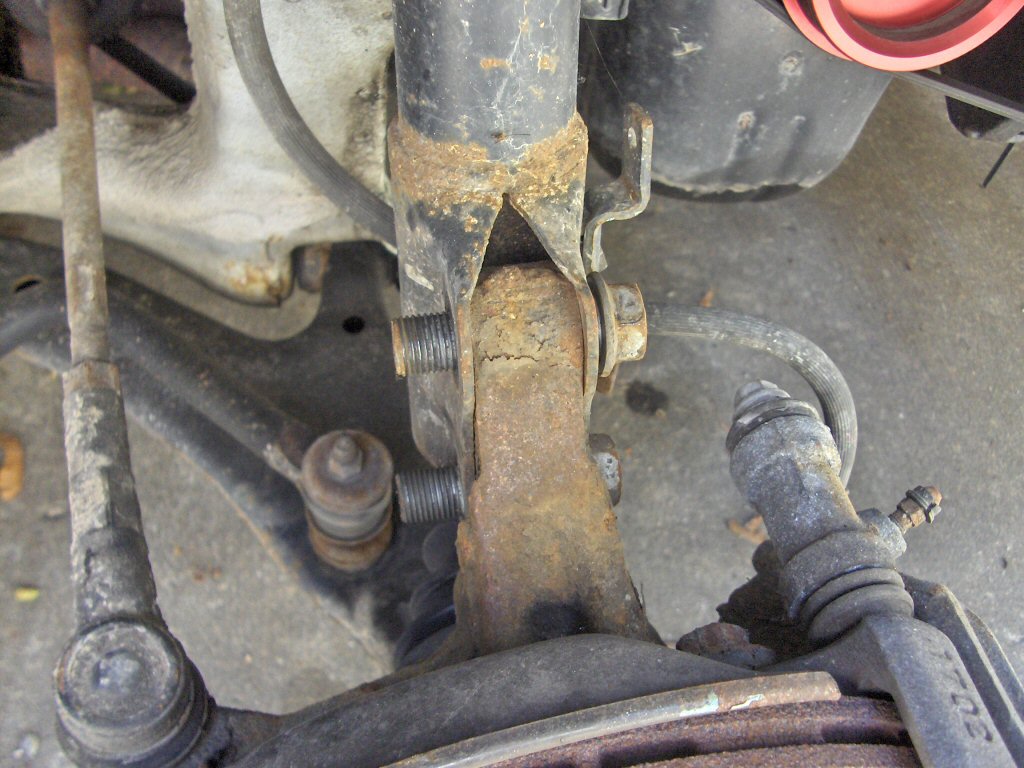
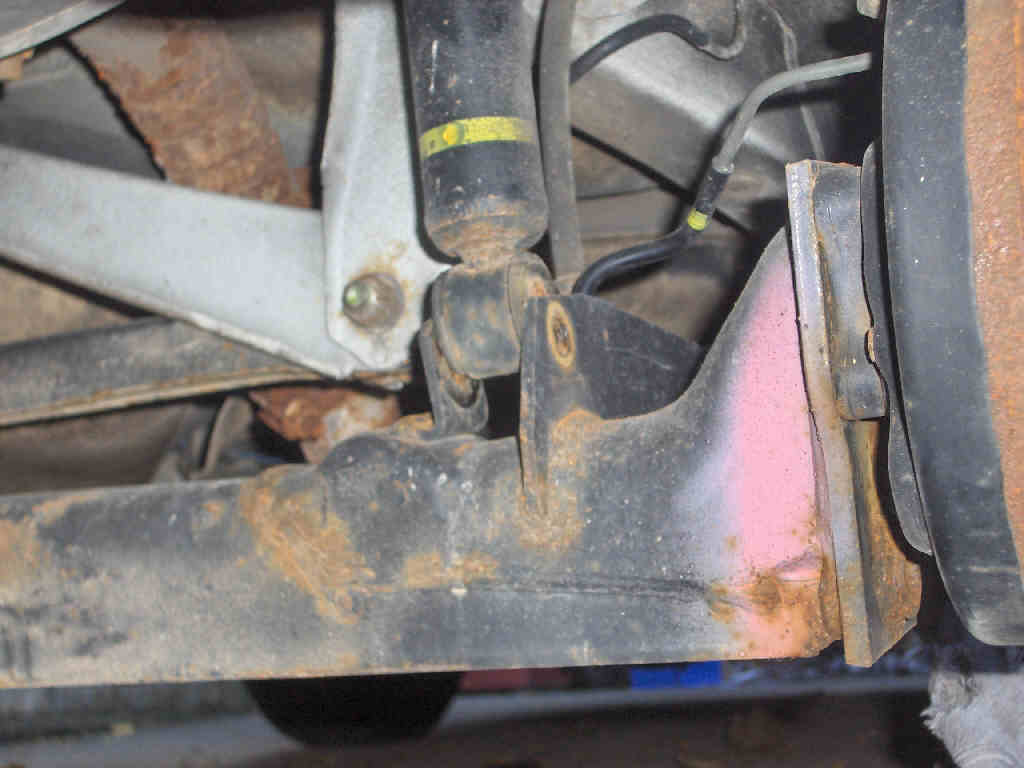
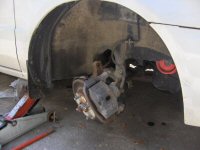
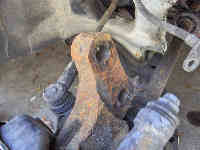
Next, we'll be removing the lower strut bolts. These can be put on fairly tight and it helps to have a cheater bar or extension on the wrench handle to get more leverage. The impact comes in handy here.

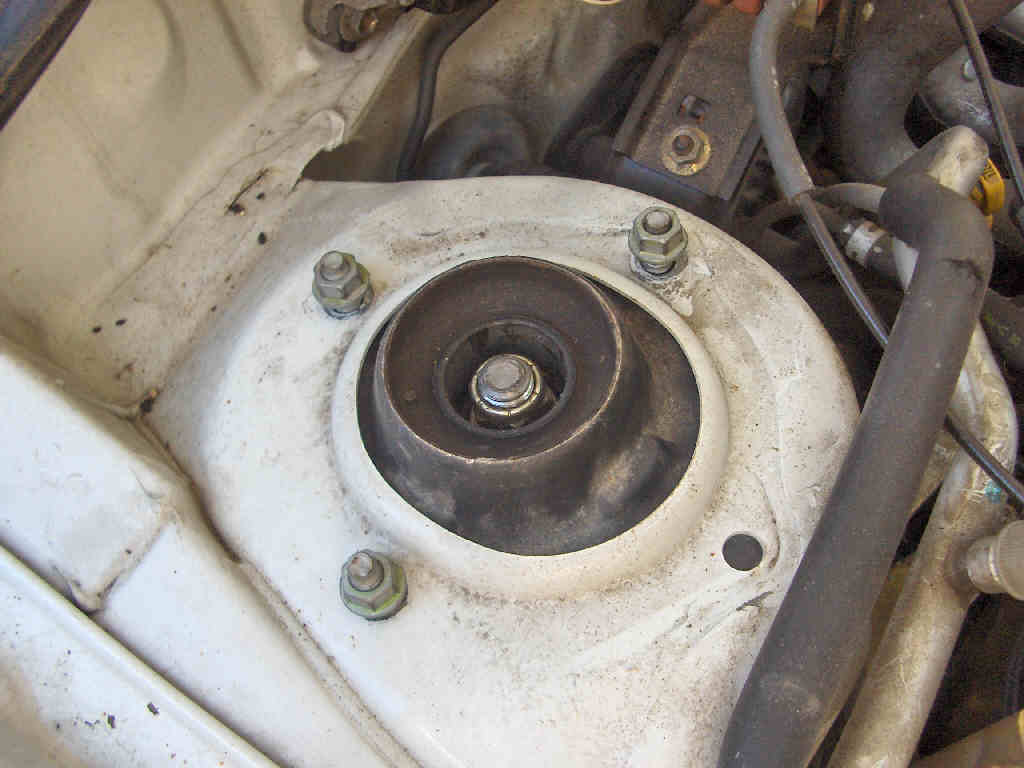
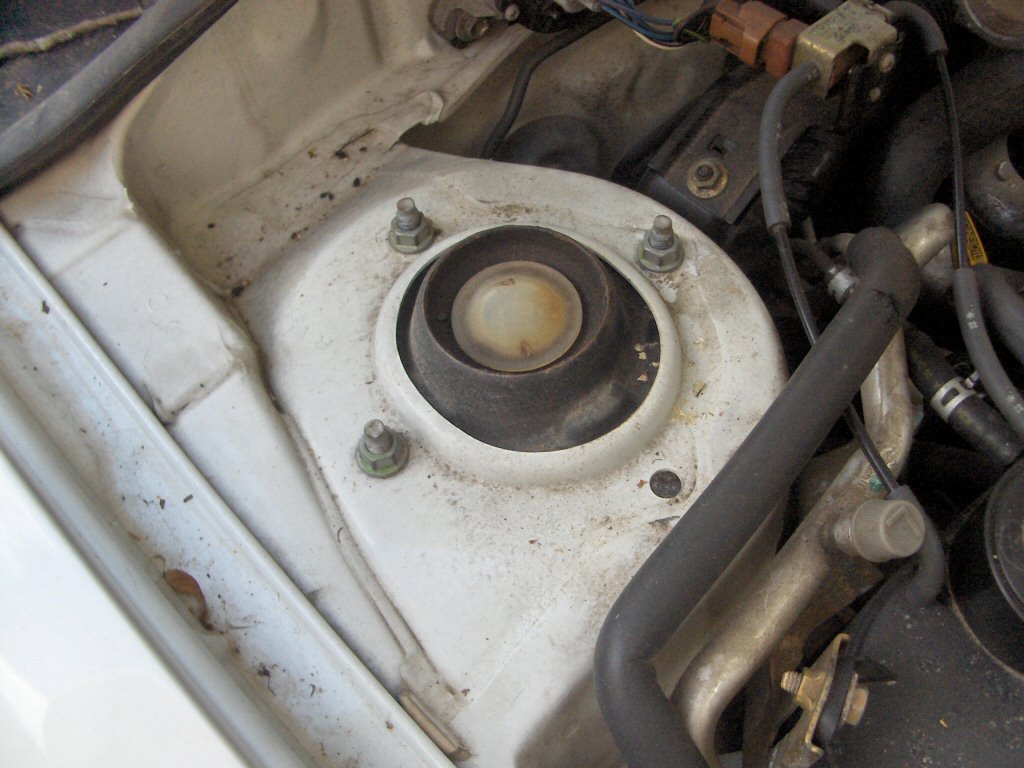
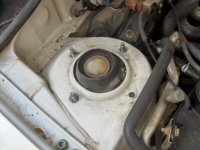
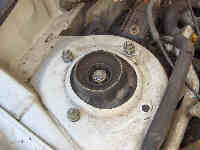
Now you have all the lower bolts taken care of. Lets move to the top. Pop the hood if you haven't already and remove the three nuts holding the strut to the body. After these three nuts are loosened the strut can be removed from the car. You'll have to kinda work it out as there isn't tons of room, but this isn't difficult. If it seems stuck where the lower strut bolts were taken out I recommend turning the rotor. This will help seperate the two pieces.
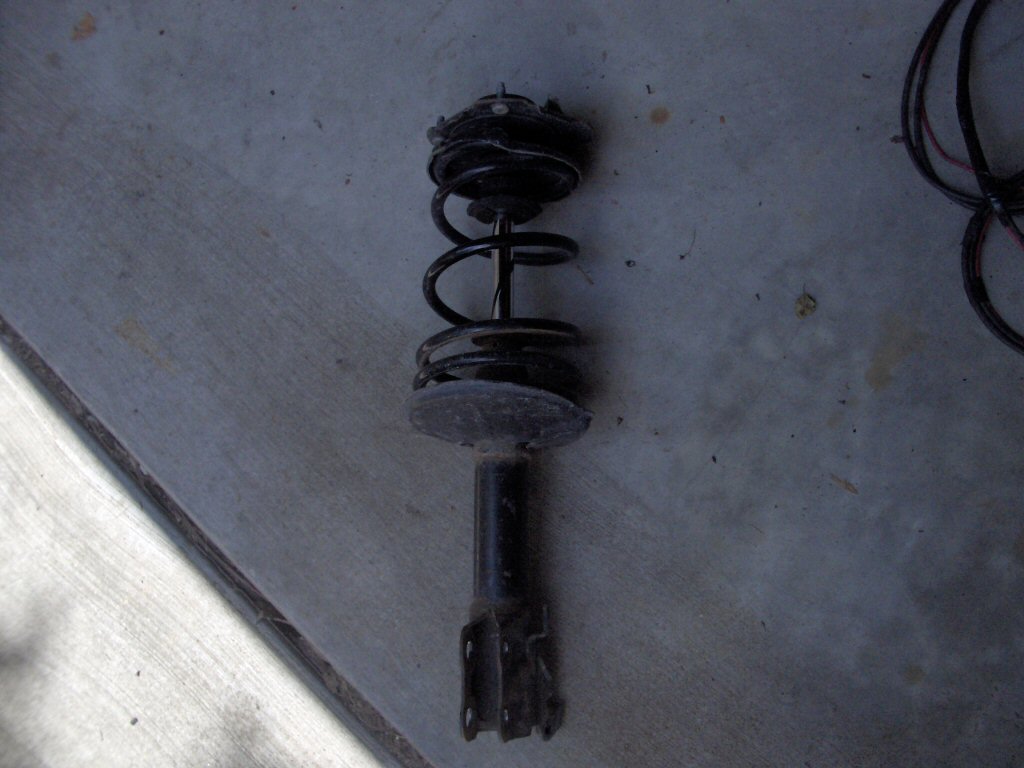
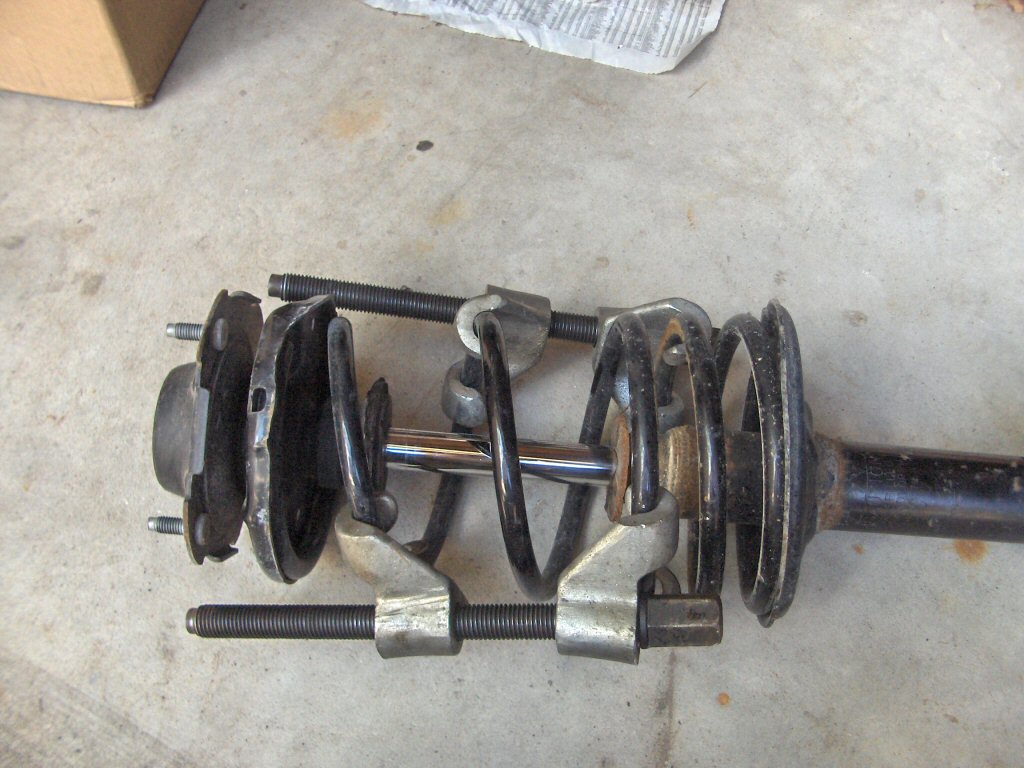
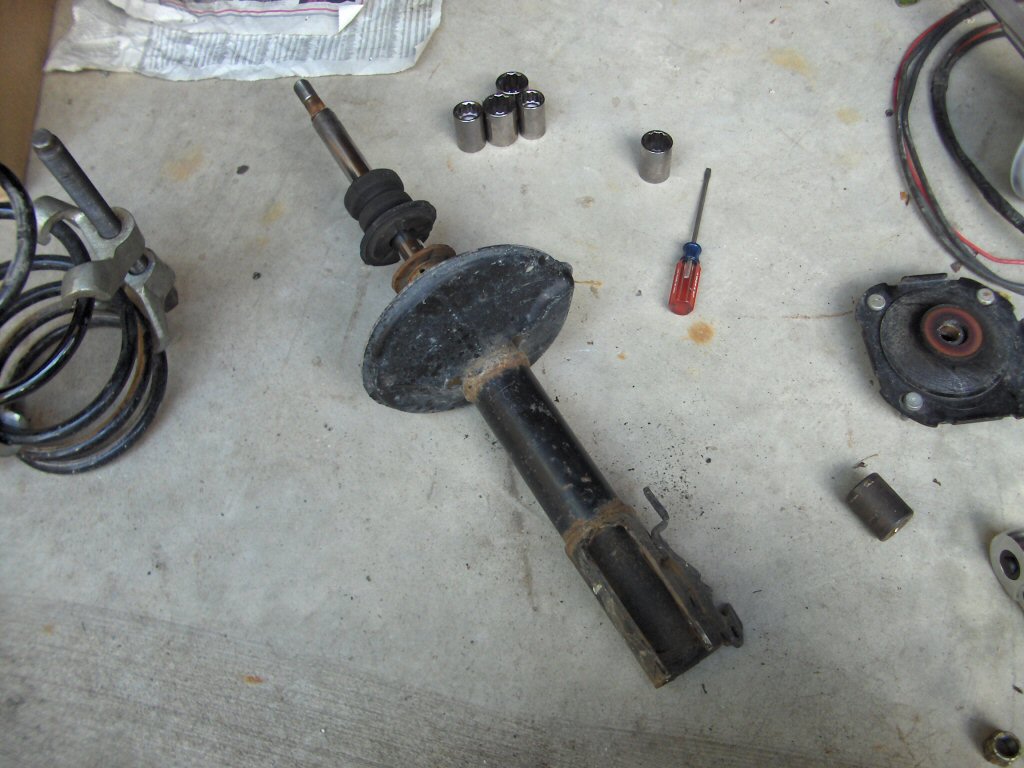
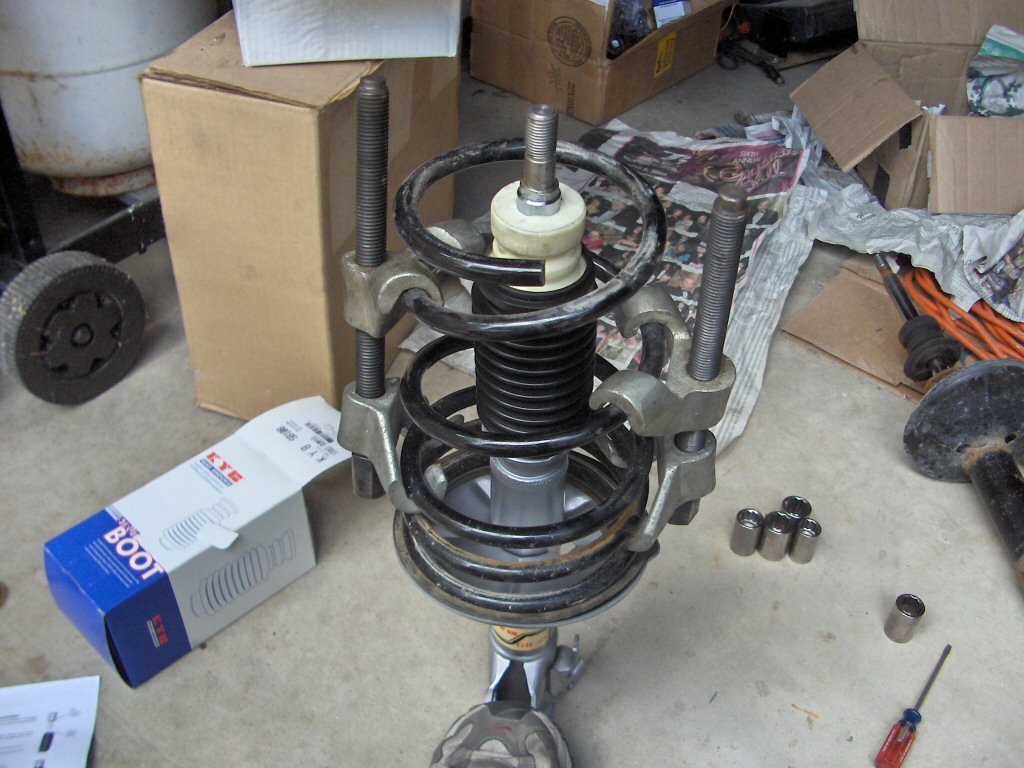
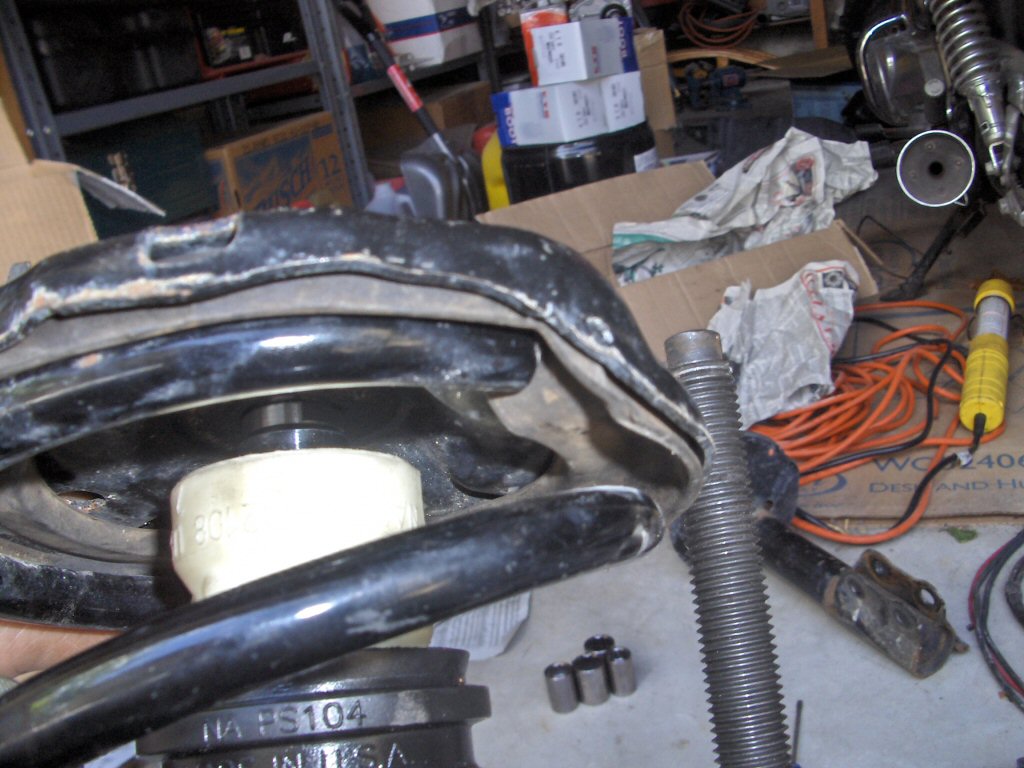
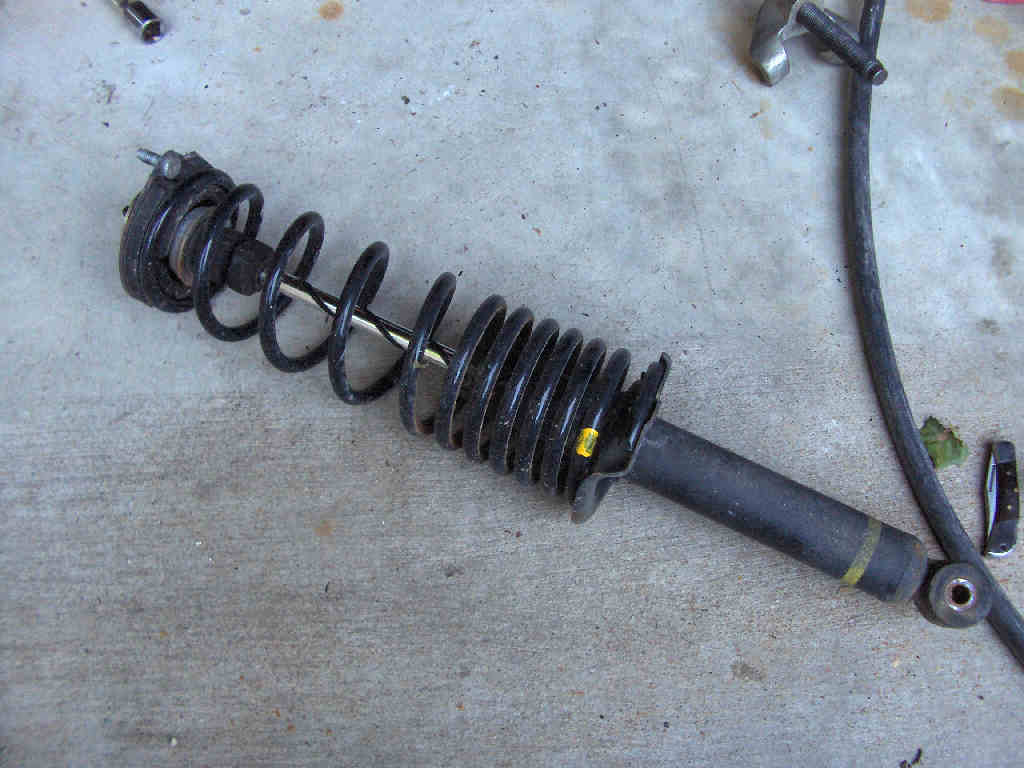
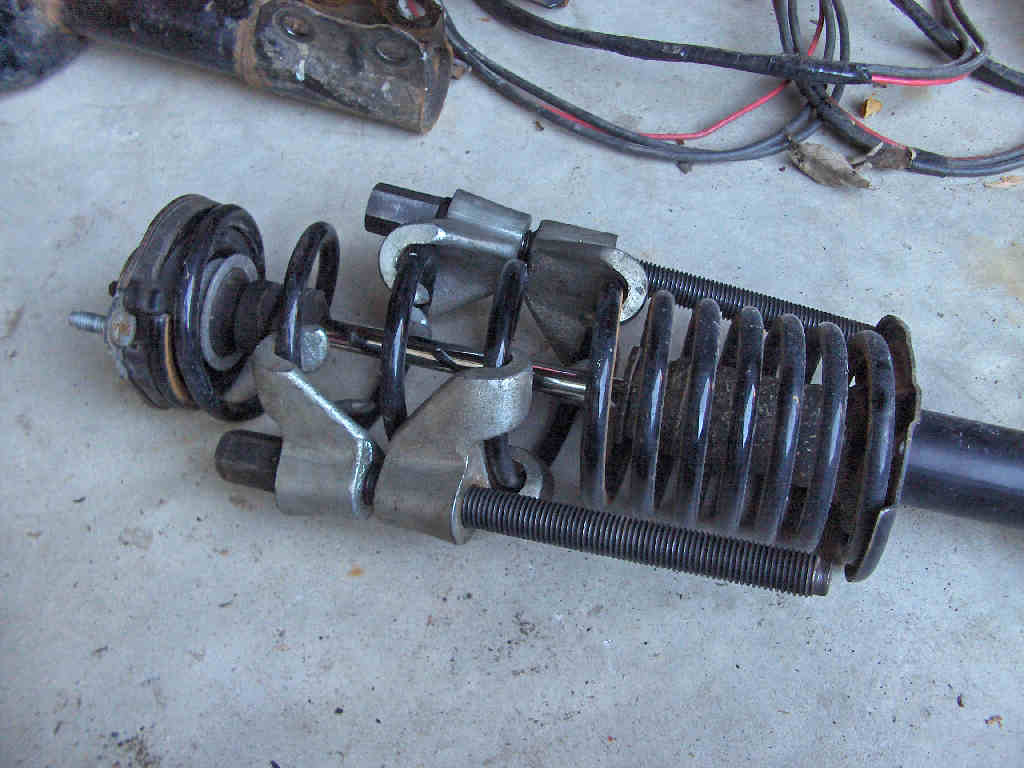
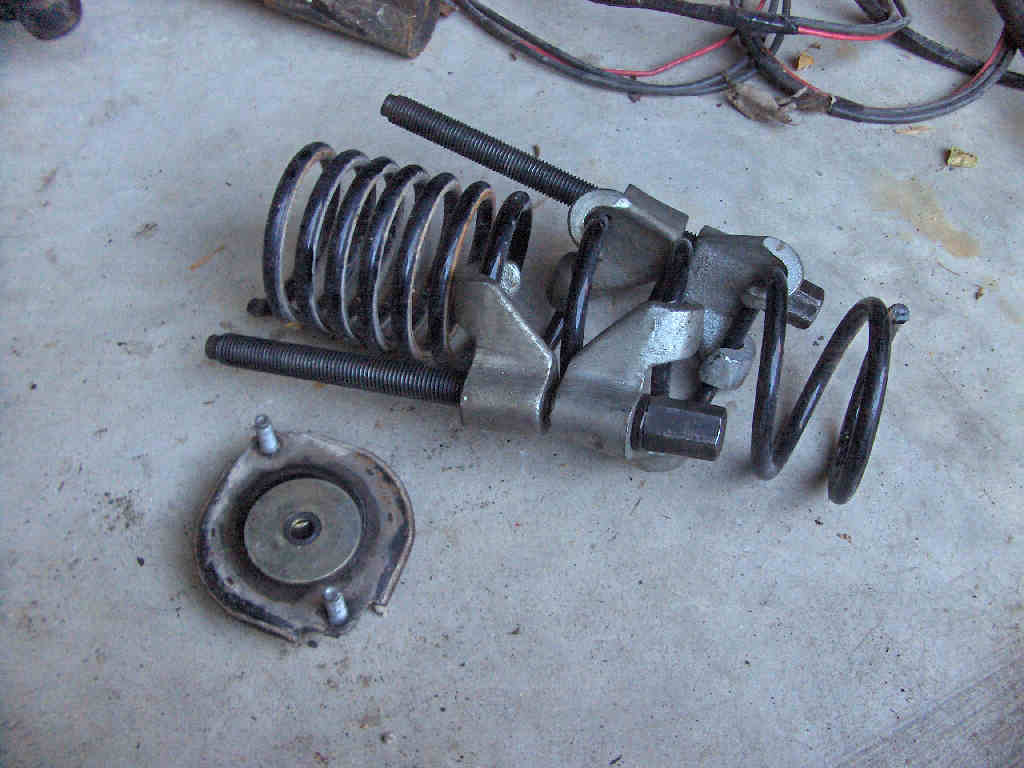
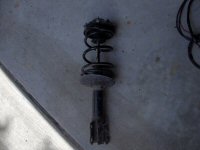
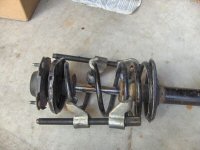
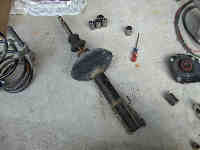
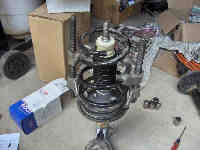
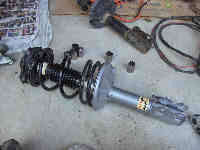
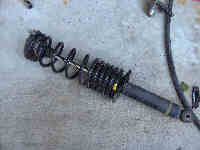
Ok, you got the strut out now. Now we'll be working on it. Gather up your spring compressors and go to work. When you put these on make sure you can compress the spring enough to relieve all tension between the spring and strut. You don't want anything flying apart when you take this puppy apart. Remember, this thing holds more than 1/4 of your car's weight (the fronts at least). Thats over 500 lbs of force!
Ok, now on to the slightly difficult part if you don't have an impact wrench. Pop the white/semi-clear top off the top end of the strut. Now I have done this two ways. The first time I did this I didn't have an impact so I ended up clamping a vise grips at the very top of the strut's shaft (push the bump stop down) and used that to stop the shaft from spinning while loosening the top bolt. If you have an impact just blast that nut clean off and your ready to go.
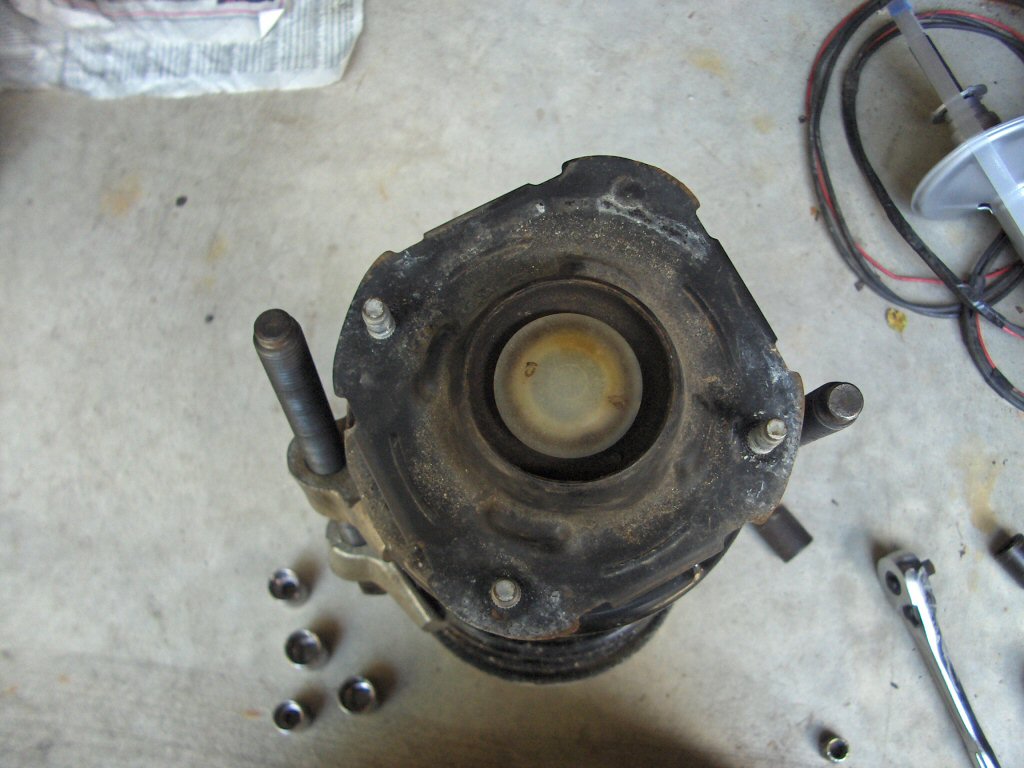
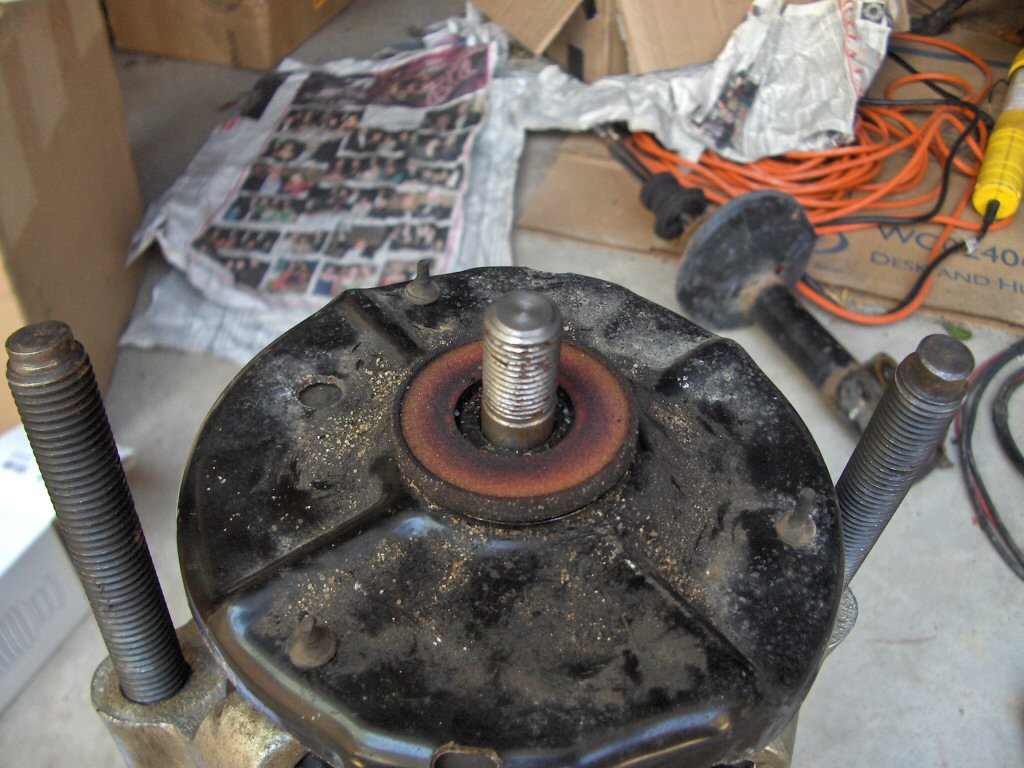
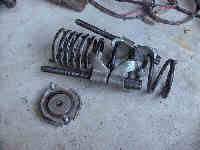
Ok, almost done taking things apart. Just pull the top strut bracket off. Under that will be the spring retainer. That has to come off too. Careful not to loose the small foam washer piece that goes between these two pieces. It keeps dust and dirt out of the ball bearing that is pressed into the strut bracket. Last, but not least you have the spring sitting there, go ahead an pull it off as well. So all that should be left is the strut.

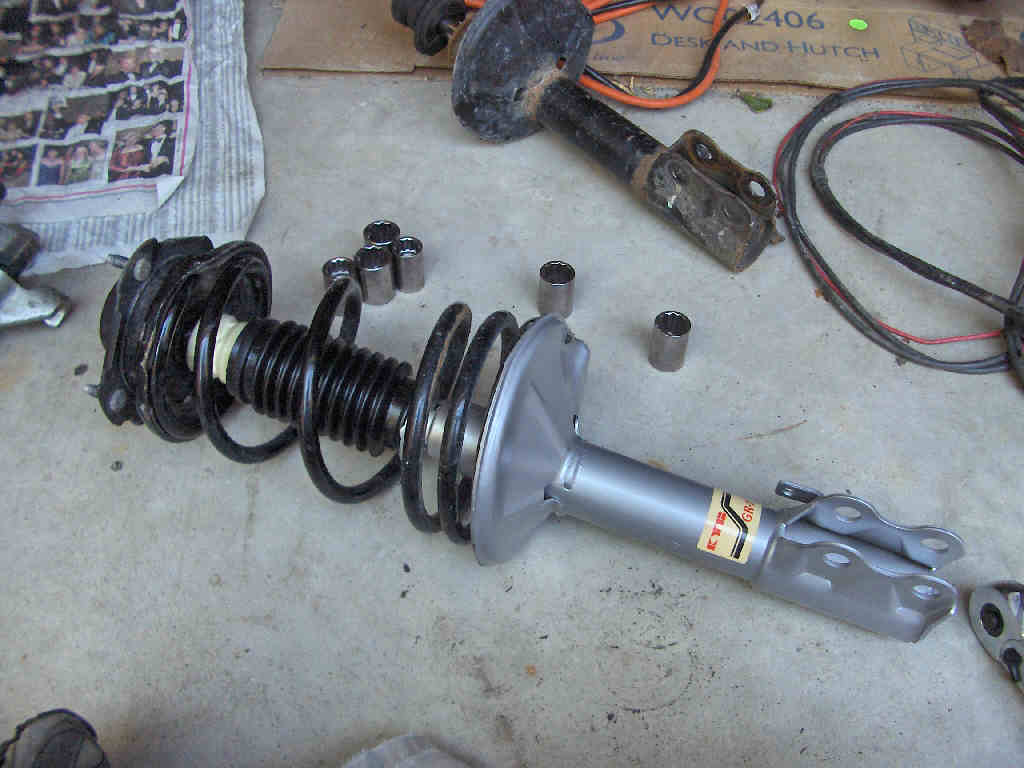
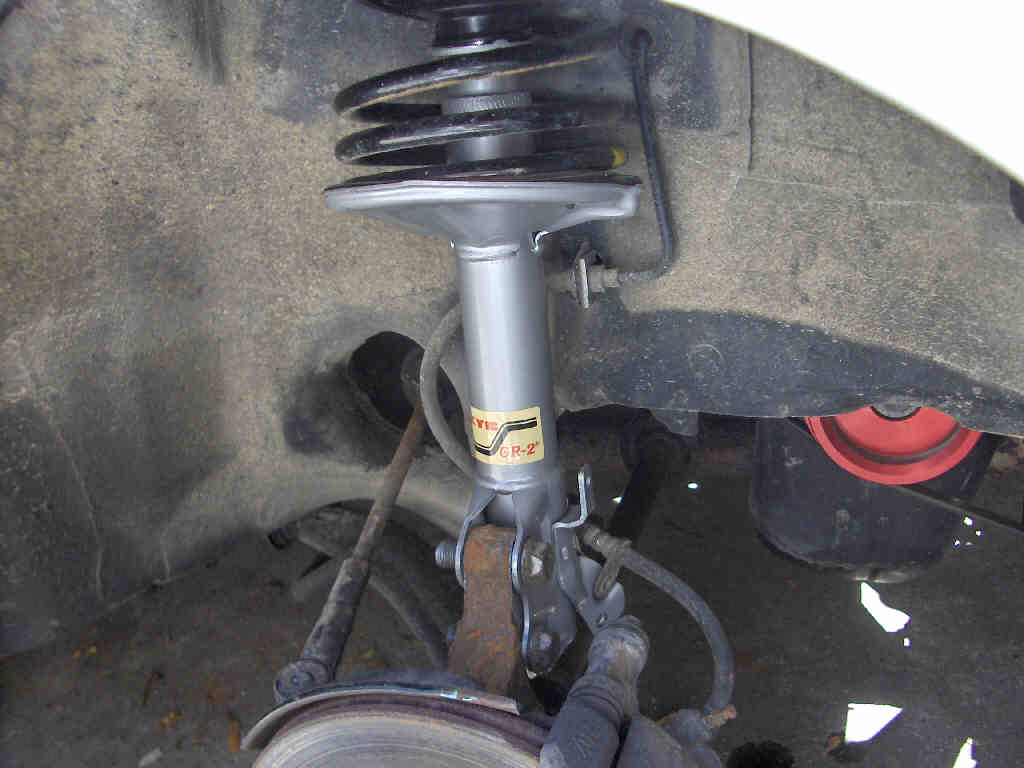
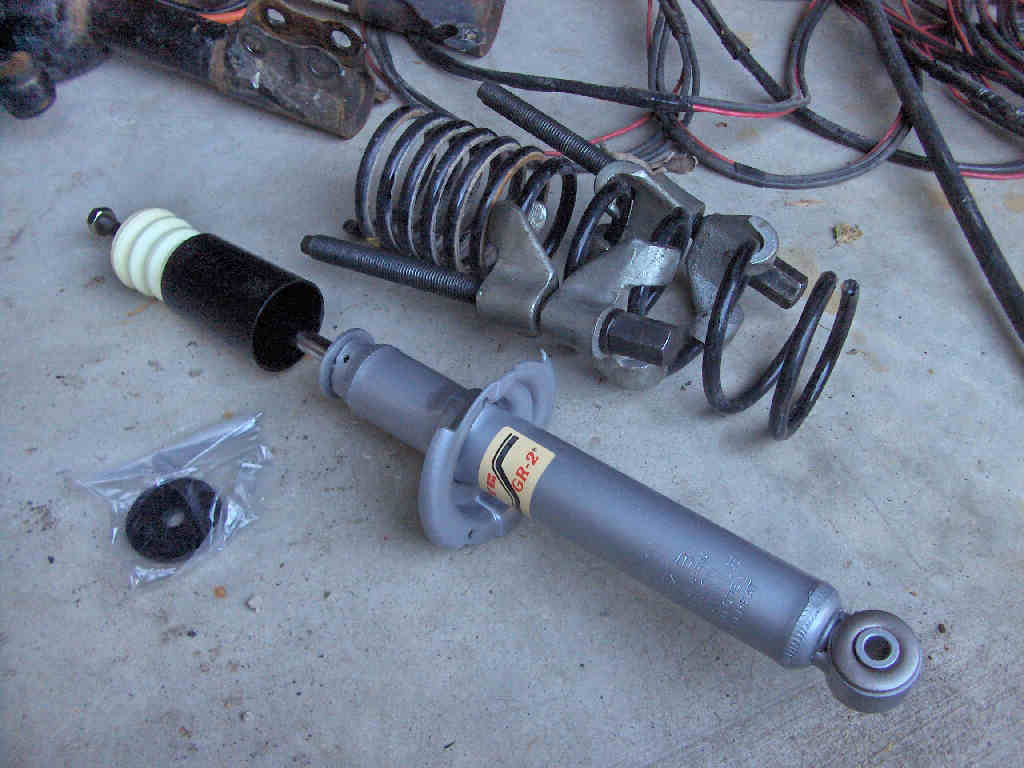
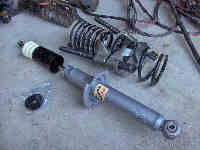
For my specific installation I was replacing my stock struts with KYB GR-2 struts. If you are not replacing your struts you can just skip ahead to where we put the springs back on.
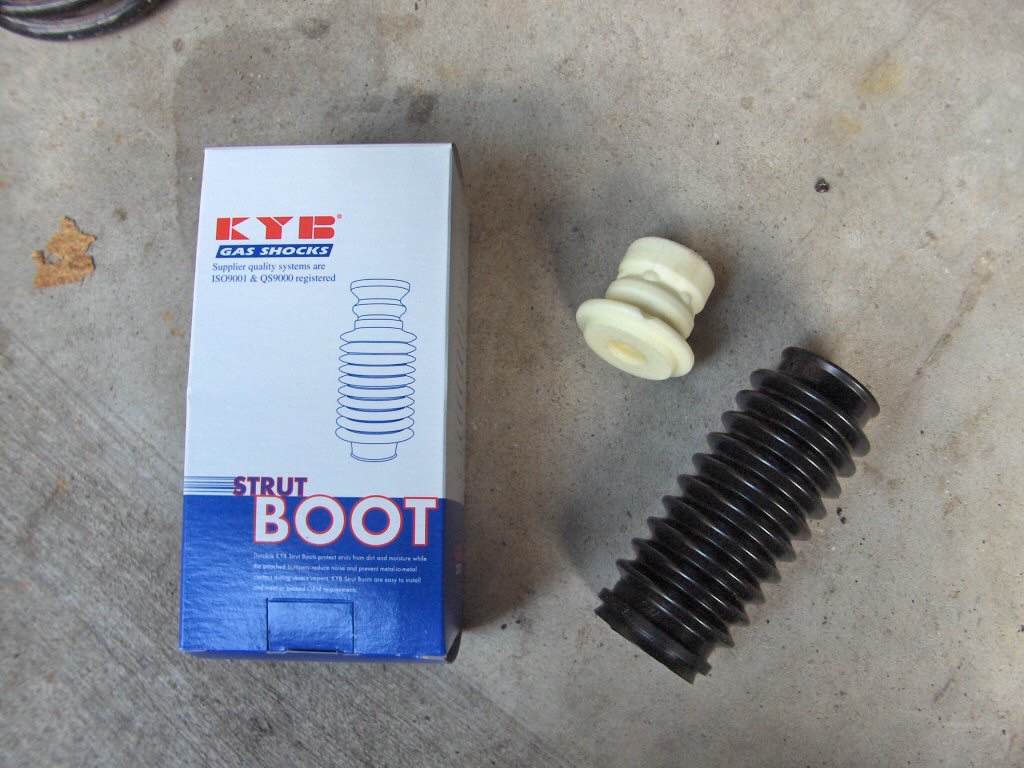
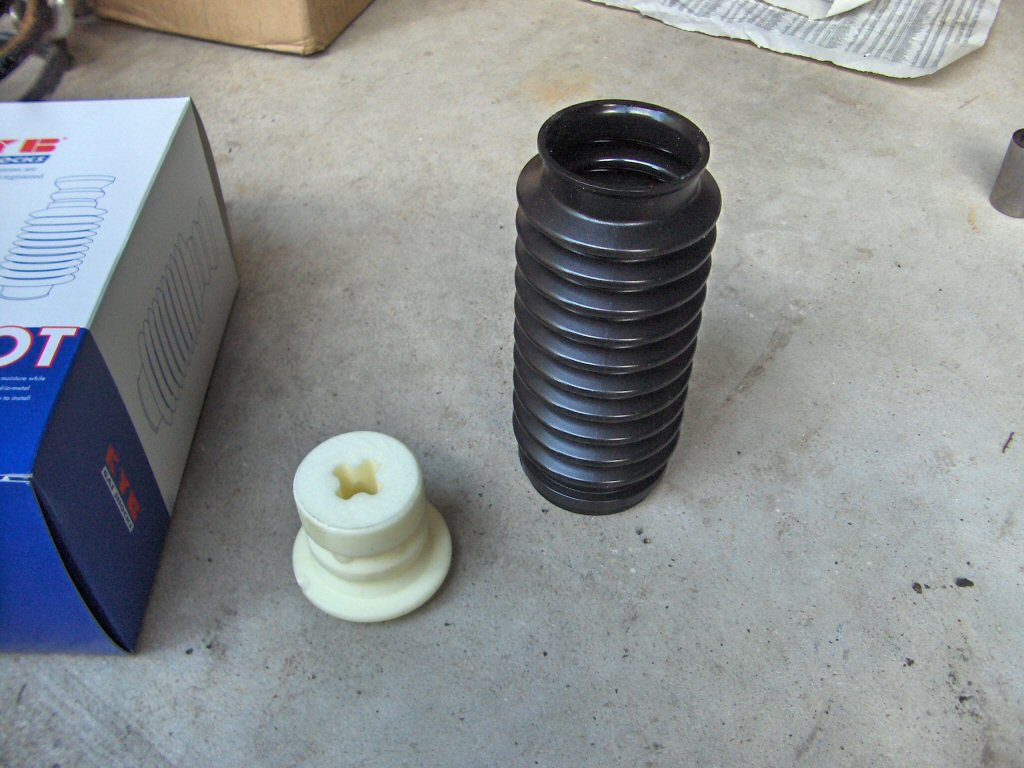
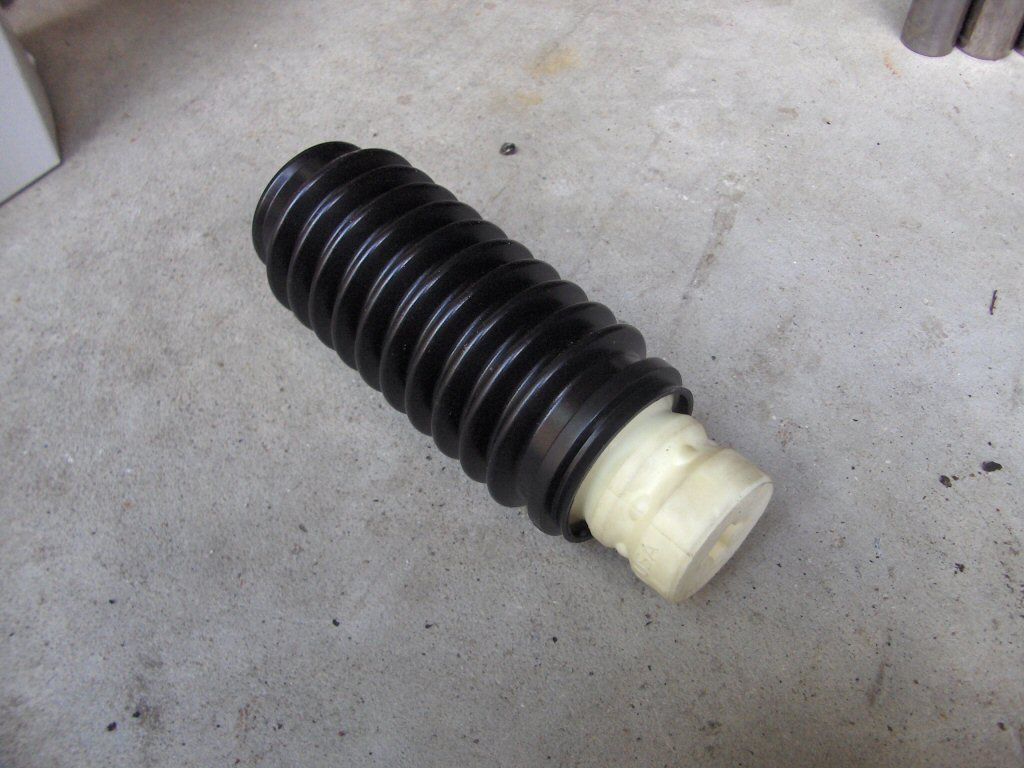
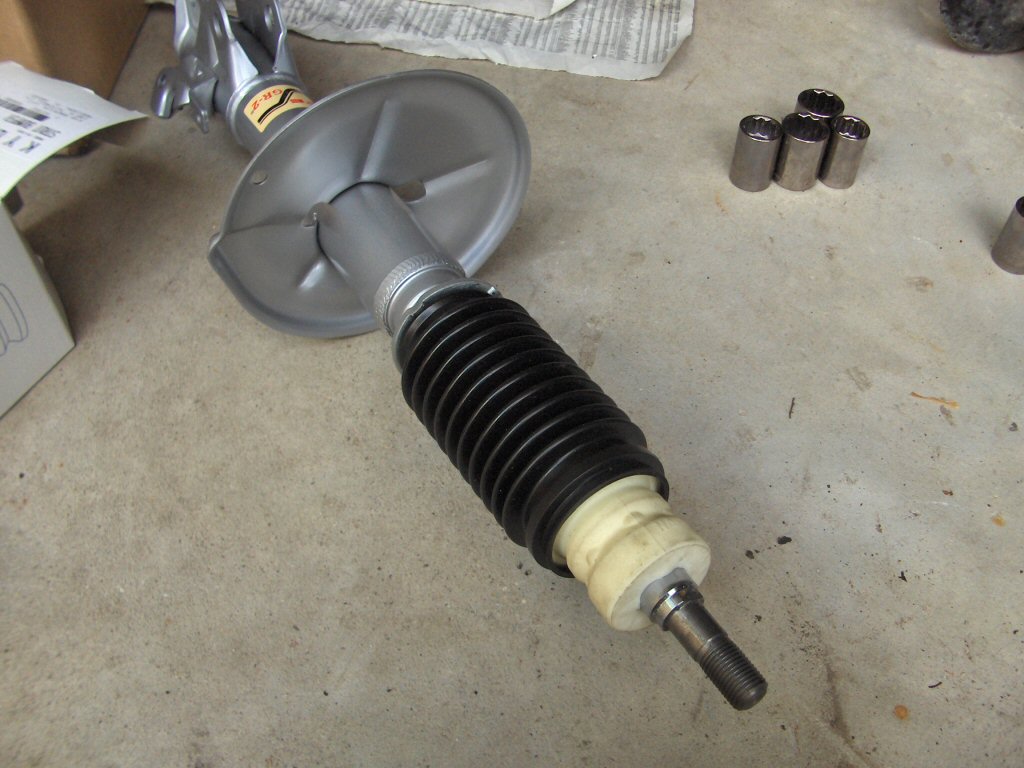
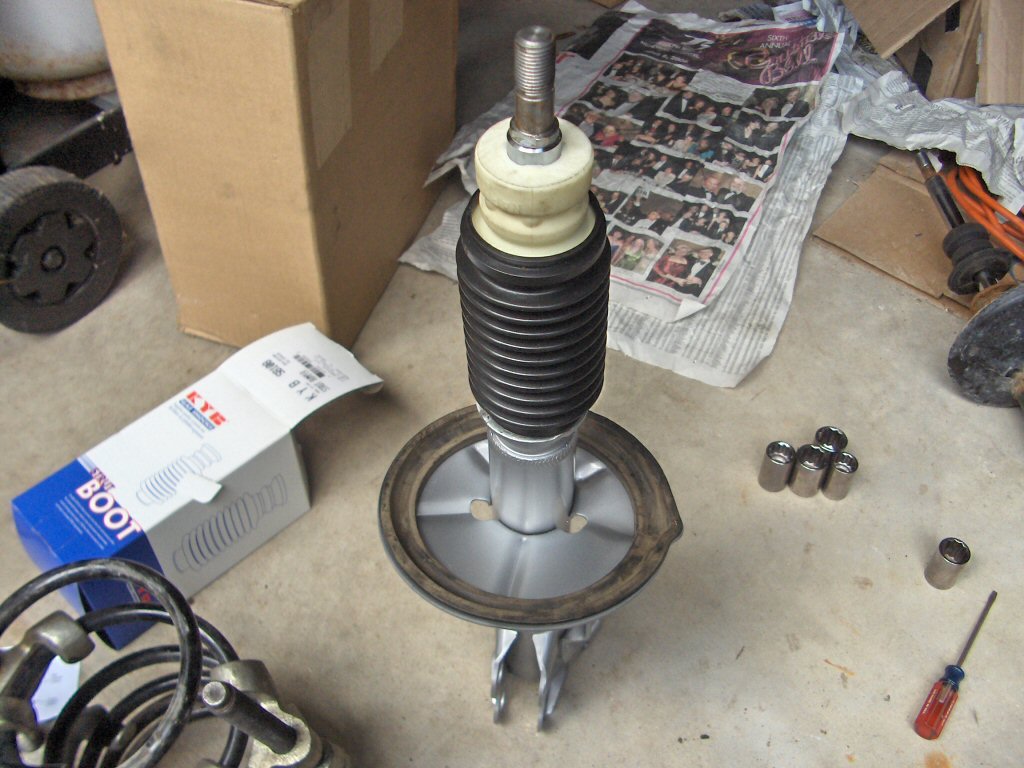
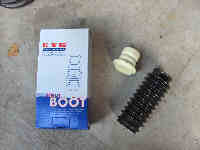
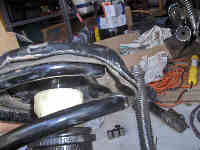
Again for my specific installation I am using KYB GR-2 struts. The KYB front struts don't come with any boots, but you can probably reuse your old ones. Unfortunately, I had cut mine up to fit some crappy coil overs on a while back. So, I picked up some KYB strut boots. In all honesty I think these ones you'll see in the picture are for the rear shocks (I bought 4 strut boots), but the rear shocks came with a boot of their own pre-installed on the shocks. So, I wasn't about to take off the front struts again and replace the boots. In any case, for the heck of it this is what you do. Take the bump stops and shove them into the plastic boots. Theres a groove in them and they just fit in there with a little persuasion.
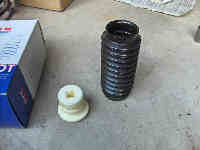

After you get those pieces together shove it over the top of the strut shaft. Its kind of tight so just work it down while holding the shaft from getting pressed in if you can.

After thats said and done get the rubber padding from your other strut and put it on the new strut. This will help the spring and strut not scrape against each other and wear together.
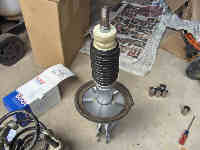
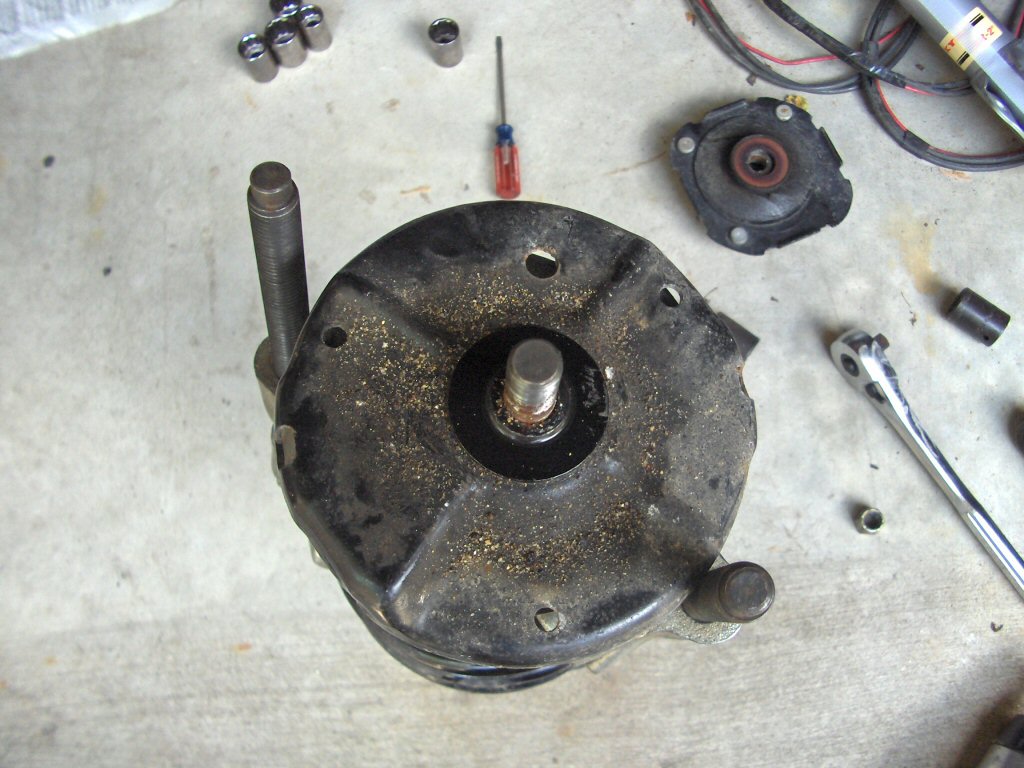
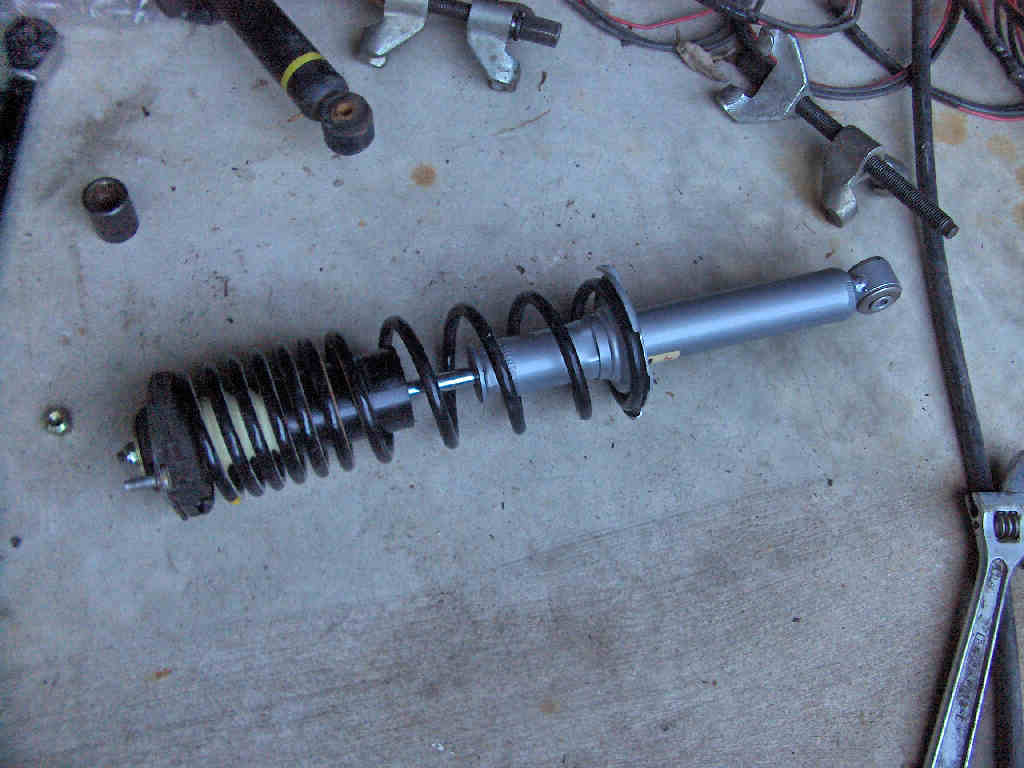
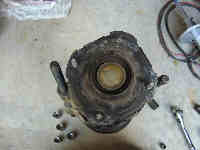
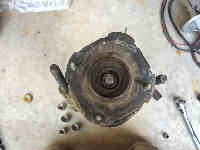
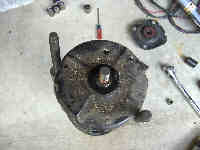
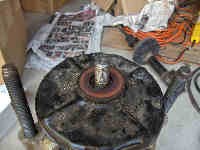
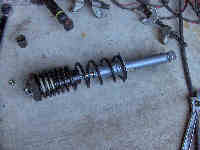
You can go ahead and put the spring, spring retainer, and strut bracket back on now. Don't forget the little foamy washer (center picture). Also, while reinstalling the spring retainer be sure to line it up so that it seats properly with the two flats holding it from rotating. In addition to that make sure that the spring's end is seated against the step in the spring retainers form as shown in the right picture.
Once everything is lined up go ahead and put the nut on the top. Repeat the vise grips trick or hit it with the impact if your lucky. Then, unscrew the spring compressors. Pop the white/semi-clear top back on while your at it. Hurrah, your strut is back together!
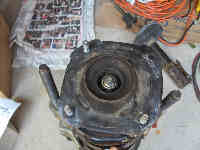
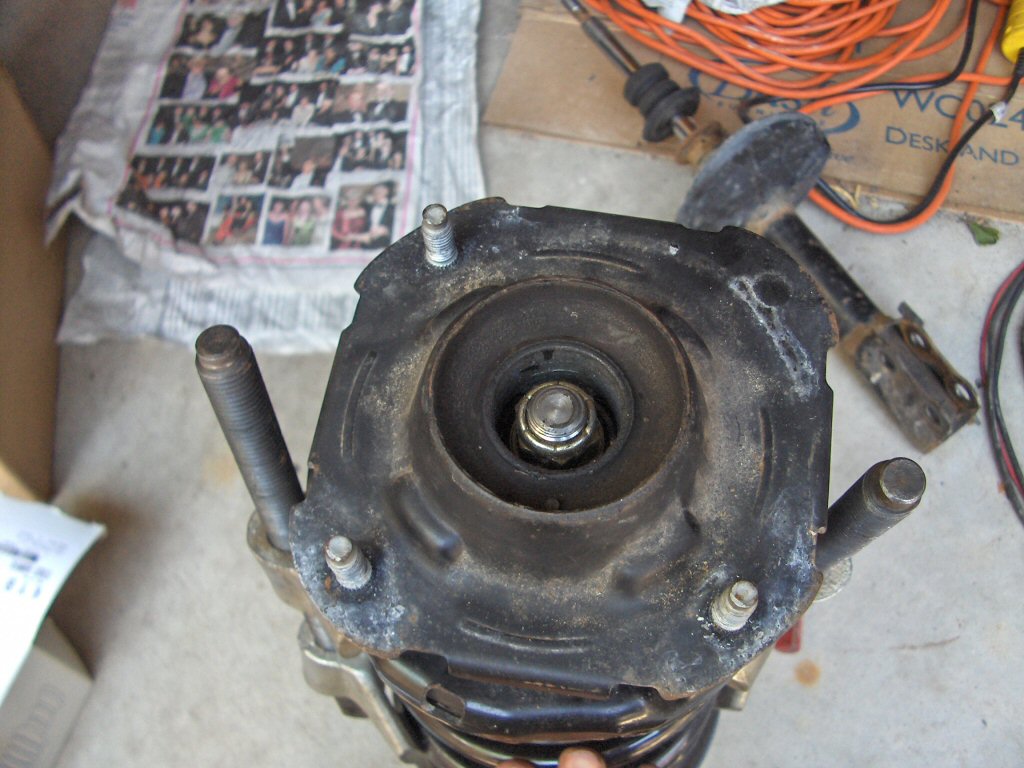
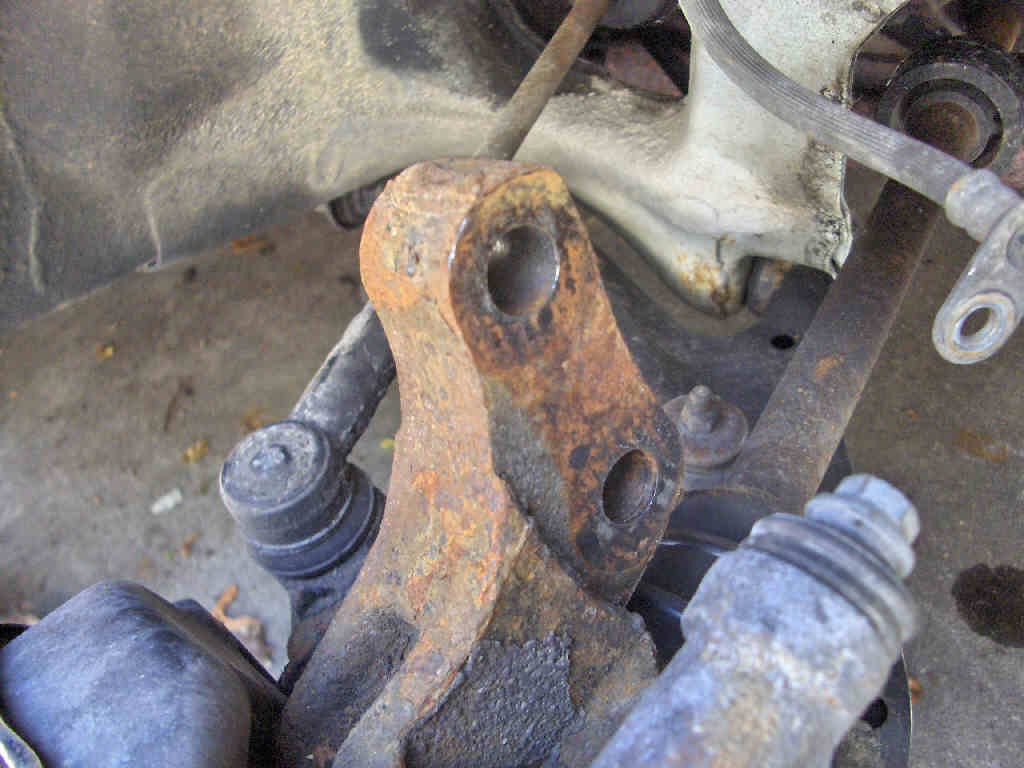
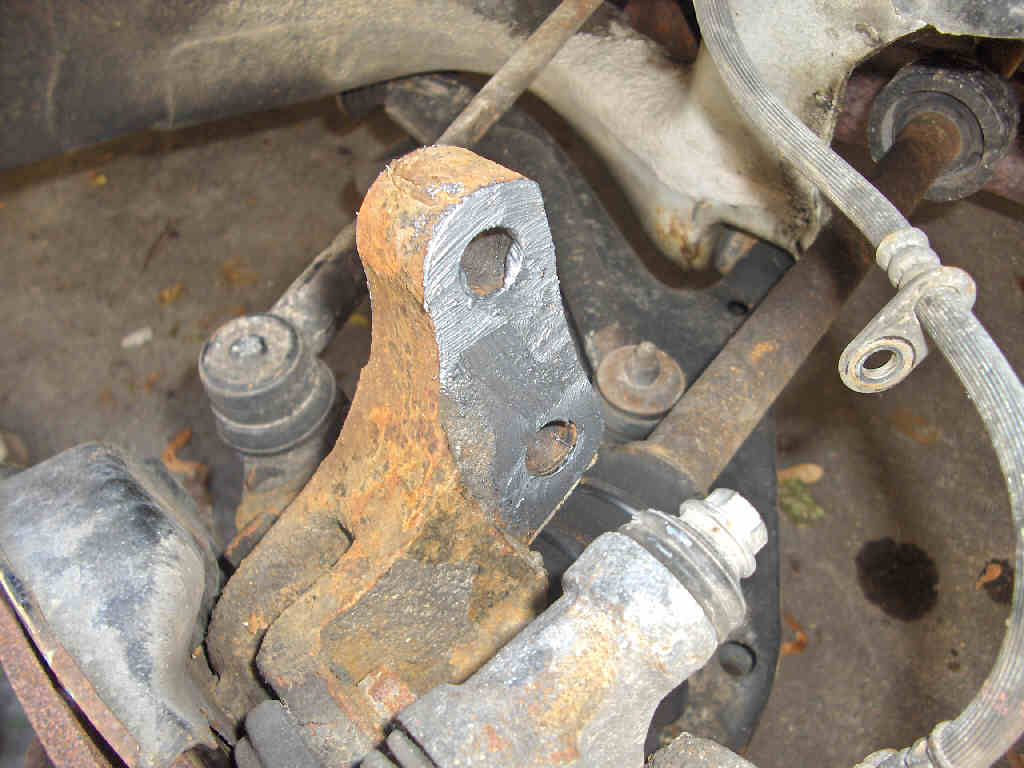
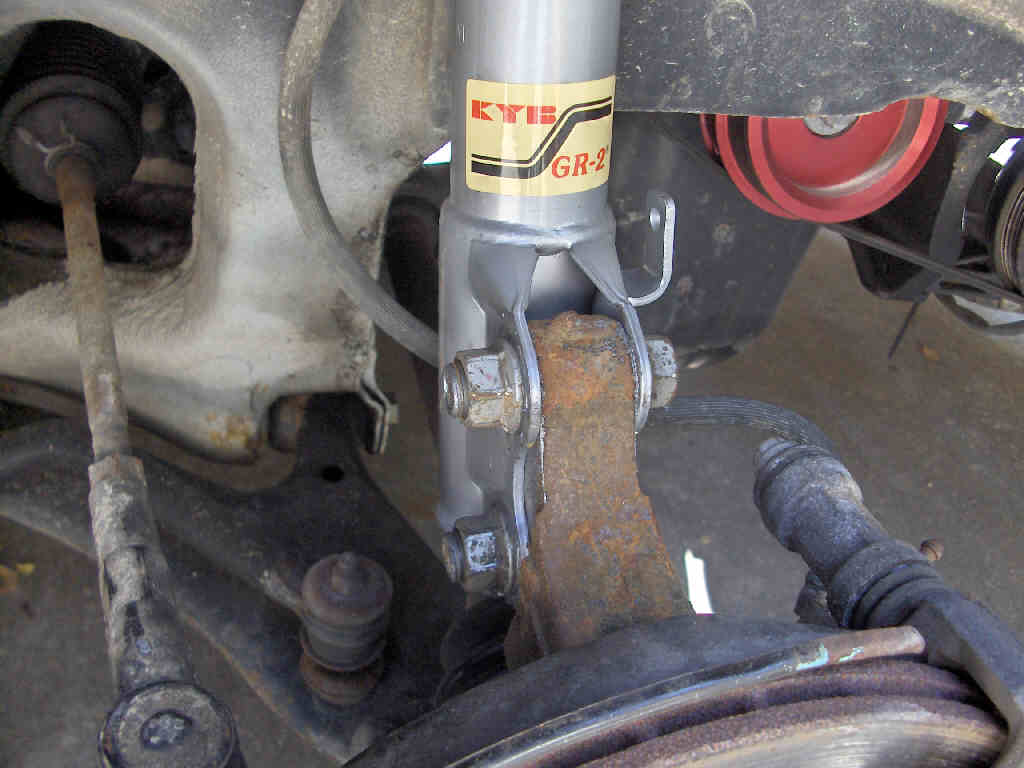
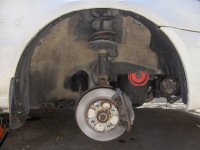
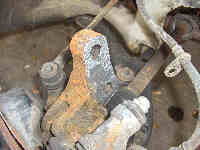
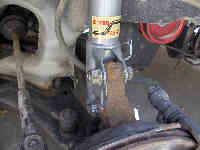
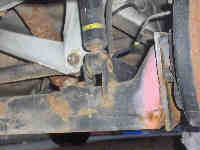
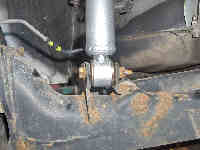
All thats left now is to put it back on the car. I suggest putting the strut back in and hand tightening the three small nuts on the top. Don't thread them on all the way. Leave some room to move the strut around. Now, go to the two large bottom bolt holes. I like to put some anti-sieze around this area. As you can see in the picture its kinda rusty and mine stuck a little when it pulled them off. I figure it can't hurt. You'll have to play with the hub to get it to move around right to get it lined up right. So play with it, slap some anti-sieze on the bolt threads too, and put the bolts in. Once those two are in tighten them up good. Now, bolt the brake line bracket to the strut. Again make sure to anti-sieze this as well. This one really likes to rust up as its fairly exposed. After that we can go back to the top and finish tightening those three top small nuts.

Now you basically have to go through this entire process for the other front side. After that your done with the front.
Rear Shocks
Ok, you're halfway done. You got a good amount of work done already and you're comming back for more. Good.
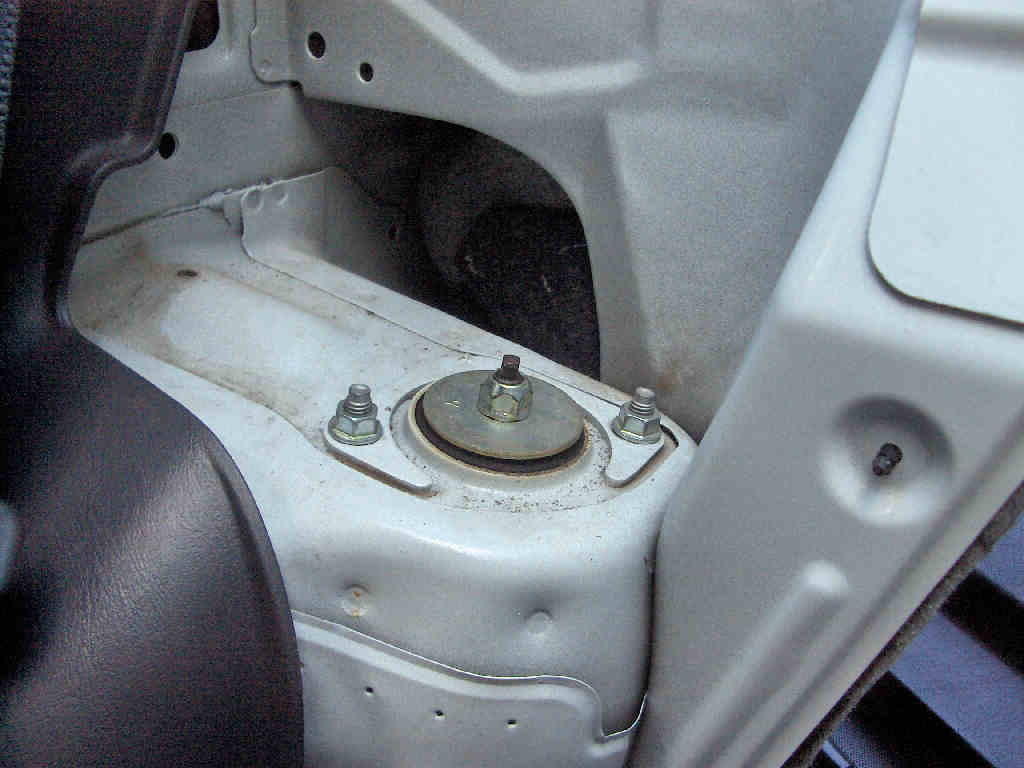
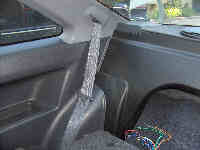
This time we start off the procedure inside the car. Now, bear in mind that this article was written while I was replacing the struts on my 1997 Paseo. This car has fold down rear seats. In most cases your going to have to remove the back part of the rear seat to access the shock mounts. This is easily done by removing the two bolts holding the seat to the body. These can be accessed through the trunk, and are located at the base of the seat.
So, to start out what I had to do, I folded down the back seat. From there I had to remove the back deck, and the plastic panels that cover up the shock mounts.
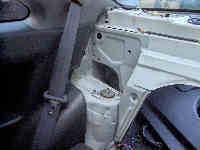
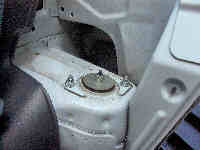
With the panels off and out of the way go ahead and loosen the two nuts holding the shock to the body.
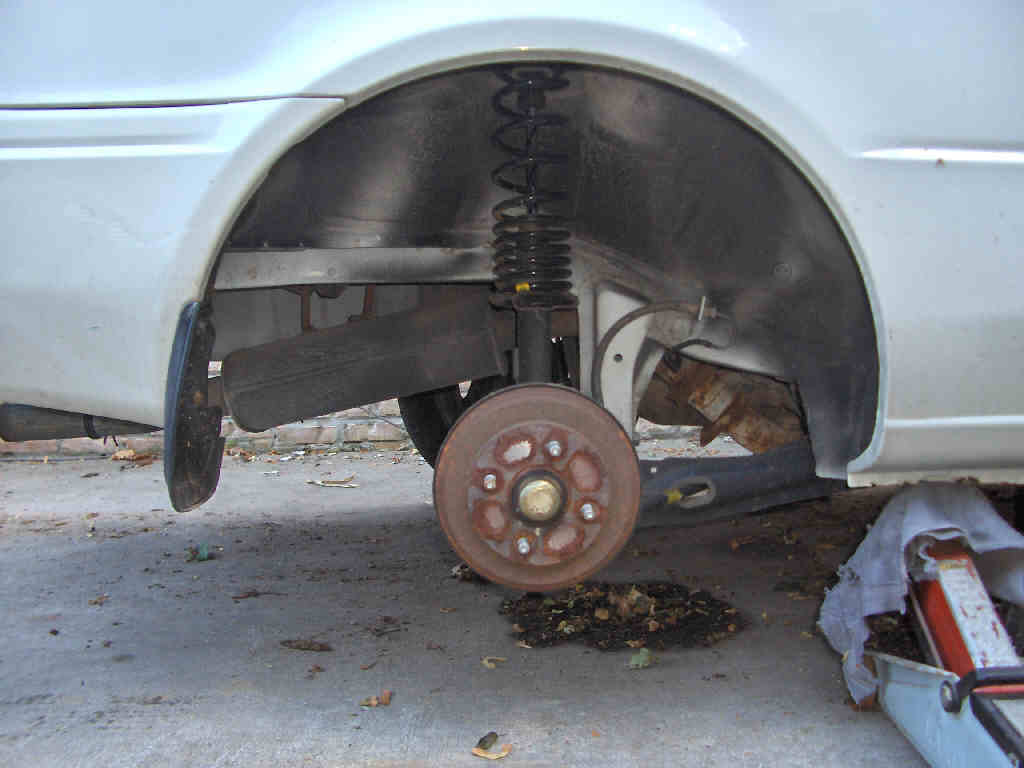
Now we move outside. This time you'll have to jack up the whole rear end as the two rear tires are connected and you don't want weight on one when you take that shock off. After the back end is up take off the wheels to get to the shocks. Theres only one bolt holding the rear shocks on so go ahead and just loosen it up and pull the bolt out of the hole.

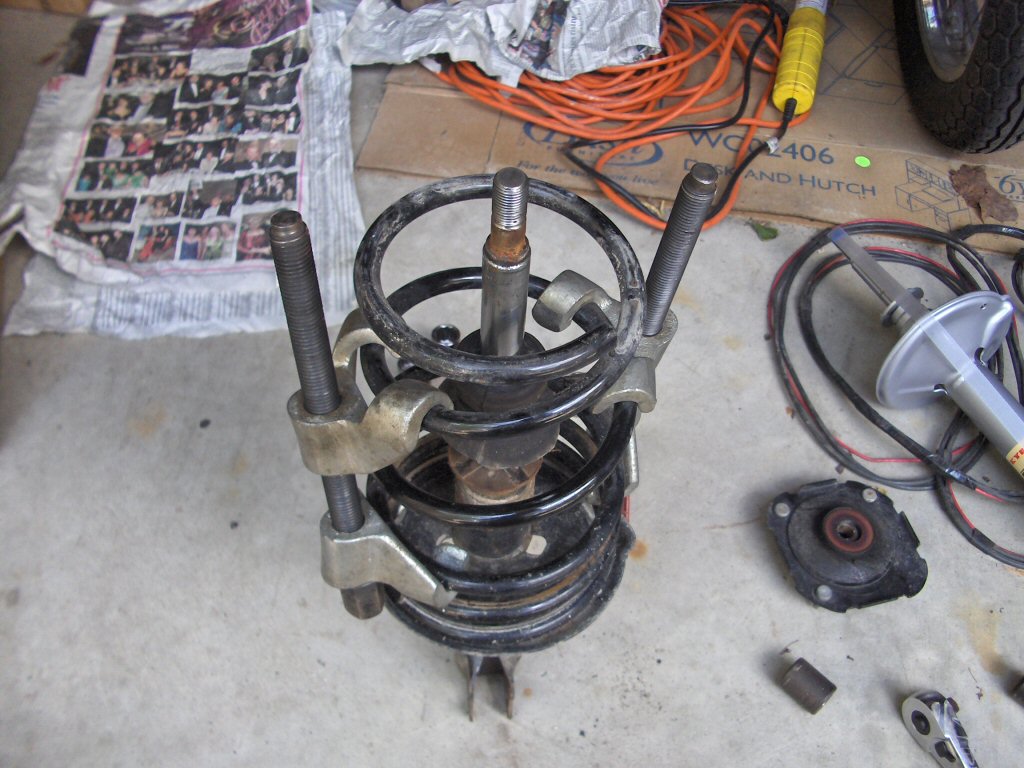
Here we are again with the shock. Time to strap those spring compressors back on again.

With the springs loose we now need to remove the stop nut off the shock's shaft. Use a vise, vise grips or pliers to hold the small tab while using a wrench (open end or box) to loosen the nut. Take care to not mangle this tab if your going to be reusing your shock. Once more, if you have an impact now is the time to use it. Ok, take the shock mount off the top as well as the spring. Get your new shock and put the spring and mount onto the new shock.
Tighten down that top nut again just like you took it off. Make sure to double check that the spring is seated properly and also that the shock mount is in the correct orientation before you loosen the spring compressors. The rear shocks don't have that two piece shock mount/retainer so you can't swivel the shock mount as easily once it is all together and under pressure. I found this out the hard way.
You can now put your shock back onto your car. I recommend putting the shock up into the car with the studs sticking through the body and proping it on the axle mount somehow. Then, go into the car and hand tighten the nuts similar to how you did the front. This again allows you to move the shock around if need be.
Go ahead and tighten down that nut and bolt combo on the outside. Once again, this is a good place to use anti-sieze. Then go inside the car again and finish tightening the nuts that hold the shock to the body.
Again, this is the instructions for only one side. You'll have to repeat it for the other side. Once the other side is done you're finished, and I bet your glad too. I know I was. Go pat yourself on the back, or do whatever you do to congratulate yourself. Your done!
BACK